

|
||
|
|
||
|
|
||
|
|
#1 |
|
This is my second home
Jaguar XFR 2011MY Join Date: Oct 2013
Location: Harlow
Posts: 6,363
Thanks: 19
Thanked 816 Times in 759 Posts
|
Today I was given opportunity to experiment with a car, my friends dad bought a 3.2 v6 Freelander in black, it is a very high spec one and was purchased from one of those upmarket car dealers! So naturally it looked very very nice, thanks in no small part to a coating that probably has an exceptionally high silicone content!
I have acquired many detailing products as of late, most of which I have not tried yet, this presented me with an opportunity to try some although not as many as I would like as he had purchased diamondbrite and really wanted that to be used for protection! Anyway as it started off looking very good I only took with me m205 as a finishing polish to take out small swirls, we later discovered that there were a couple of marks that I could have removed if I Brought my m101 with me! There were a few touch ups that had been wet flatted too, leaving some little pig tails! Again m101 would have been much better suited to these  Removing the protective coating the car had proved to be much more difficult than I imagined! I started by mixing some g101 with water for the arches, I sprayed that on and left to soak for a bit whilst I prepared the shampoo for the car! I had carchem 1900:1 for this, one of those new to me products as was the g101! 1900:1 is named that because that is the suggested mixing ratio of water to the shampoo  I filled the bucket almost to the top then used a syringe to get the correct amount of shampoo, then used the jet setting on the hose to 'foam' the shampoo. This didn't really happen so I thought well this is obviously a shampoo that is more focused on being slick than sudsy, as these are the main 2 qualities of a shampoo. When using the shampoo I did not find it particularly slick so a bit disappointed, obviously it has the value going for it and you can have the shampoo made to your liking in terms of colour and scent which is a nice touch! It is no worse than other shampoos I have tried by the way  The car was very clean as to be expected as it had done few miles since being picked up from the dealer, so I washed it and rinsed it off quickly before turning back to the arches! They were jet washed with my handy attachment, a 90 degree nozzle designed for such things! Next came the wheels, g101 was scrubbed onto the tyres to remove their stubborn coating! I then cleaned the wheels with autoglym clean wheels tthey have discoloured and are a little kerbed so it doesn't matter that I didn't use the kindest of cleaners  These were brushed with a raceglaze detailing brush as opposed to a mitt so I could clean everywhere! They were then rinsed, and back to the other areas! Tardis now made an appearancen, this was applied to the car several times round to remove much of that pesky coating! It was also applied to the arches! It was then rinsed from the car and then rinsed from the arches with the earlier attachment, now that is the arches done with and the wheels were almostcompletely finished with until the end! Now for my least favourite to use product, iron X it works wonders but makes me gag! That was applied liberally all over the car, and good thing to with the sea of purple that streamed from the car! None from the wheels though  After that was rinsed, out with my new favourite thing, clay mitt! Makes claying much easier, although the marring increases it doesn't bother me though as I always polish after claying and it is simply removed! There was rather a lot of contamination on this car which was surprising but hey Ho a little bit of work and off it comes! Washed again with the carchem 1900:1 and then dried off ready for correction! With the size of the car, and needing to use a step ladder to clean the roof it took me a fair few hours to get to this stage! This secured the decision to not go for anything near perfection when doing the correction as time would never allow for such things to be achieved! To be fair for perfection I would probably need about 40 hours on the polisher! Out came the tape to mask off the badges and plastics, this is the first time I have used this as the zt doesn't really require it! This took so much time, I didn't even factor it in the day and it's time was only superceded by the actual polishing! Out came the flex rotary, a blue 3m pad and the m205! This was my first time do a single stage correction as opposed to the 2 stage I have always used! This is where the most experimentation was done, to which I am most pleased! I decided to experiment with volume of product but that is easily discovered anyway but what was a challenge for me was using it in conjunction with water! Many people don't do this, however there is a technique made by a chap who is renowned in the detailing world although his name escapes me; he is Very unorthodox in his machining method, it is to drench the pad in product and spritz water into the panel to reactivate the polish when it starts to dry. This is something that caused me a lot of issue throughout as it made 'sling' so the polish was thrown all over the car  however I managed after doing half of the car to gauge how much I needed quite well! I was very happy with my overall adaptation to this technique which I now favour as it creates far far far less 'chalk' however I managed after doing half of the car to gauge how much I needed quite well! I was very happy with my overall adaptation to this technique which I now favour as it creates far far far less 'chalk' Anyway by the time I finished polishing car his son had returned from work, just in time as we needed some more microfibres to apply the diamondbrite and the wheel wax! I got the owner to apply the diamondbrite as time was now running by plus I was knackered and still had tasks to do! Whilst the first stage was being applied I decided to clean the exhaust tips, although they are quite far in from the back of the car, I though I may as well clean them after the trouble I had gone to. Back with the g101 to clean all of the muck out of! Now with a different brush that I had used to clean the grilles on the car and other difficult to access areas of the car! After this I dried them off quickly and out came my nxt metal polish, it worked quite well, not perfect but again reasonable and in a much shorter than ideal time frame! I had finished these as the first coat was finished being applied to the car, so now to finish the wheels off! Bouncers looking sweet was used for protection until the wheels get their refurbishment, applied that thoroughly to every part of the wheel face, this didn't take long! After I finished applying to the final wheel I could go back to the first one and start to buff off! I finished this as the second coat reached the point where it could be buffed off! We decided to leave this for a few minutes whilst we cleaned the plastic trim, then all 3 of us set to buffing off which obviously took no time at all and meant not a single bit was left on the car as we went round behind each other twice  Then it was their dinner time so we retreated in doors and I could finally sit down knowing my part was done as I had packed away my things as they ate their dinner! They said they would dress the plastics tomorrow morning thank god! Anyway he was very appreciative of my work done, I instructed him what I was doing at each stage and most importantly why I was doing it! I made him try everything too including the polisher, his results on the small section he done shows that caution when using a machine regardless of experience can still provide good results! I skimmed over it again quickly to jewel it but it was rather good for someone that had no prior interest or understanding of what to do! I am not saying I am the best by the way, my results are far from it but still better than before and slightly better than his, as I would hope  I explained the way to maintain in so I don't have to do that again for several years, we also discussed making it a nicer car! Wheel refurbishment, body kit, spoiler and badges changed to the black ones used on the supercharged models  the badges were ordered along with centre caps with the black badges ready for the wheel refurbishment to finish the car off nicely! the badges were ordered along with centre caps with the black badges ready for the wheel refurbishment to finish the car off nicely! The next instalment will be the 300c his son has purchased to arrive, it is a loved car with 11k on the clock; garaged never seen rain etc. 5.7 Hemi v8 which will be getting a full detail! Oh the joys of big cars  although we have set aside an entire day for wheels and arches as the wheels will be ceramic sealed and arches will be removed to clean behind and probably clean and protect! although we have set aside an entire day for wheels and arches as the wheels will be ceramic sealed and arches will be removed to clean behind and probably clean and protect! Anyway the pictures of the car shall follow, I know it's not a 75 or zt but this section is relatively low traffic and it shows what can be achieved in short time scales etc etc and how worthwhile machine and general cleaning can be  |
|
|

|
|
|
#2 |
|
This is my second home
Jaguar XFR 2011MY Join Date: Oct 2013
Location: Harlow
Posts: 6,363
Thanks: 19
Thanked 816 Times in 759 Posts
|
Iron fallout from the car! Unreal!
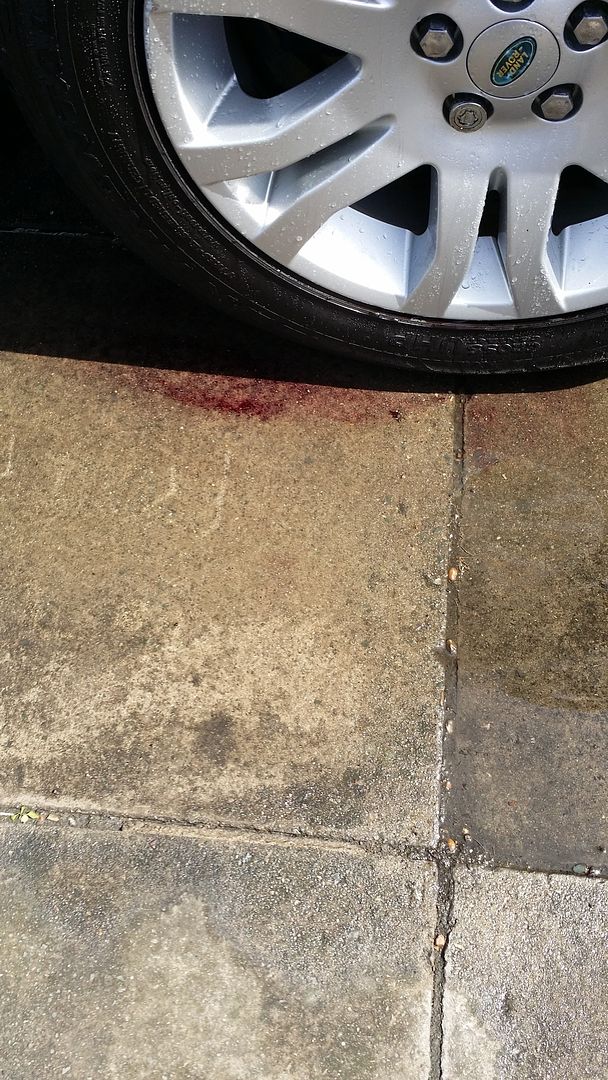 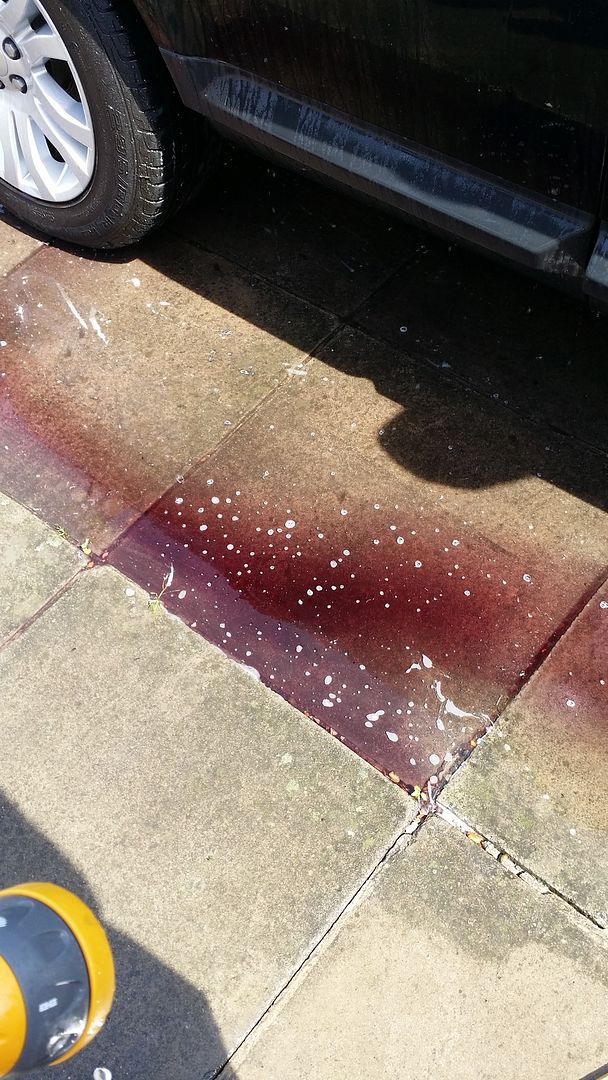 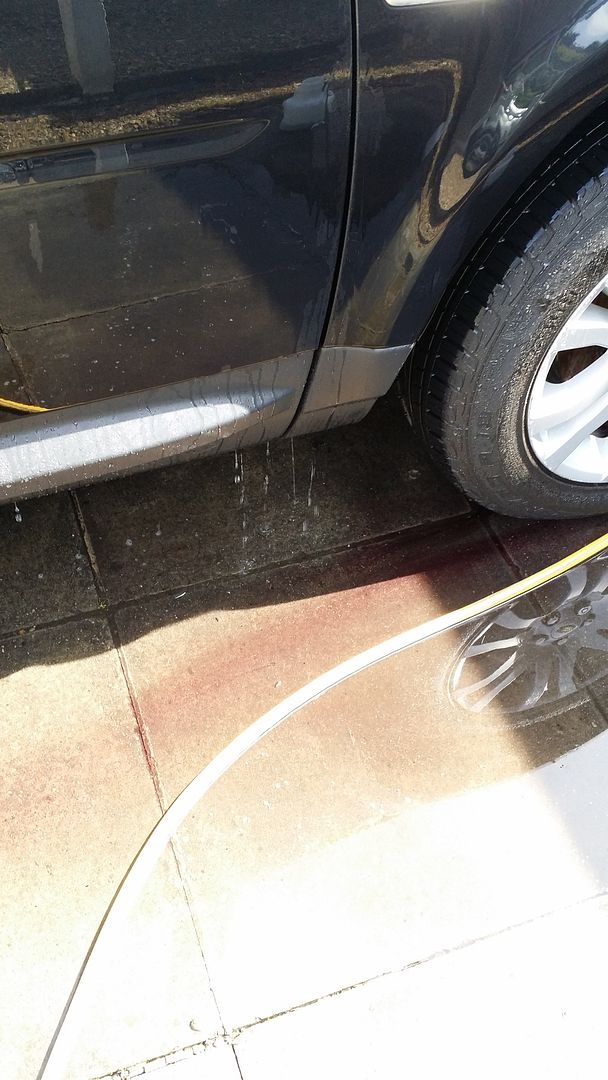 Time for general paint condition now 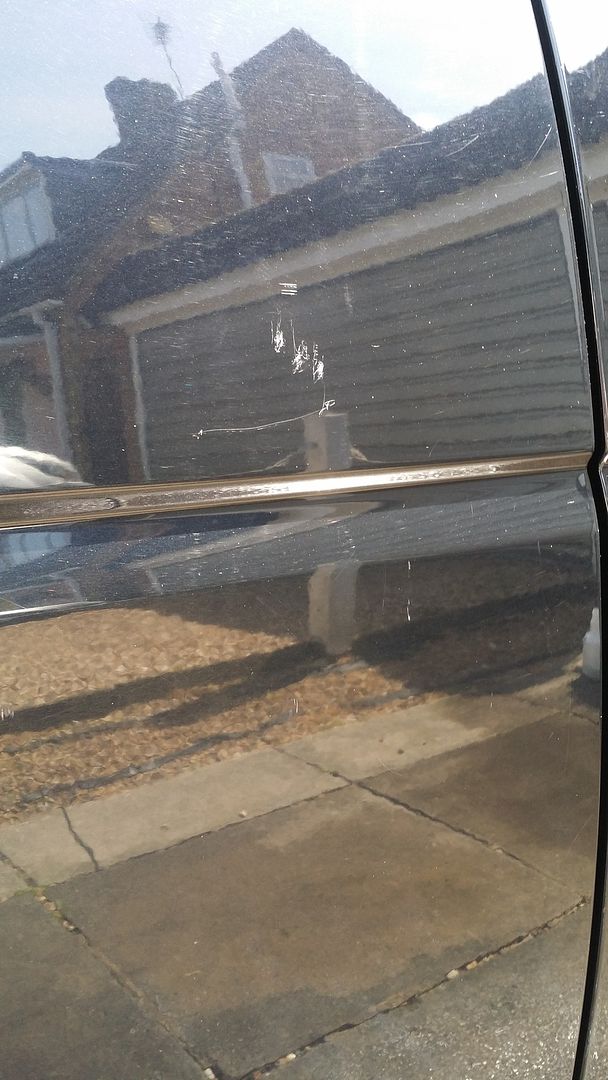 by far the worst mark on the car that will likely be getting a smart repair! 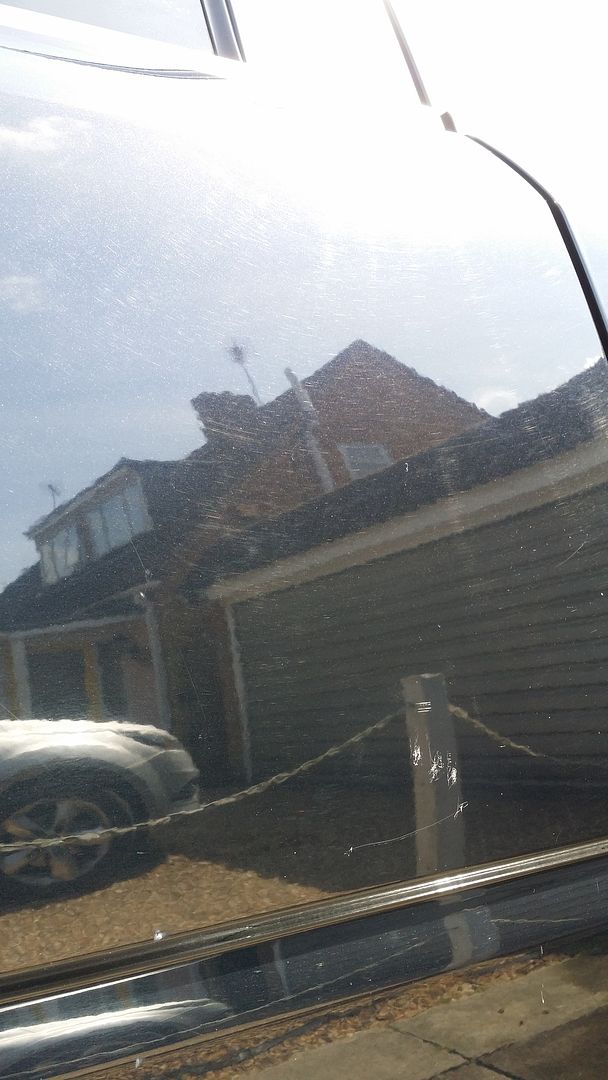 Swirly heaven 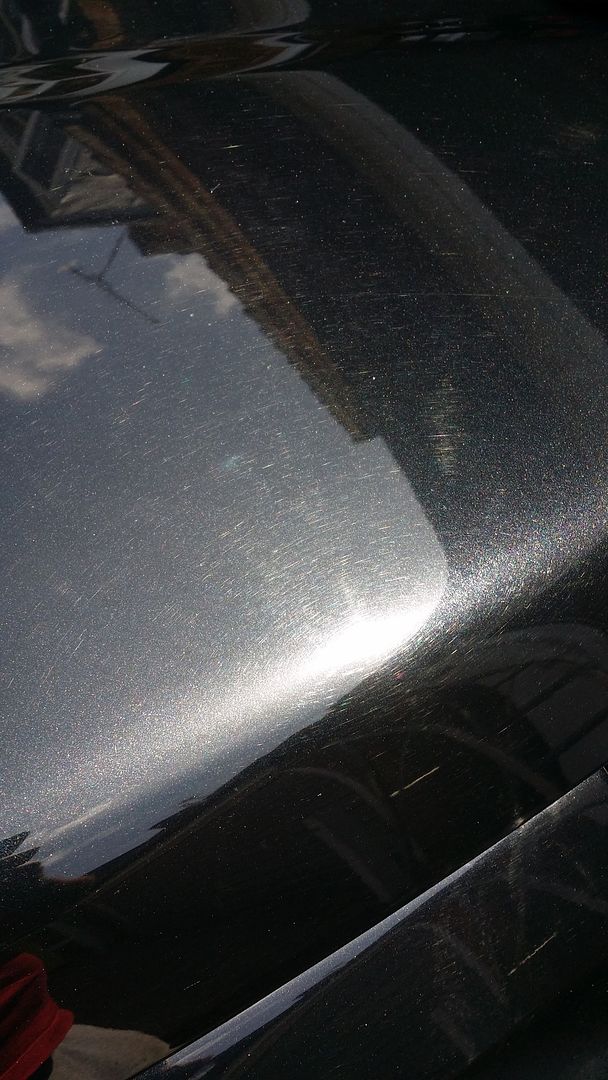 more swirls, they are better than most to be fair to the car! 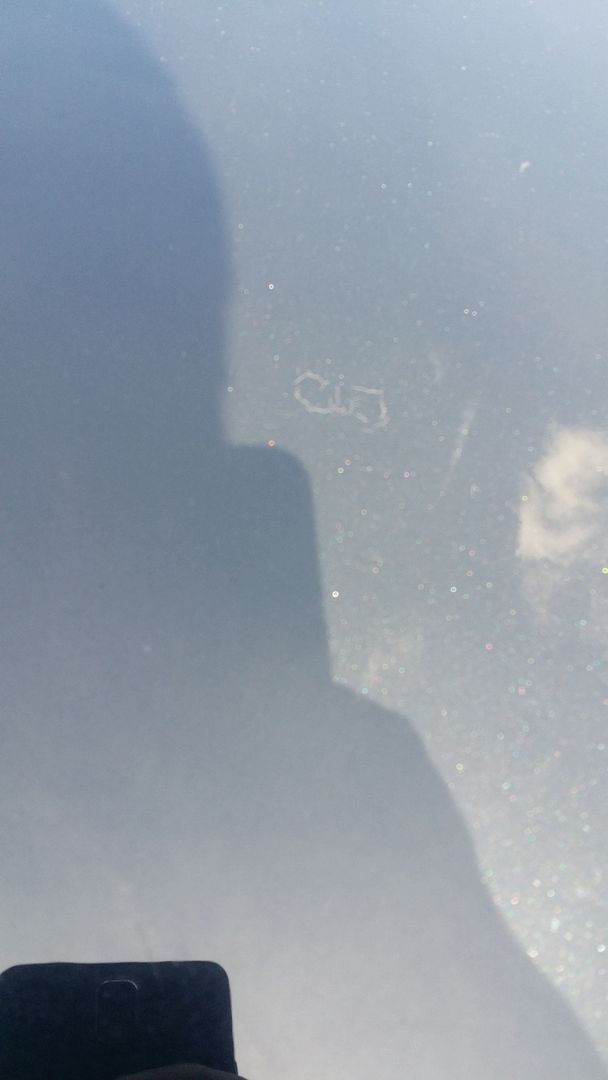 What I presume to be a marking from bird lime left untreated for too long, will come back to that at a later date perhaps! 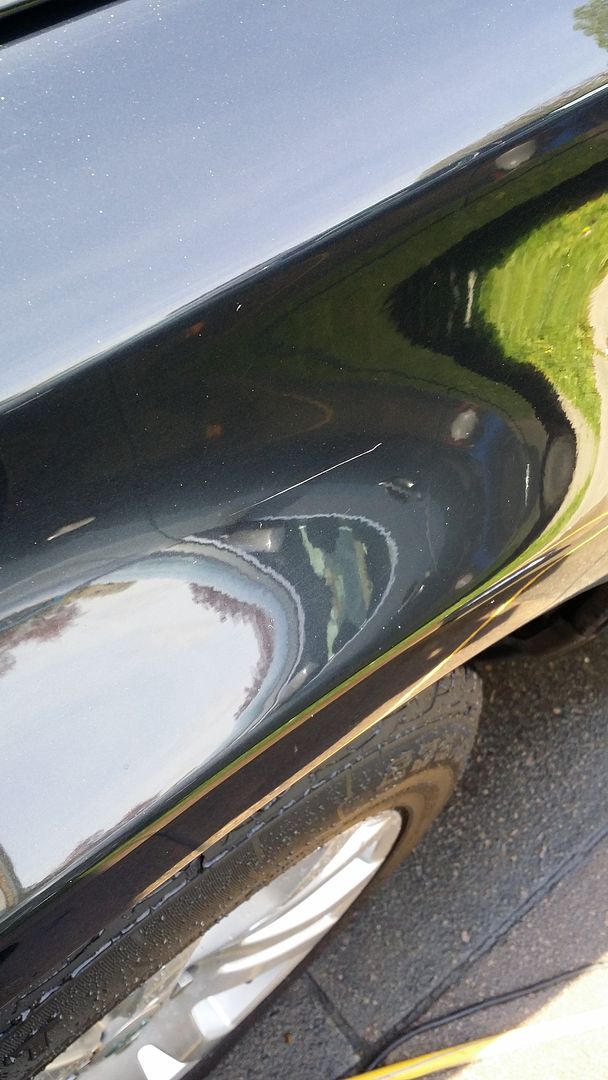 One noticeable mark that almost completely vanished, again the 2 stage would have been better suited there! 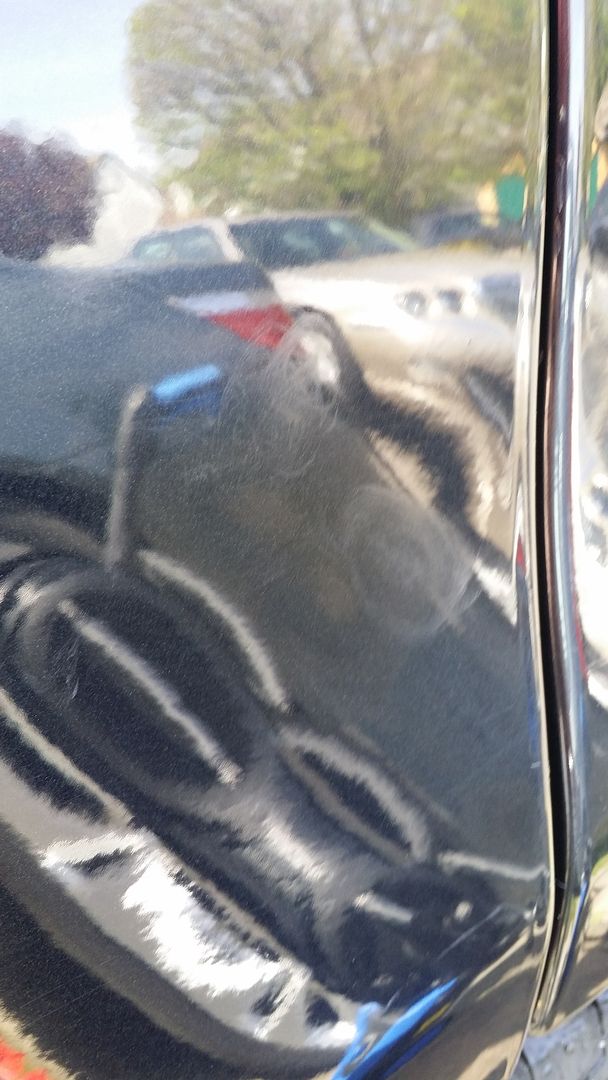 Some little piggys went to market, shame these didn't follow suit! They are now much improved but still noticeable  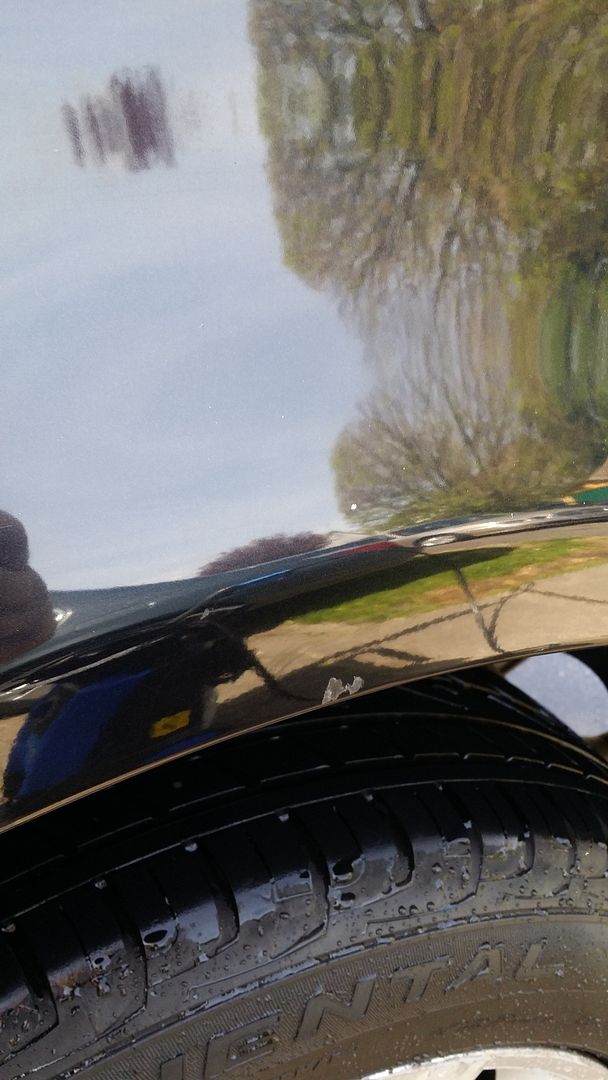 This little chip to the arch, another one on the opposite side so guess it is where they flare out and catch a stone or two! 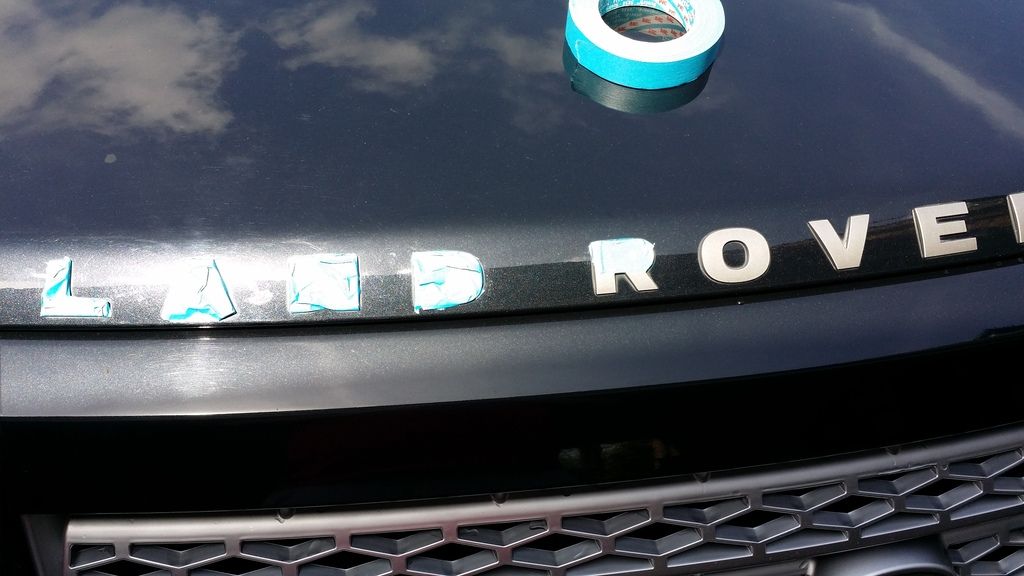 Time for tape 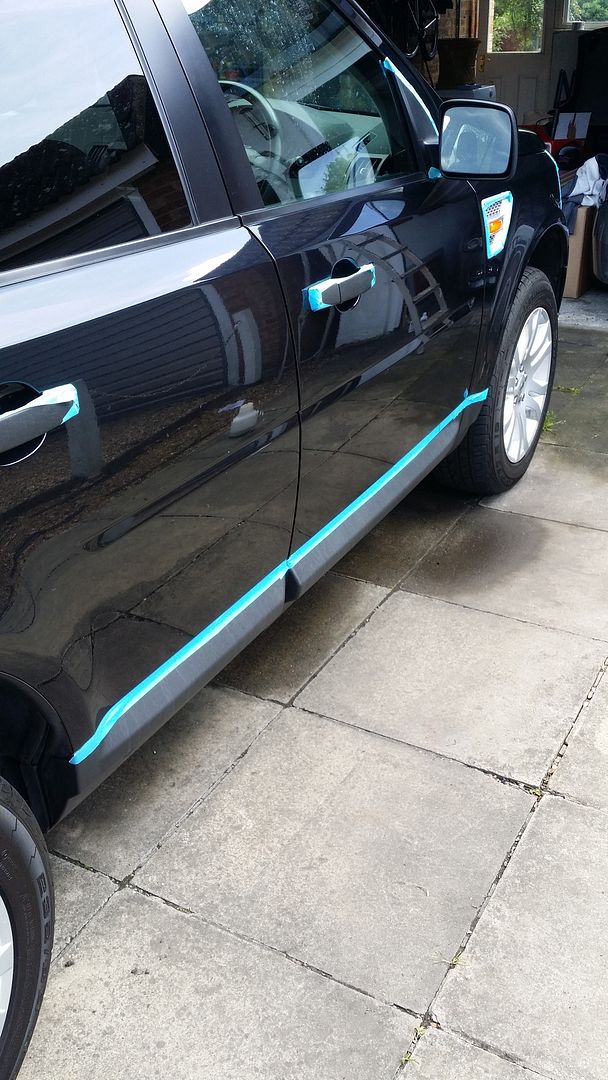 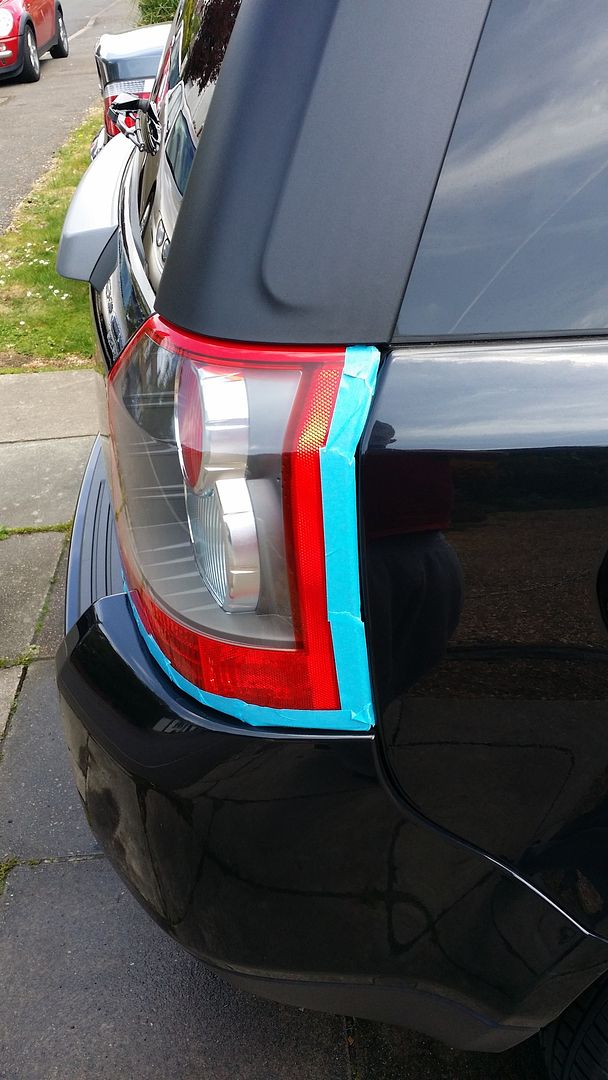 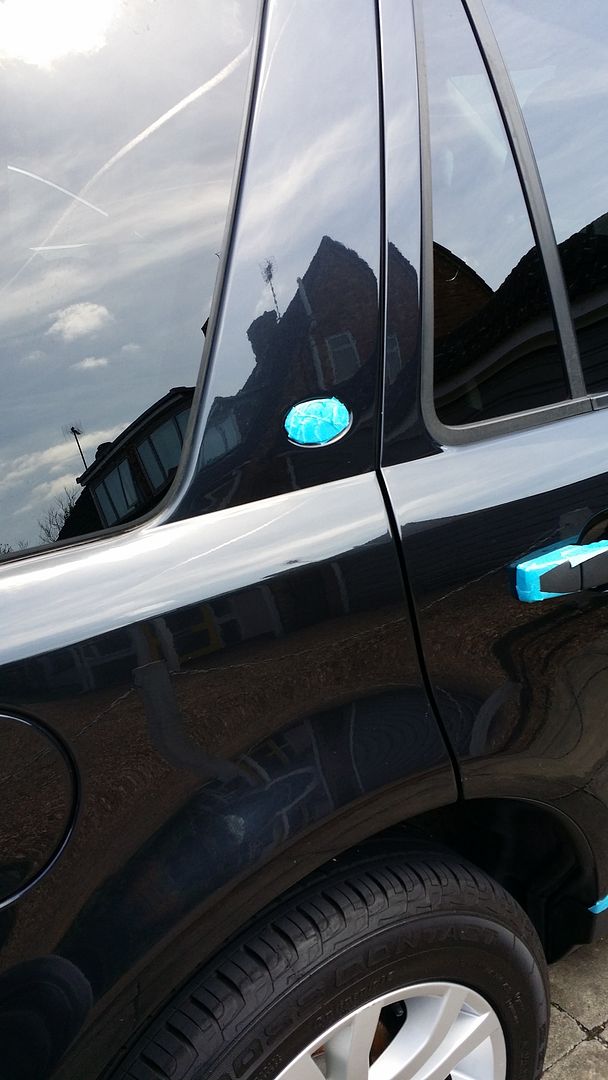 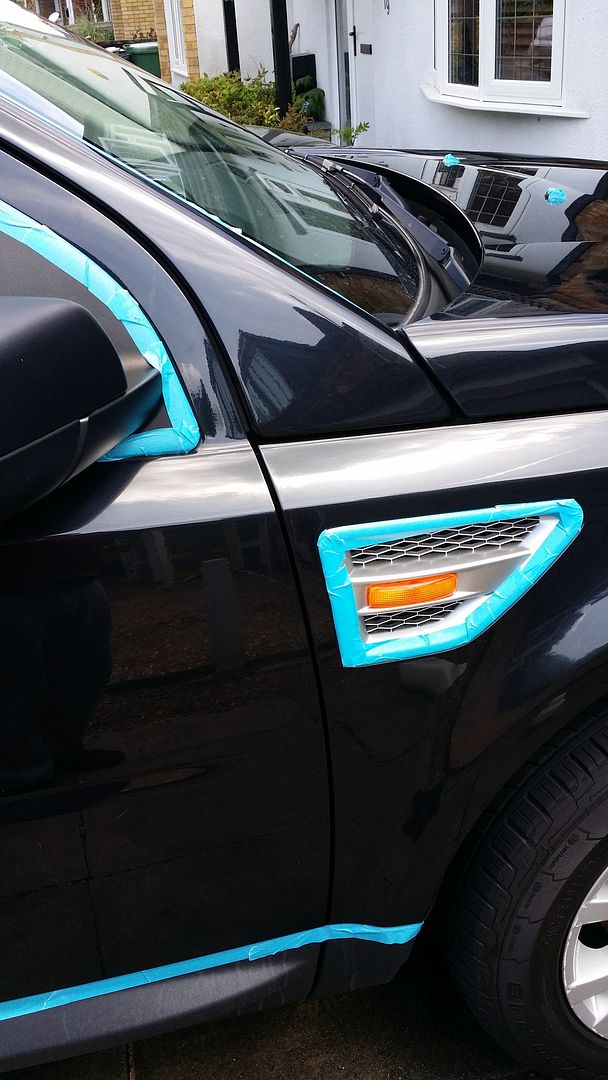 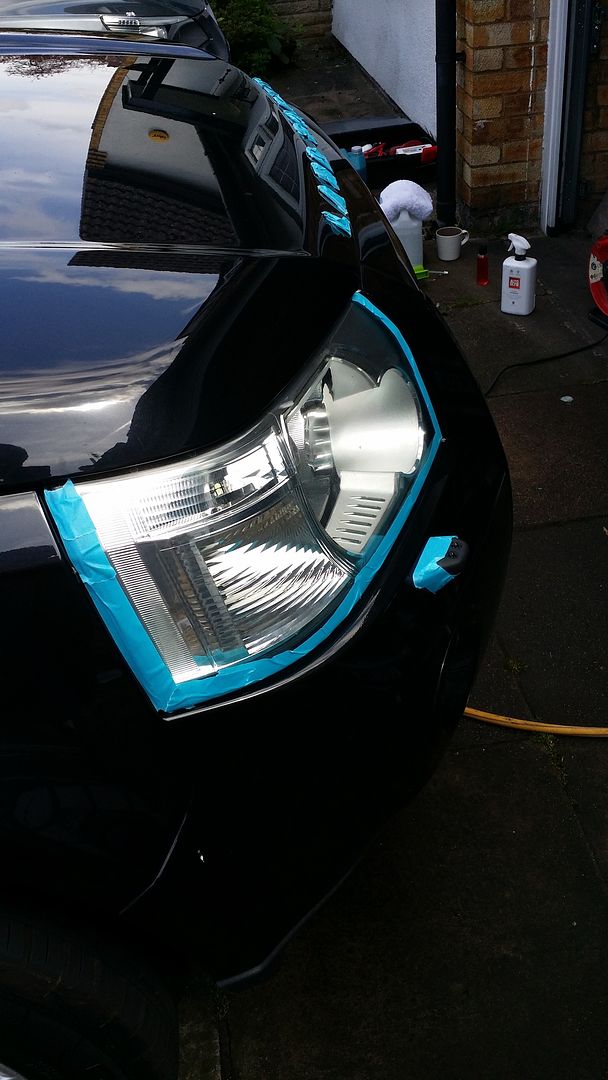 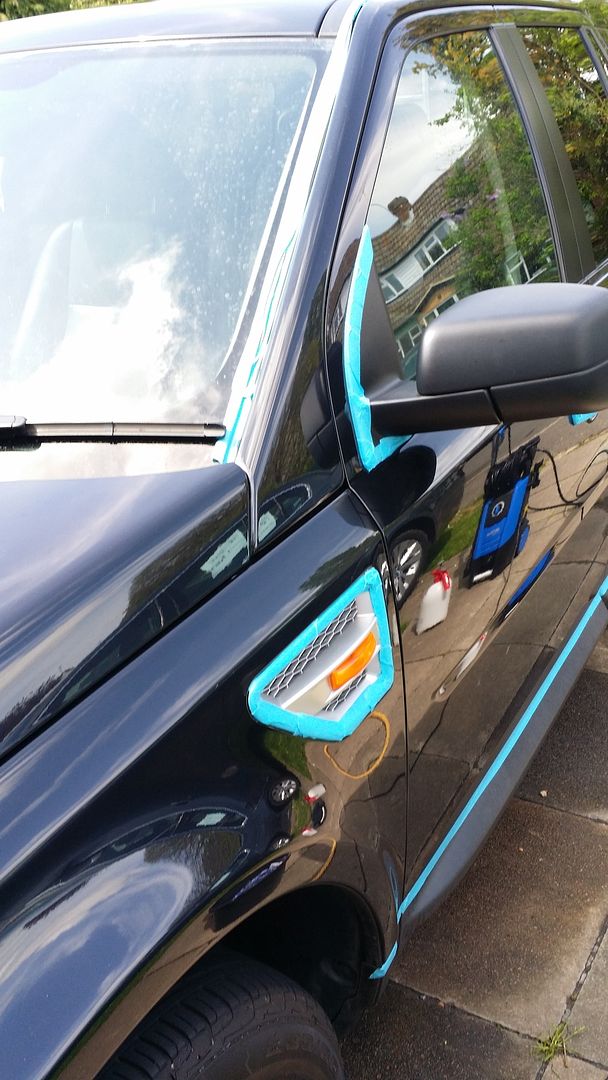 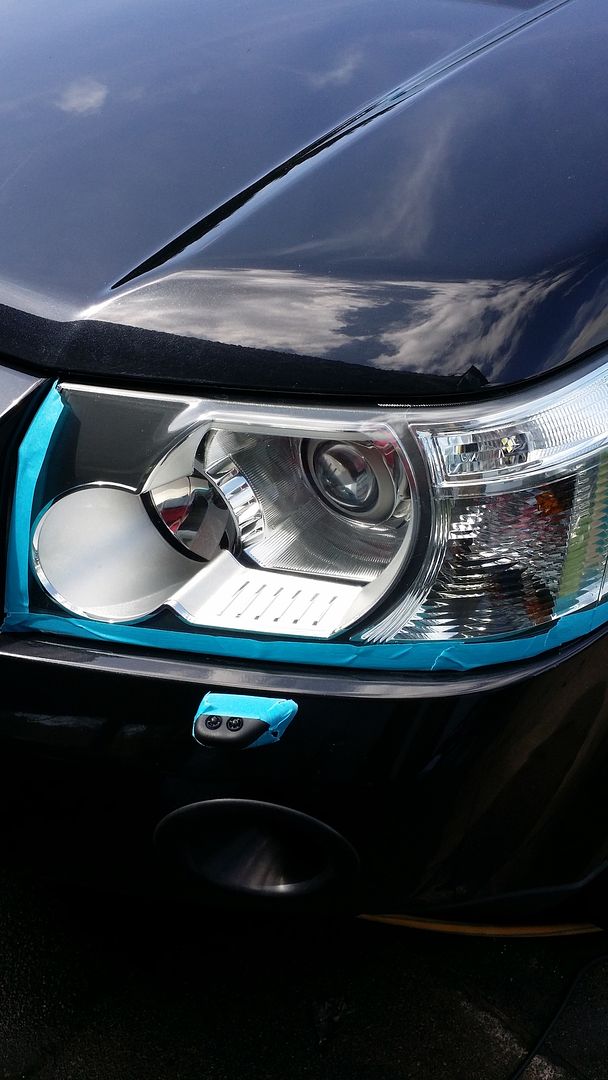 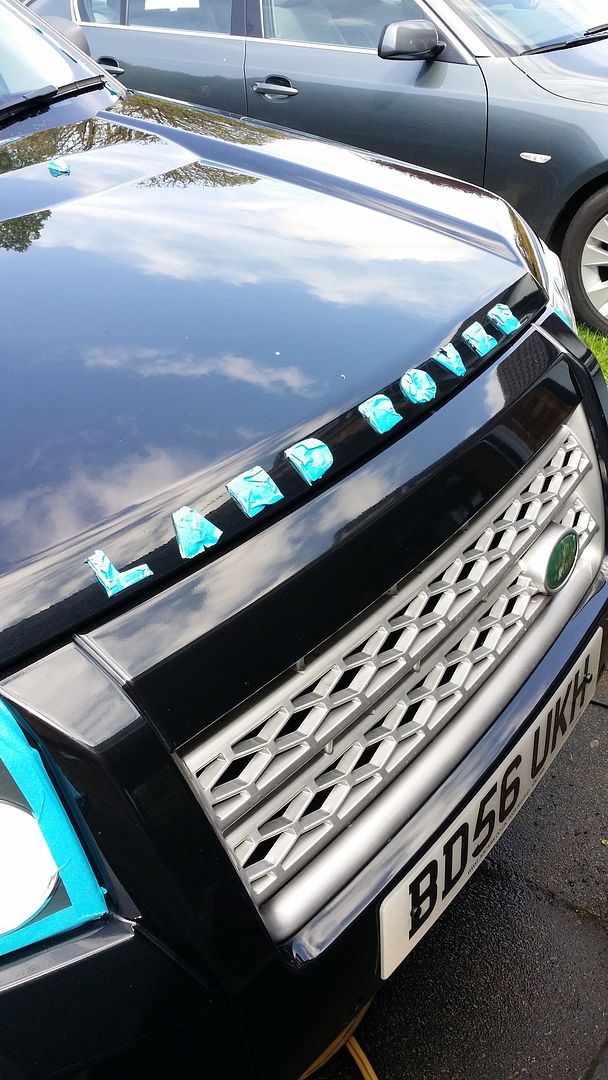 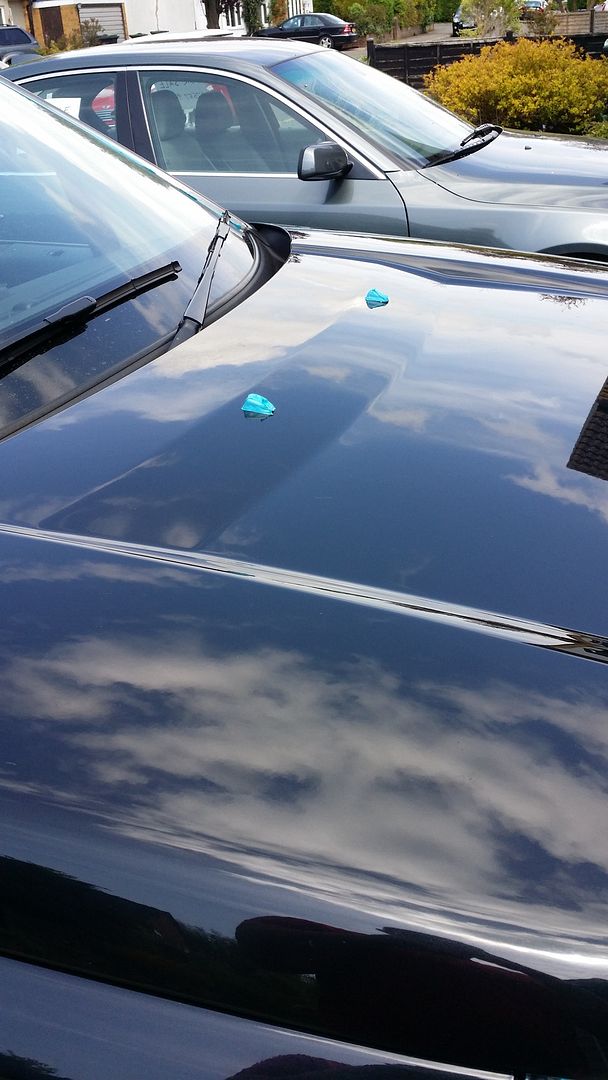 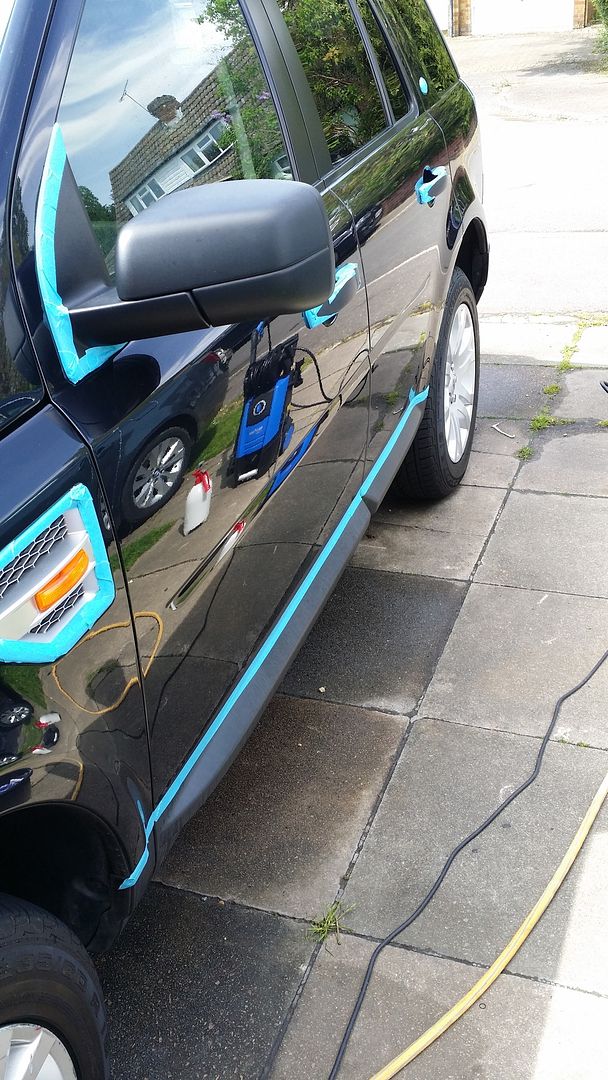 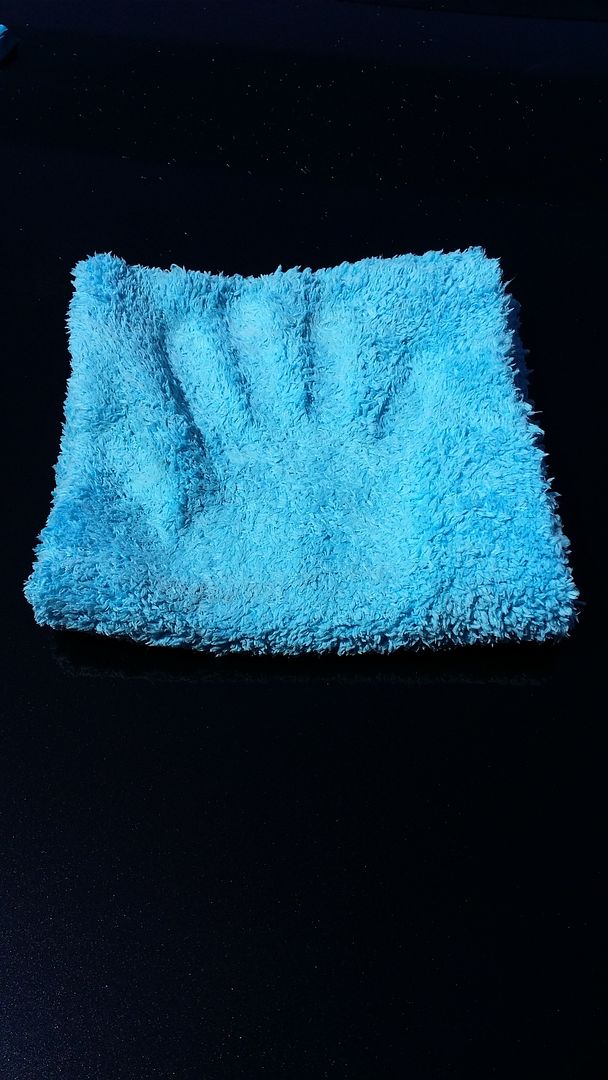 Nice and plush, just as they should be  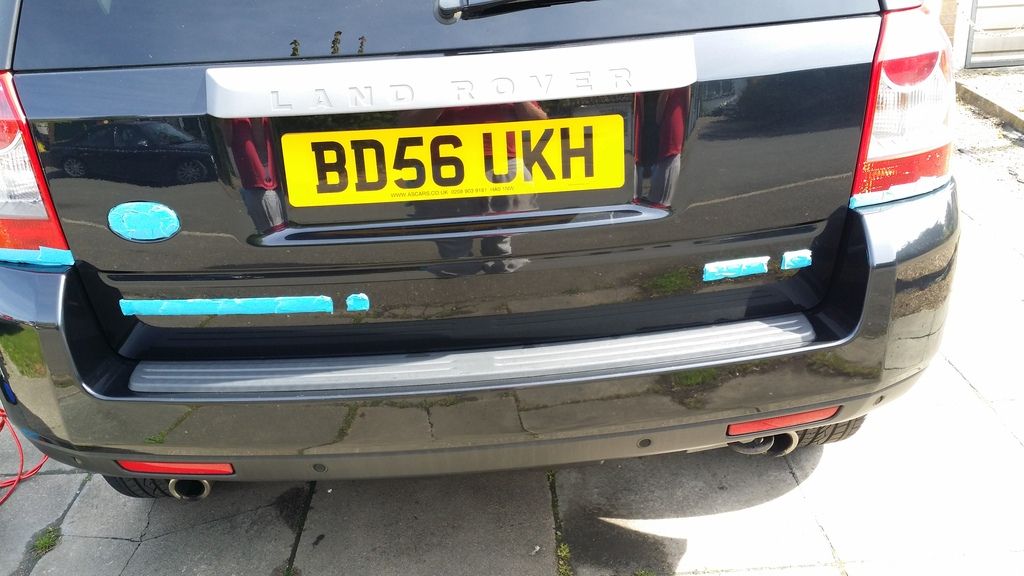 back to tape! God that was laborious! 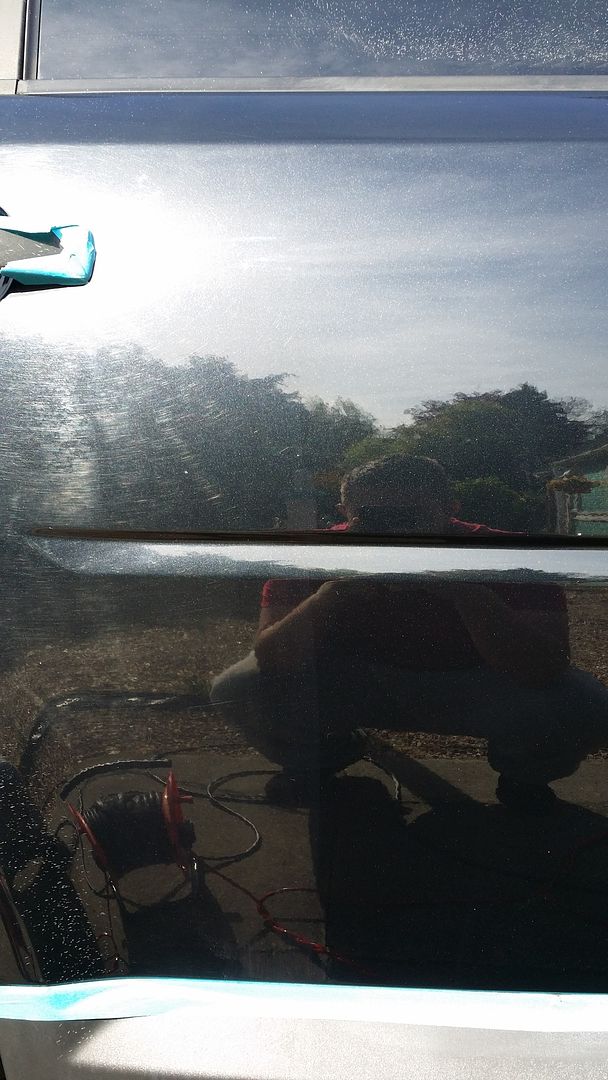 left hand side as it was when I started, right hand side after less than 10 minutes  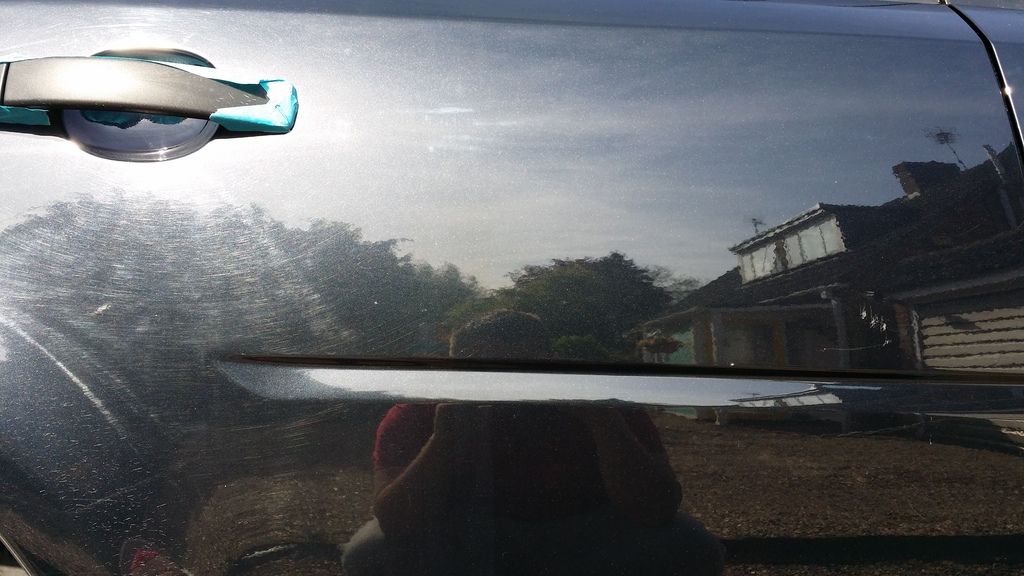 Another angle of the same panel 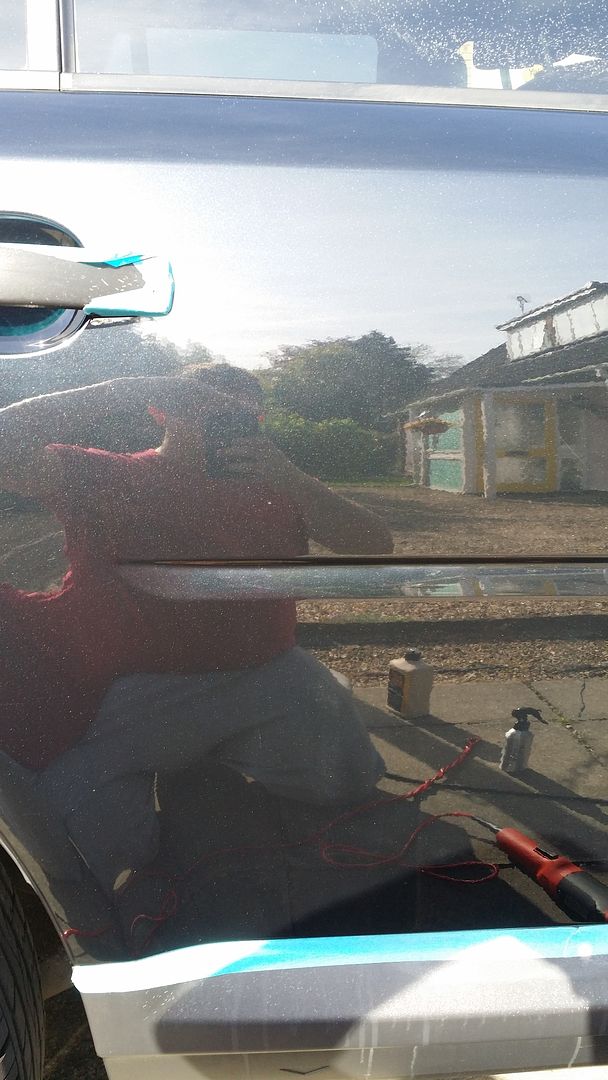 Left hand side to match! 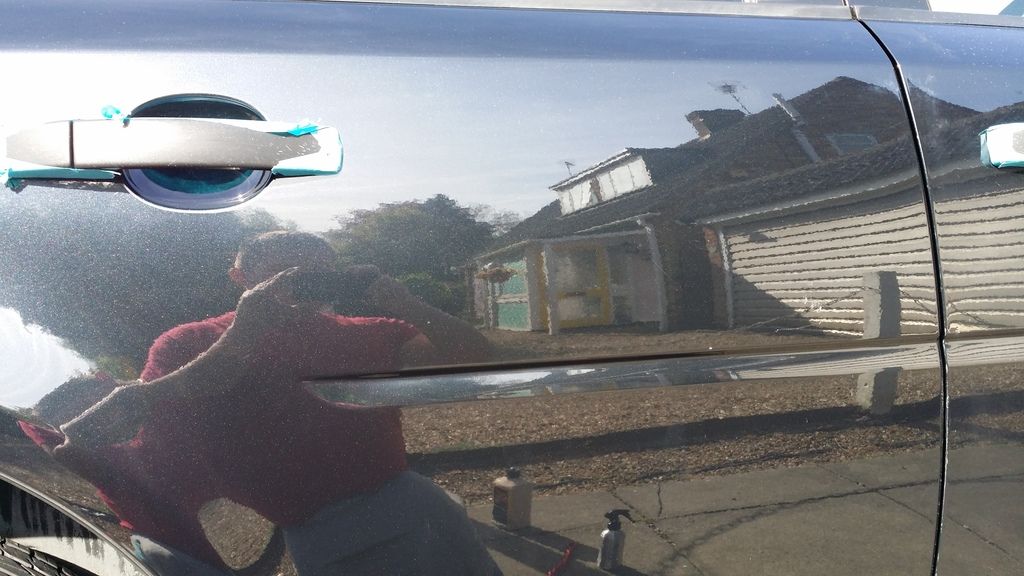 and another angle 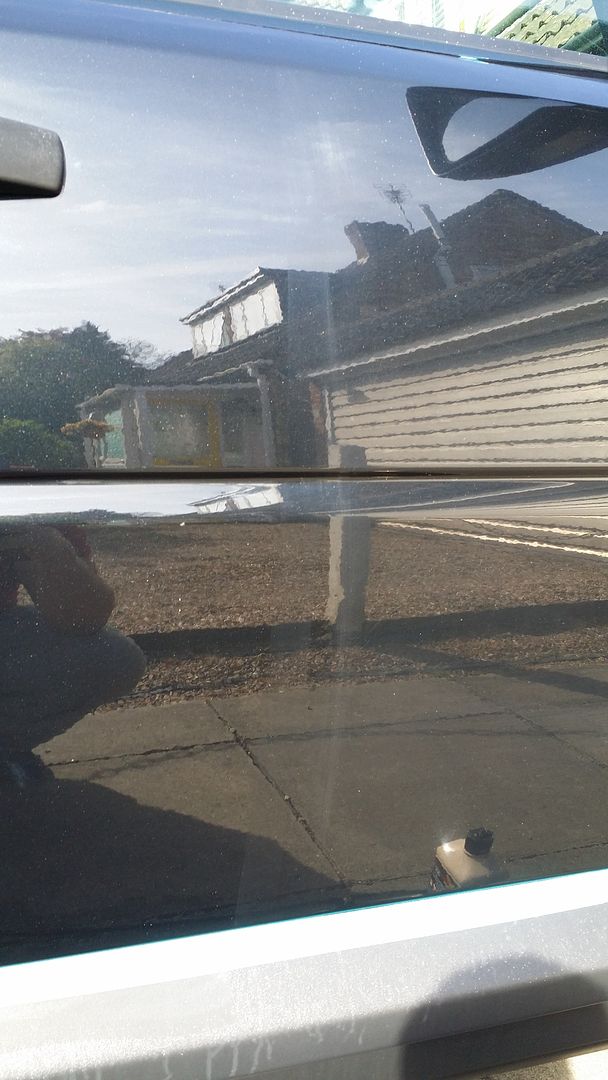 Opposite of the previous panel, left hand done right not yet done! 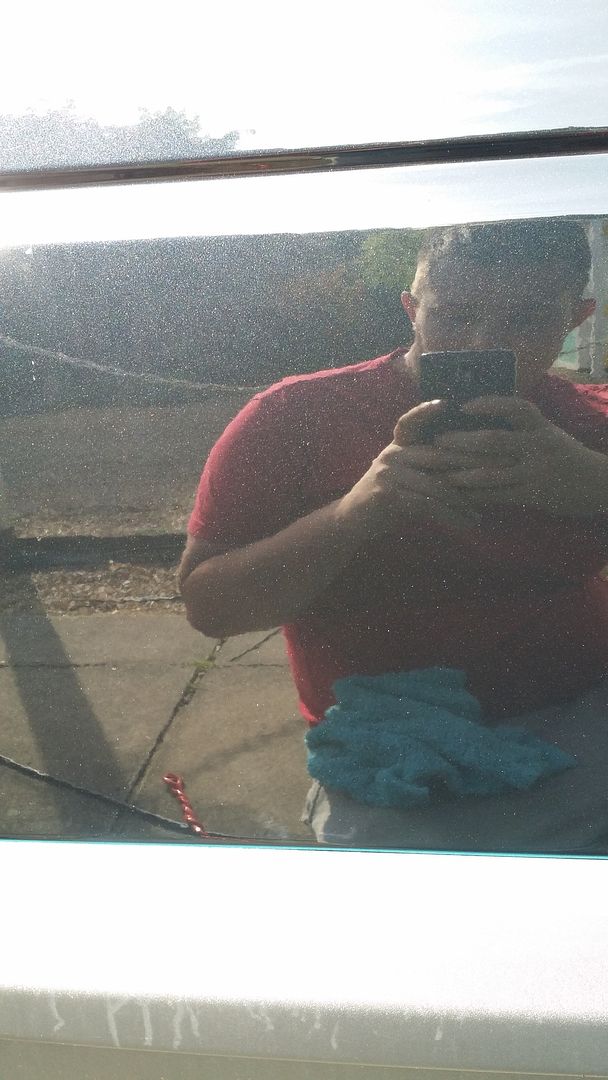 Bit of reflection 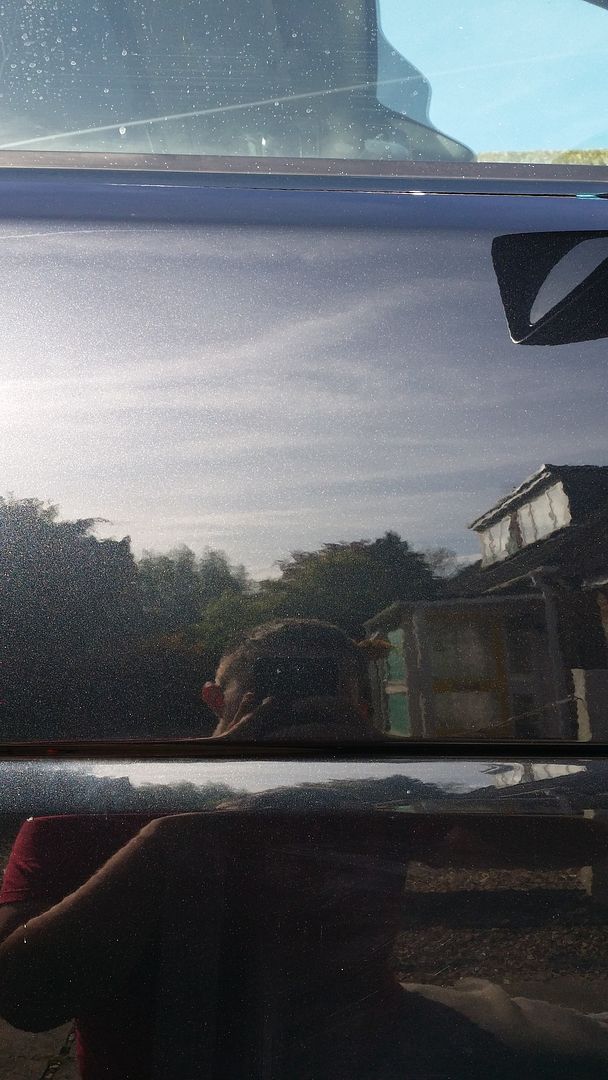 Panel all finished with 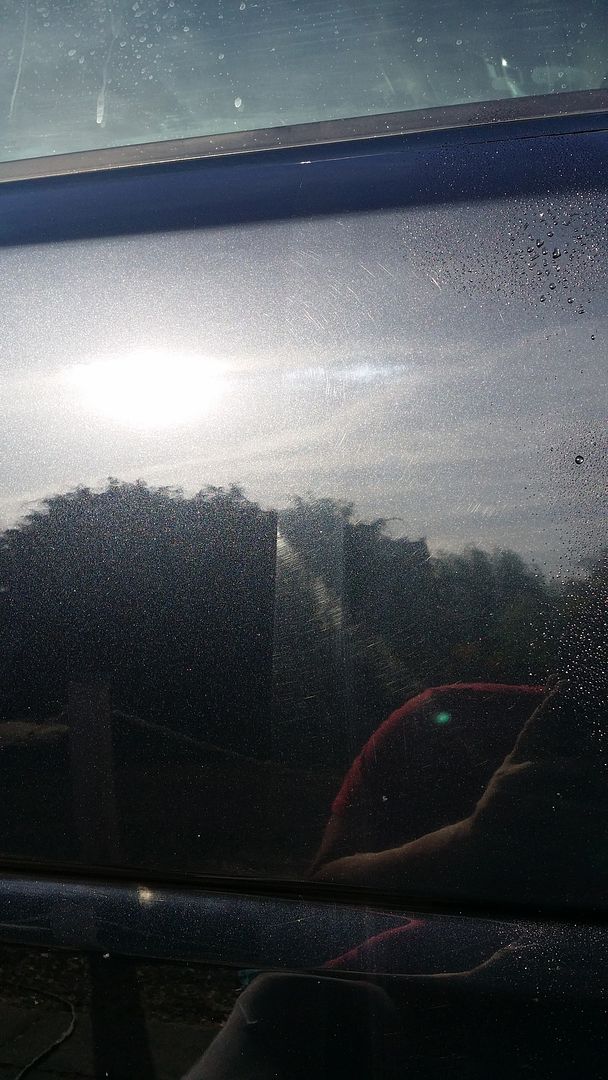 Another half and half, you may notice the water on the panel, part of the experiment technique  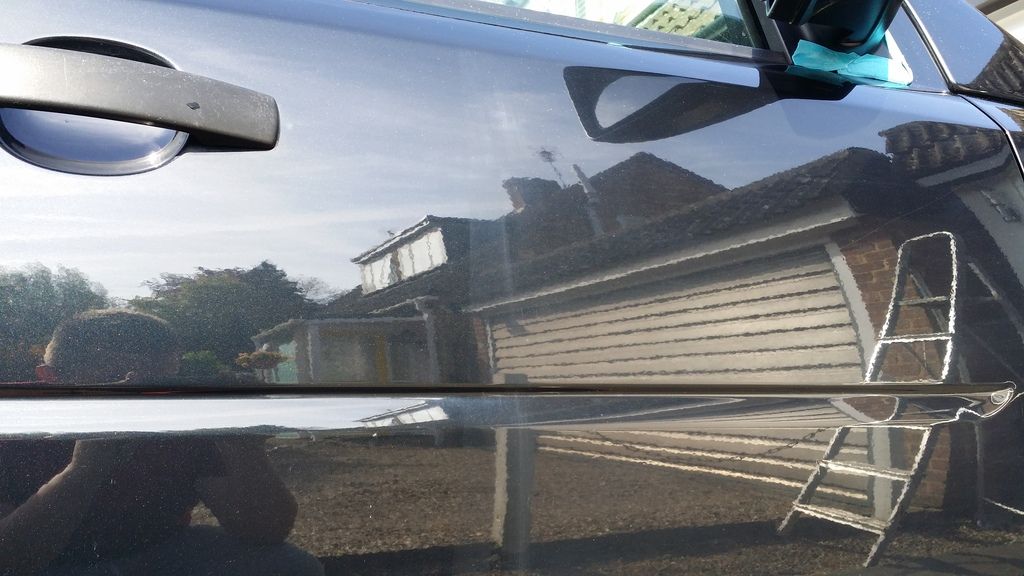 Another half and half Time for some finish shots, the plastics hadn't been done St this point nor had the protection but the main part had been! 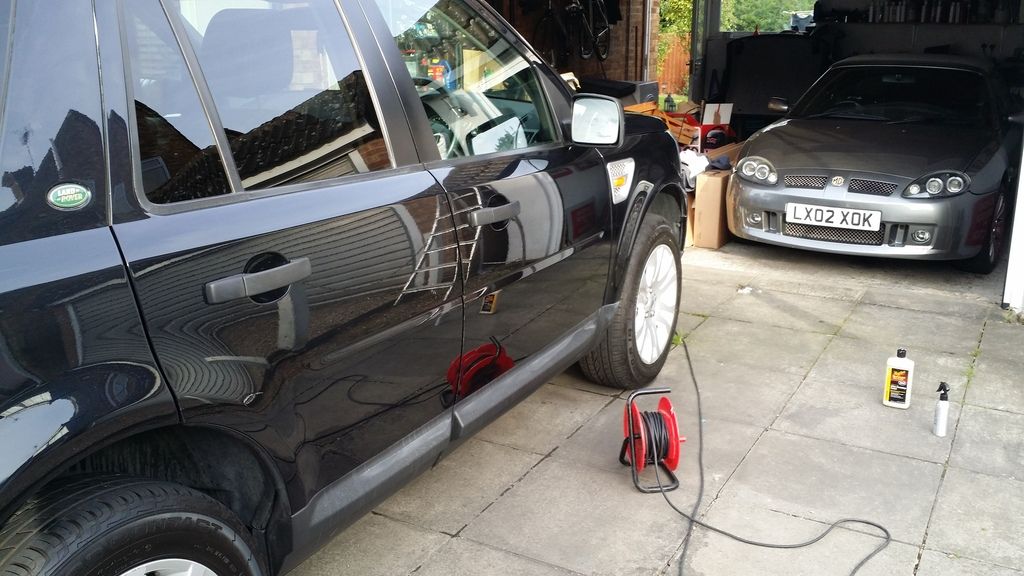 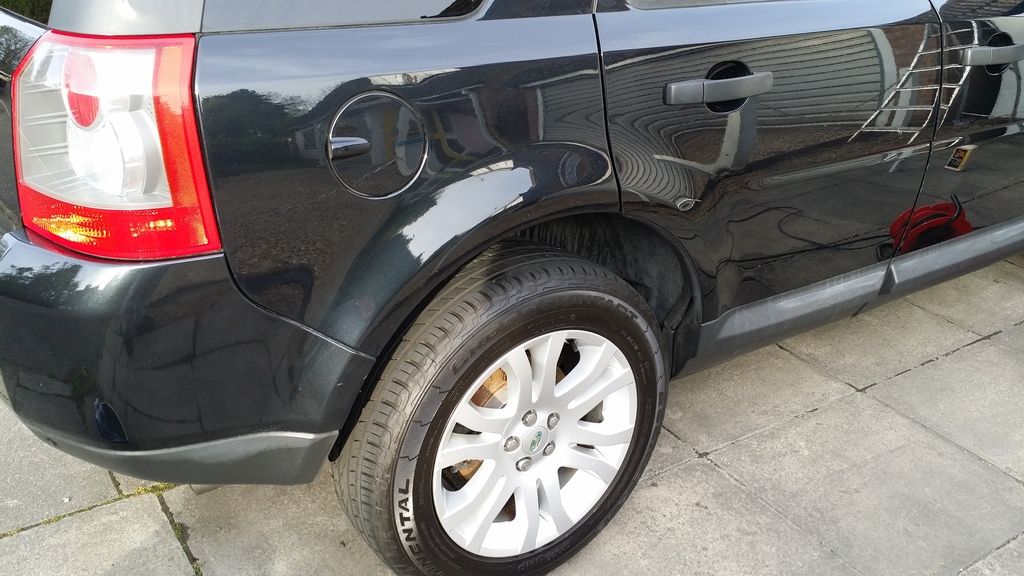 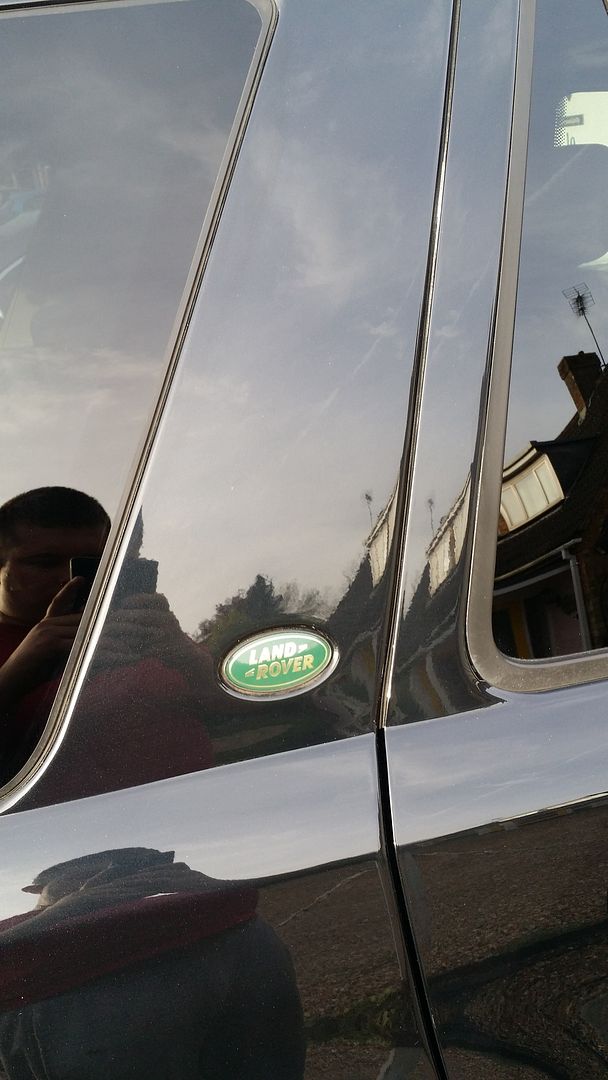 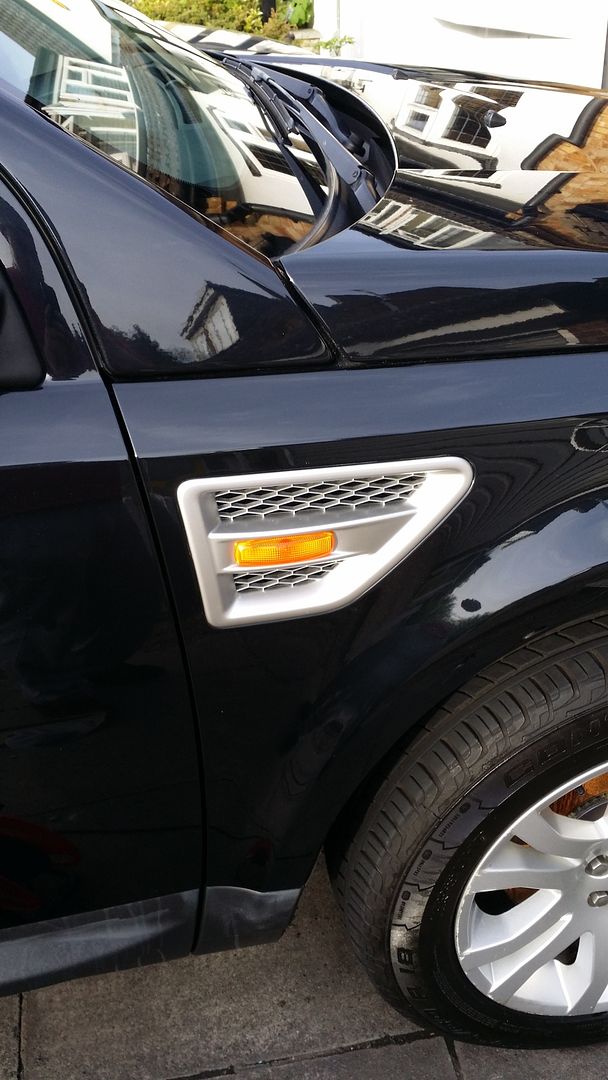 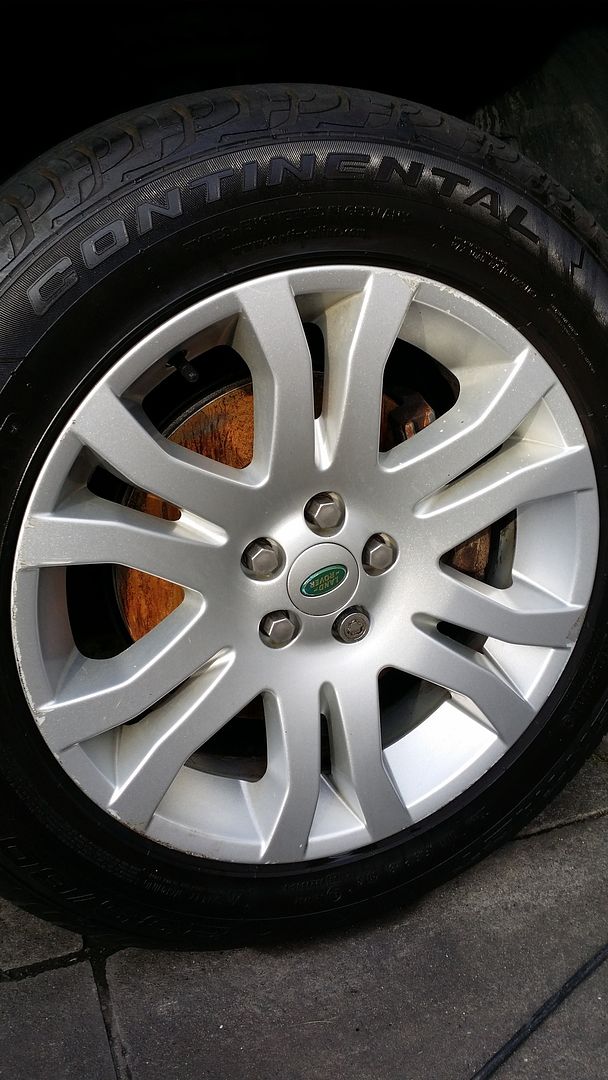 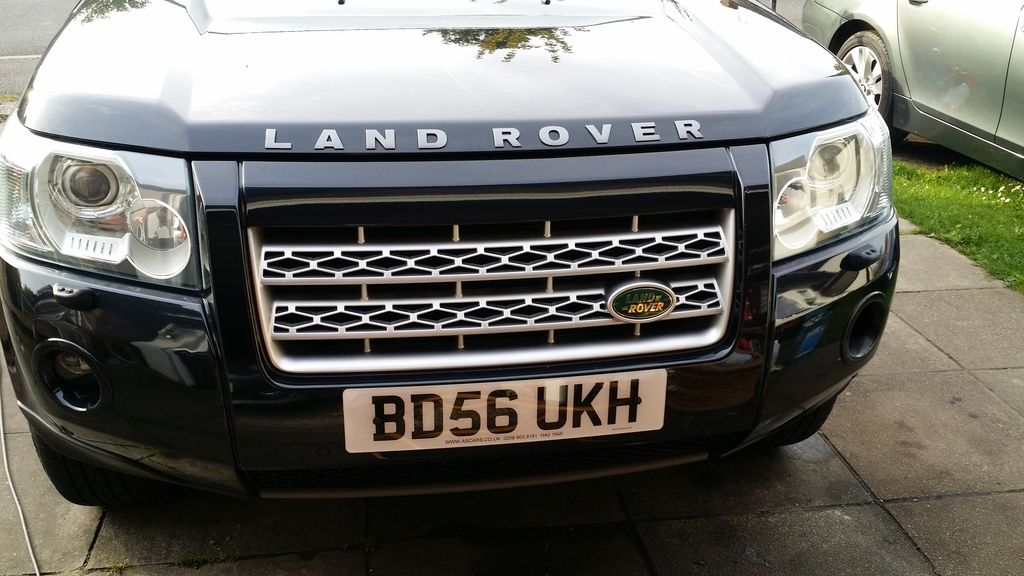 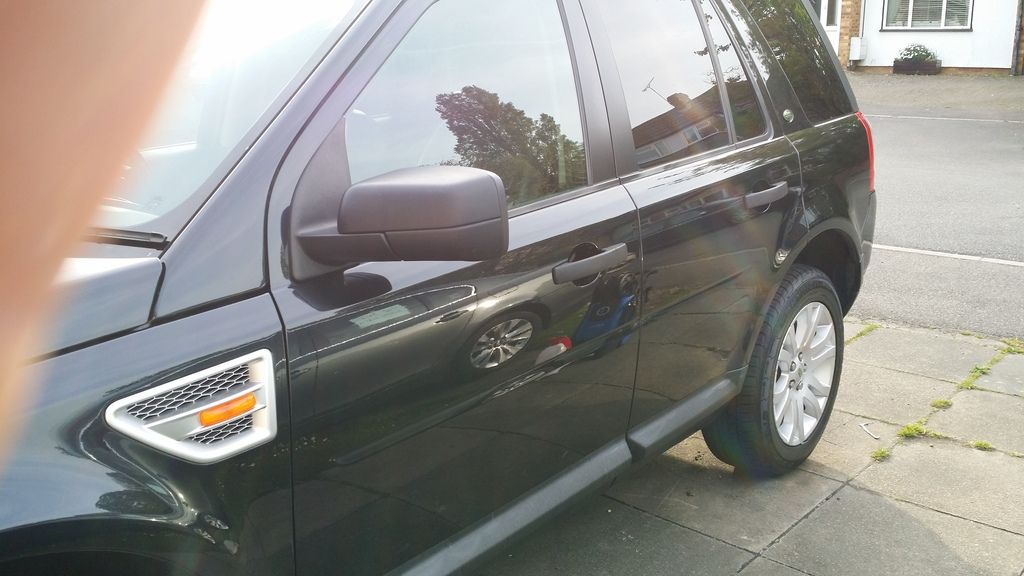 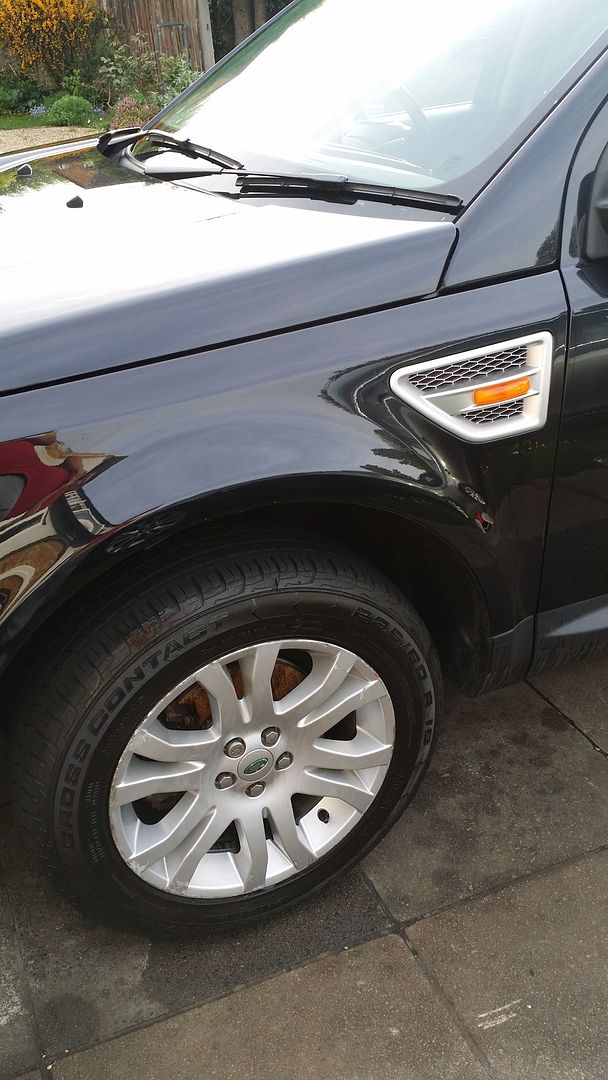 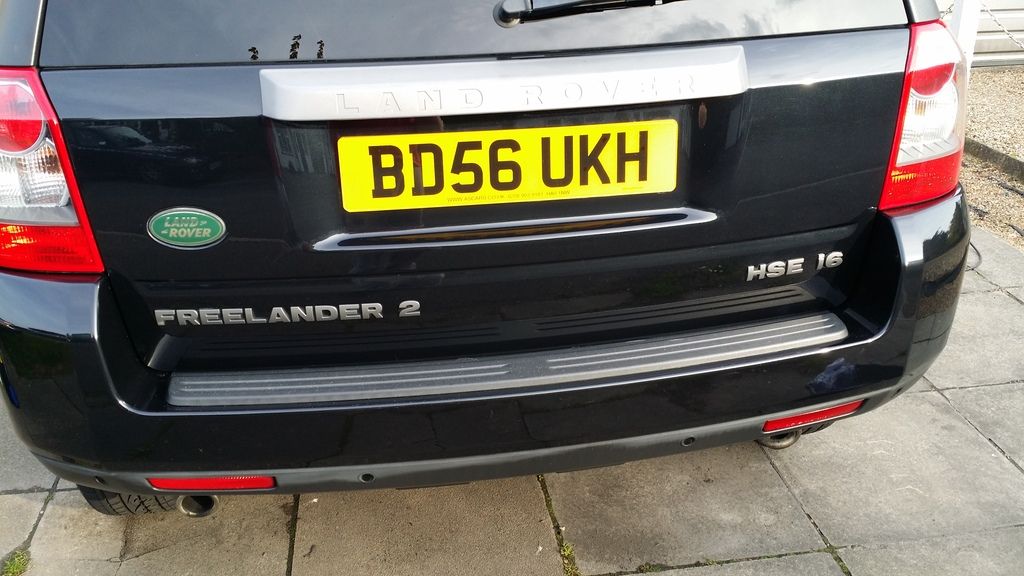 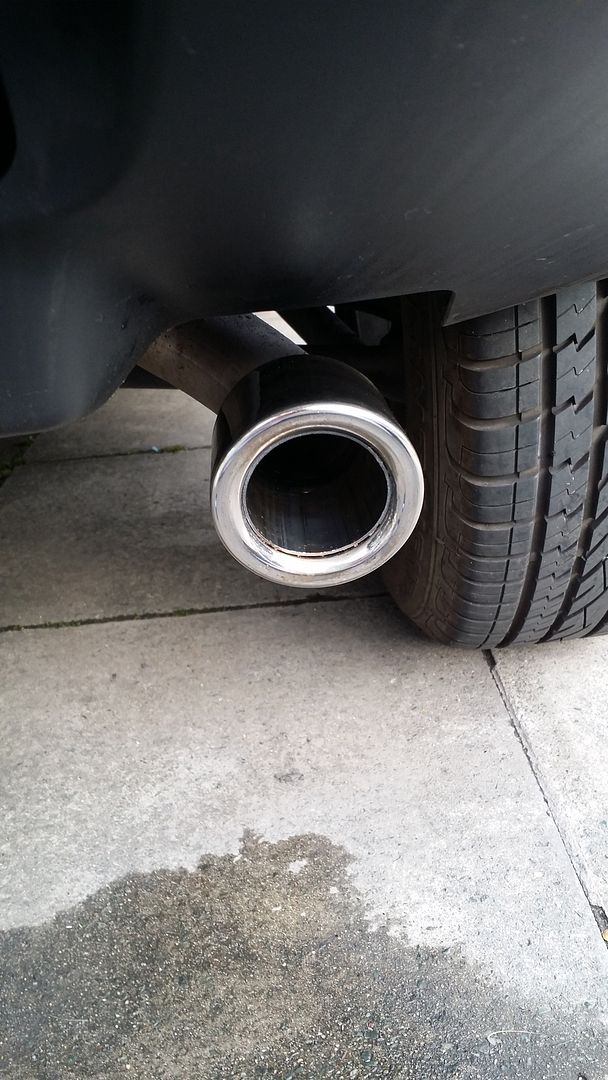 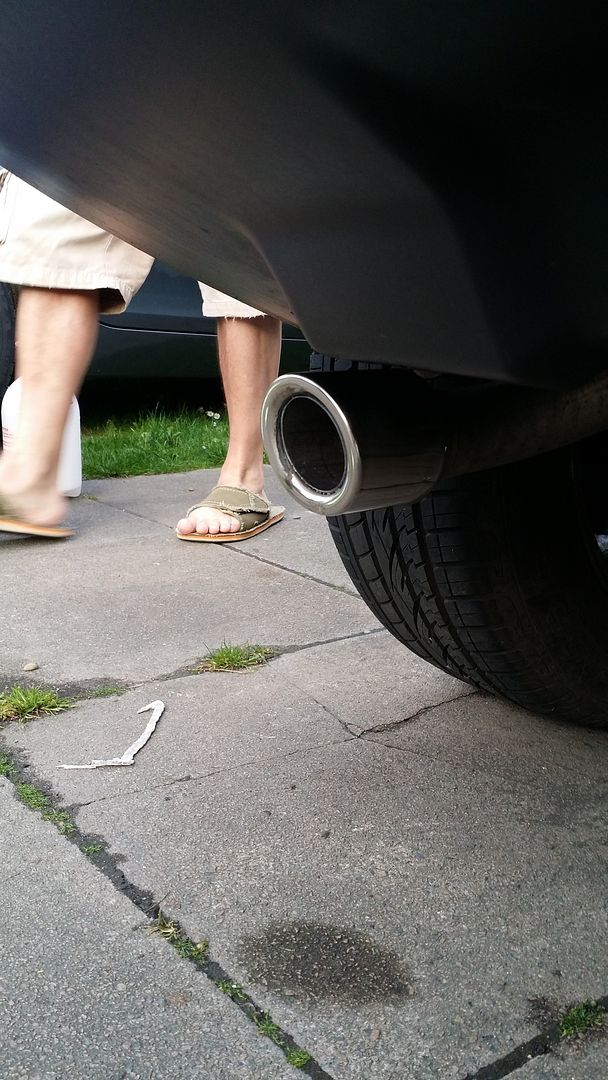 Final finished picture and a guest appearance from the owner and his toes  |
|
|

|
|
|
#3 |
|
I really should get out more.......
Rover 75 1.8 Club Join Date: Dec 2013
Location: Tilburg (Netherland)
Posts: 2,615
Thanks: 572
Thanked 336 Times in 247 Posts
|
Nice job mate. Still some technique en stuff to tweak off course, but very good job.
The most important thing is the attitude and the drive, the experience will follow and your skill will grow. You're doing it just right! Car looks a lot better.
__________________
Proud owner of the Dutch "Golden 75". A much loved Gold White Metallic Rover 75 1.8 na from 2000. |
|
|

|
|
|
#4 | |
|
This is my second home
Jaguar XFR 2011MY Join Date: Oct 2013
Location: Harlow
Posts: 6,363
Thanks: 19
Thanked 816 Times in 759 Posts
|
Quote:
 I am yet to do that, but it doesn't matter as much for me as I still haven't attempted to get a finish that requires this sort of testing. I have always gone for improvement rather than perfection! One day I will try for the latter, but that won't be until I have a sheltered working environment and a car that doesn't have to be used for long enough to allow me to work on it for 50 or so hours! I am yet to do that, but it doesn't matter as much for me as I still haven't attempted to get a finish that requires this sort of testing. I have always gone for improvement rather than perfection! One day I will try for the latter, but that won't be until I have a sheltered working environment and a car that doesn't have to be used for long enough to allow me to work on it for 50 or so hours! Tuition is probably on the cards, but then I have to find someone who is willing to do that, I know there are courses but I would rather do it with an established detailer but then they don't really get the time  Hint hint nudge nudge   Last edited by Jordan Apex; 11th May 2015 at 07:51.. |
|
|
|

|
|
|
#5 |
|
This is my second home
Lagoon 2.0 V6 75 Conn SE Saloon Join Date: Nov 2006
Location: Chertsey
Posts: 5,203
Thanks: 2,825
Thanked 2,920 Times in 1,570 Posts
|
Great post Jordan, and great results too. I admire your patience regarding taping up - I'd have tried to convince him to ditch the badges ! LOL.
Always enjoy reading posts like this, particularly when backed up with pics showing what can be achieved with patience and hard work. Cliff
__________________
 No. 4 of 6 |
|
|

|
|
|
#6 | |
|
This is my second home
Jaguar XFR 2011MY Join Date: Oct 2013
Location: Harlow
Posts: 6,363
Thanks: 19
Thanked 816 Times in 759 Posts
|
Quote:
 took long enough to convince him to change the faded green ones to the black ones because he said he doesn't like aftermarket ones! After showing him several supercharged ones and explaining that they were oem just for those he was convinced! took long enough to convince him to change the faded green ones to the black ones because he said he doesn't like aftermarket ones! After showing him several supercharged ones and explaining that they were oem just for those he was convinced!  I would love to have a second car that I didn't need to use and a man cave to work on it so I could see just how much I could achieve but alas I don't and can't  Will see what condition the chrysler is in when it finally comes and then when he decides exactly what he wants in terms of protection on each area of the car I will document that work like I have above! Although it will be more structured, as we will be methodically working our way around the car spending a lot of time on Each section! |
|
|
|

|
|
|
#7 |
|
Premium Trader
Rover 75 Join Date: Nov 2010
Location: Devon
Posts: 33,769
Thanks: 8,837
Thanked 14,831 Times in 8,030 Posts
|
That is some great work there, well done it looks lovely

__________________
Lest we forget..
|
|
|

|
|
|
#8 |
|
This is my second home
Jaguar XFR 2011MY Join Date: Oct 2013
Location: Harlow
Posts: 6,363
Thanks: 19
Thanked 816 Times in 759 Posts
|
Thank you
 thought I was going to be crippled this morning, but nope barely noticed thought I was going to be crippled this morning, but nope barely noticed  |
|
|

|
|
|
#9 |
|
This is my second home
rover 75 1.8 vvc club se wedgwood blue Join Date: Aug 2009
Location: Seaton Carew
Posts: 26,920
Thanks: 65
Thanked 7,142 Times in 4,642 Posts
|
Phew
  just had a good read Jordan, well done sir just had a good read Jordan, well done sir Always best to practice on someone else's car Always best to practice on someone else's car Big Chrysler next Big Chrysler next It'll be like the Forth Bridge, get finished & have to start again It'll be like the Forth Bridge, get finished & have to start again Seriously though, great job mate Seriously though, great job mate |
|
|

|
|
|
#10 | |
|
This is my second home
Jaguar XFR 2011MY Join Date: Oct 2013
Location: Harlow
Posts: 6,363
Thanks: 19
Thanked 816 Times in 759 Posts
|
Quote:
 although I have used the polisher on mine already and a tf! Panels are big enough to get away with sling from the polish when it was wet although I have used the polisher on mine already and a tf! Panels are big enough to get away with sling from the polish when it was wet  luckily I think the bridge won't be getting corrected luckily I think the bridge won't be getting corrected  just more detailing focus on that just more detailing focus on that  |
|
|
|

|
 |
|
|