

|
||
|
|
||
|
|
||
|
|
#41 |
|
Posted a thing or two
Rover 75 2.0 V6 Auto Join Date: May 2011
Location: Sandnes - Norway
Posts: 1,560
Thanks: 64
Thanked 283 Times in 174 Posts
|
I would love to but I`m in Norway...
 These boxes are hard to get here even if they are junk... A scrappy on the other side of my country have an used one, but he wants £650 for it. The 4 pot K-engines is a different story as there is a lot of trashed freelanders around  |
|
|

|
|
|
#42 | |
|
This is my second home
75 Tourer 2.5 Auto, 1.8T, 75V8ZT Join Date: Jun 2007
Location: Johannesburg ZA
Posts: 6,200
Thanks: 1
Thanked 859 Times in 613 Posts
|
Quote:
That is my point, and as a design engineer, you know that the expansion for aluminium and cast iron is markedly different, yet the combination works, and has done for many years. But I don't want to go into a discussion on the subject, I just mention it for what it is worth. There are obvious problems with this engine, that much is clear. |
|
|
|

|
|
|
#43 | |
|
Posted a thing or two
Rover 75 2.0 V6 Auto Join Date: May 2011
Location: Sandnes - Norway
Posts: 1,560
Thanks: 64
Thanked 283 Times in 174 Posts
|
Quote:
I would agree to that, this engine has its problems which can be widely discussed in the far and long without reaching any conclusion. It seems that many of us try to find resonable (alternative) solutions for the different issues with this engine and I have to give all credit to the ones that have the time and guts to try them out  |
|
|
|

|
|
|
#44 |
|
Posted a thing or two
Rover 75 2.0 V6 Auto Join Date: May 2011
Location: Sandnes - Norway
Posts: 1,560
Thanks: 64
Thanked 283 Times in 174 Posts
|
Hi all,
A little more progress done in between all other things…. Cylinder block bores and liner ledges cleaned and degreased: 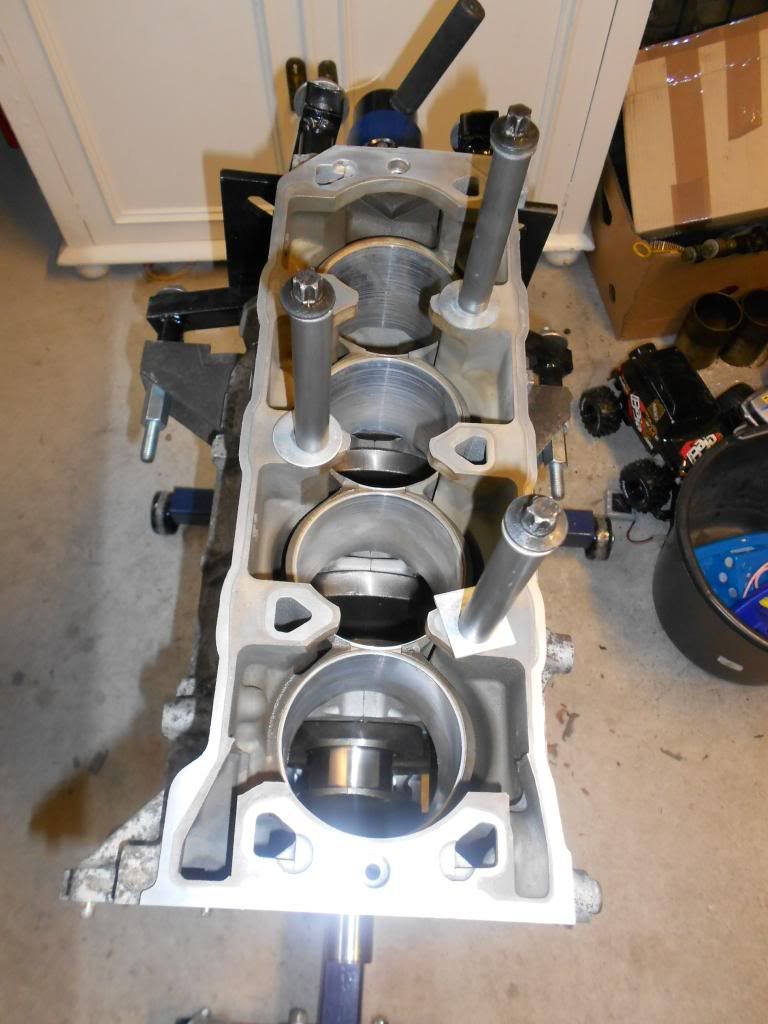 Liners cleaned and degreased: 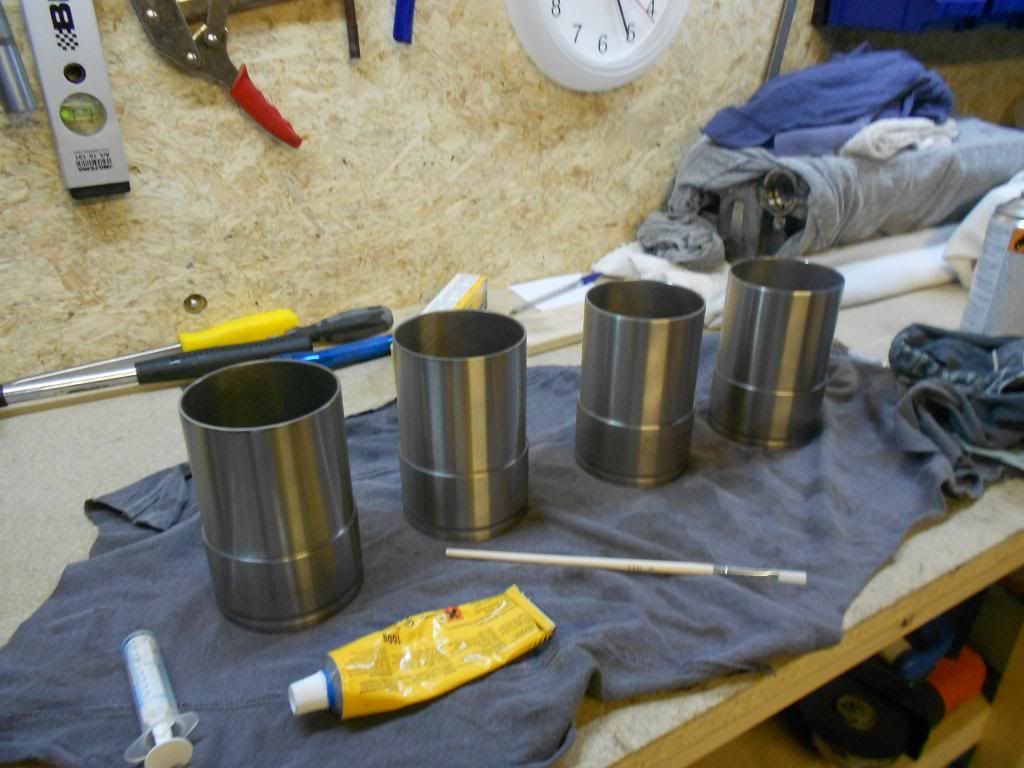 Hylomar blue applied to liner prior to installation. I applied a 2mm bead if Hylomar to the liner ledge according to the recommendations given in the Haynes manual. Using a syringe to apply the hylomar is pretty helpful. I also applied a “band” of Hylomar below the ledge, spread out with an artist brush: 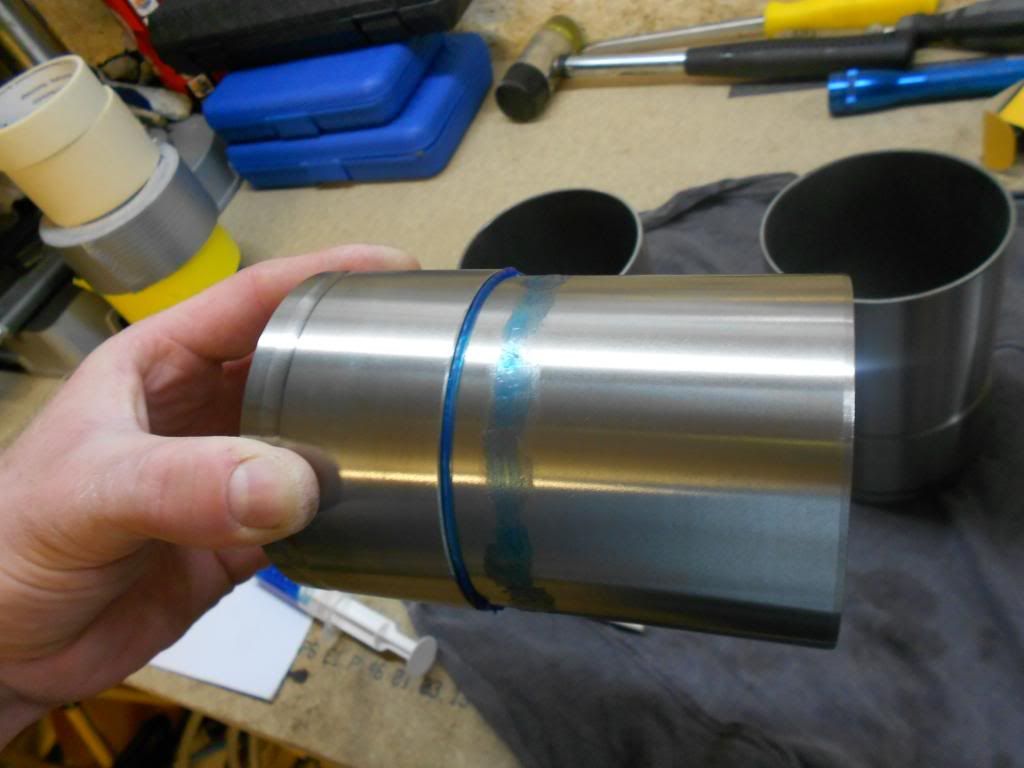 The liners was then installed into the block. I slightly rotated in the liners the last 2 cm in an attempt to get the “hylomar band” down into the bore instead of “scraped of” by the bore edge. I guess that it does not matter anyway how this is done… Liners was fixed with my retainers.. 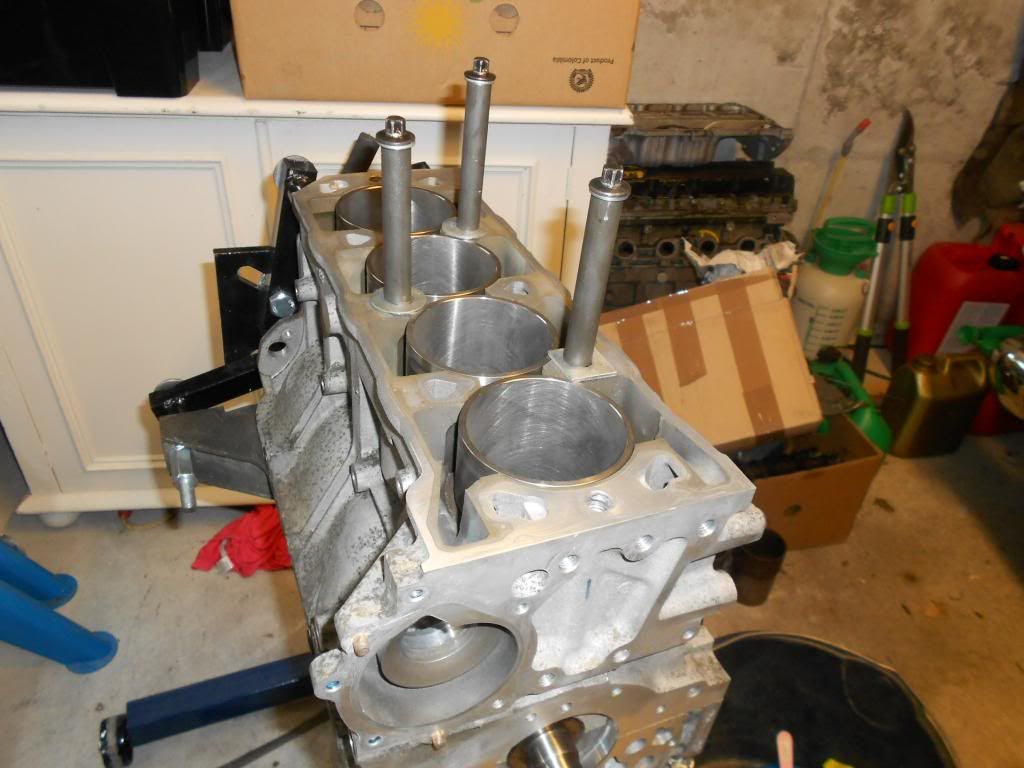 Last edited by beinet1; 16th January 2018 at 18:58.. |
|
|

|
|
|
#45 |
|
Posted a thing or two
Rover 75 2.0 V6 Auto Join Date: May 2011
Location: Sandnes - Norway
Posts: 1,560
Thanks: 64
Thanked 283 Times in 174 Posts
|
Hi All,
Pistons fitted to the conrods yesterday. No need to say that this was a pretty nerve wrecking process… Pistons was made ready for fitment and the gudgeon pin was trial fitted and oiled up: 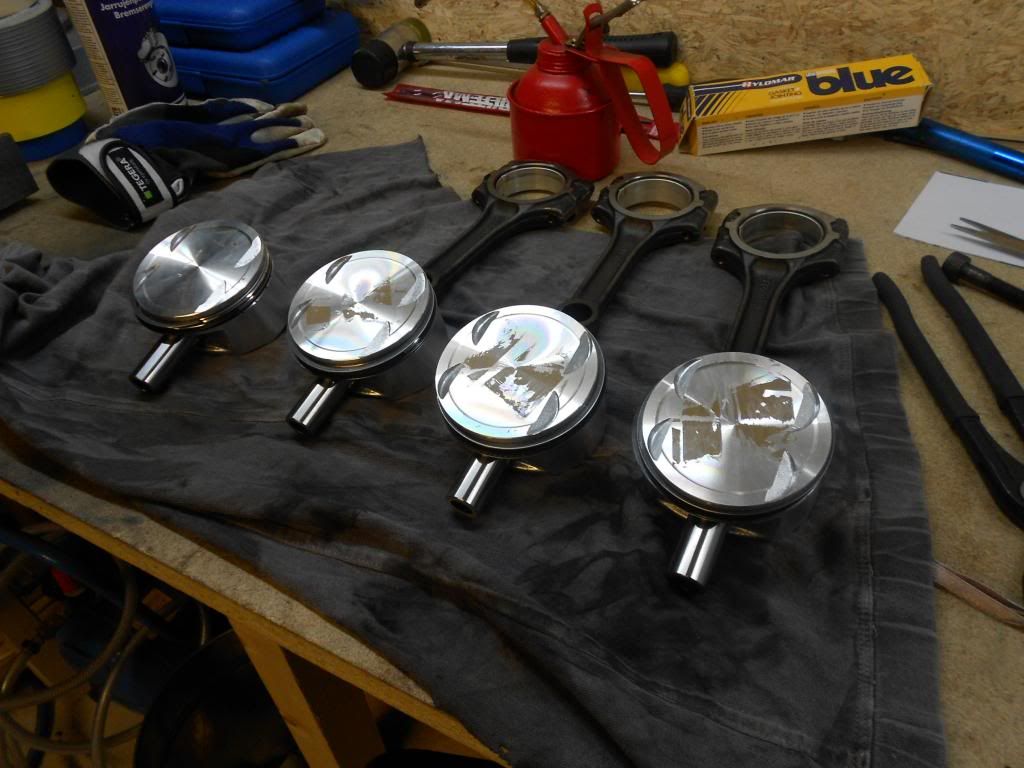 The conrod was placed in a vise, and I heated up the small end using a torch. The temperature was checked with an IR termomether during heat up and I stopped at approx. 300 deg C. The piston was now placed over the conrod and the gudgeon pin pushed in by hand. I guess it takes approx. 0,5 sec before the gudgeon pin settles in the conrod, so I had to work really quick!! It’s a one-go chance. I have to admit that the first one could be pushed a few mm longer inn, but I see that the OEM fitted ones was not 100% centered either. The next 3 was heated slightly more, some above 300 deg as the thermometer went out-of range at 300… These settled at the correct position. 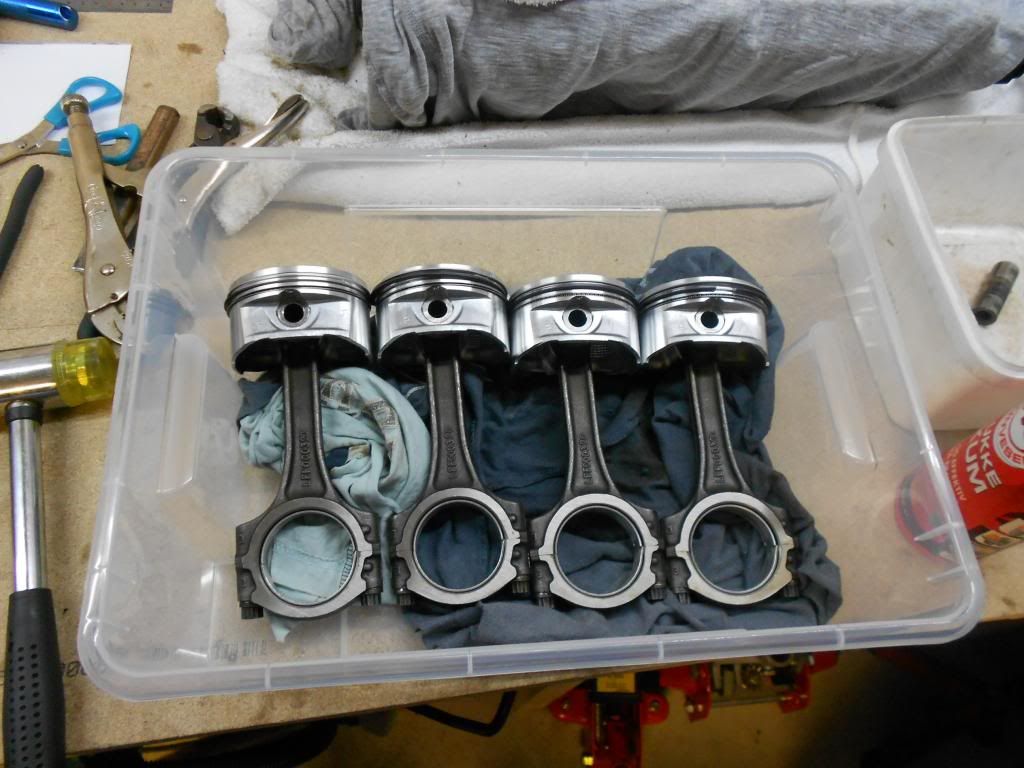 Next step was to install the pistons in the block, but I experienced some oil-ring issues which stopped me for now. I created a separate thread for this: https://www.the75andztclub.co.uk/forum/showthread.php?p=1398380#post1398380 Last edited by beinet1; 16th January 2018 at 18:58.. |
|
|

|
|
|
#46 |
|
Posted a thing or two
Rover 75 2.0 V6 Auto Join Date: May 2011
Location: Sandnes - Norway
Posts: 1,560
Thanks: 64
Thanked 283 Times in 174 Posts
|
Hi all,
Some helpful websites guided me into the correct way to install the scraper rings. The problem was that the expander ring easily overlapped itself in the groove, making the outer rings stuck and not “compressable”. Taking great care to align everything and make sure the expander was in the correct position before putting the ring compressor on: 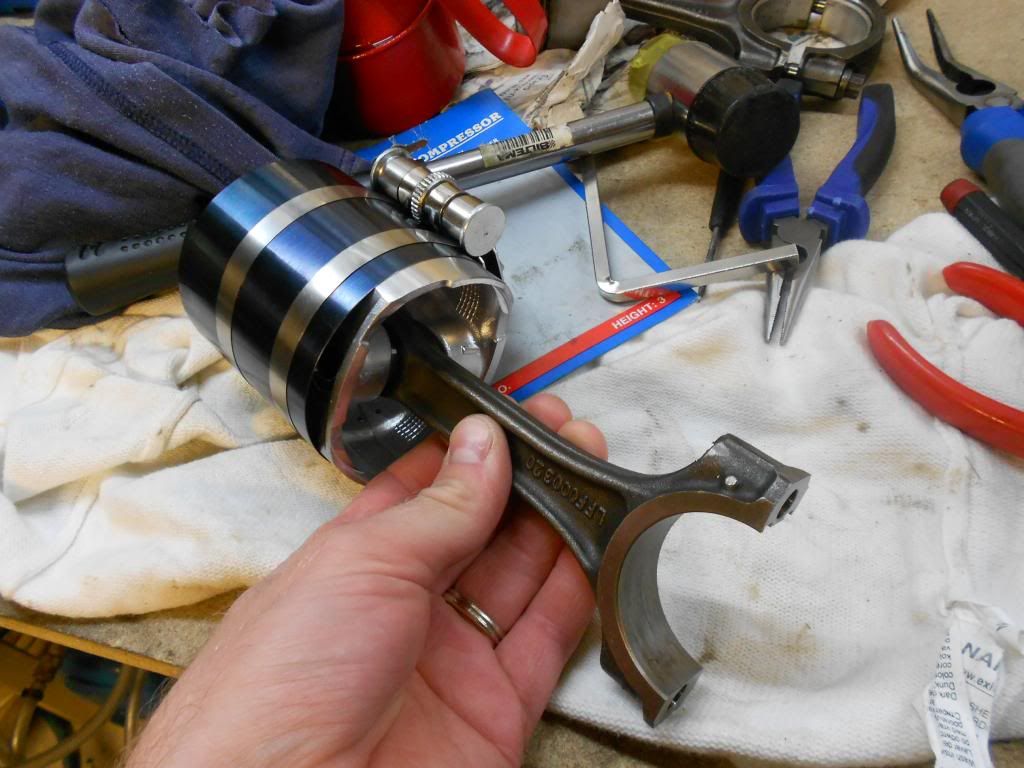 New big end bearing fitted: 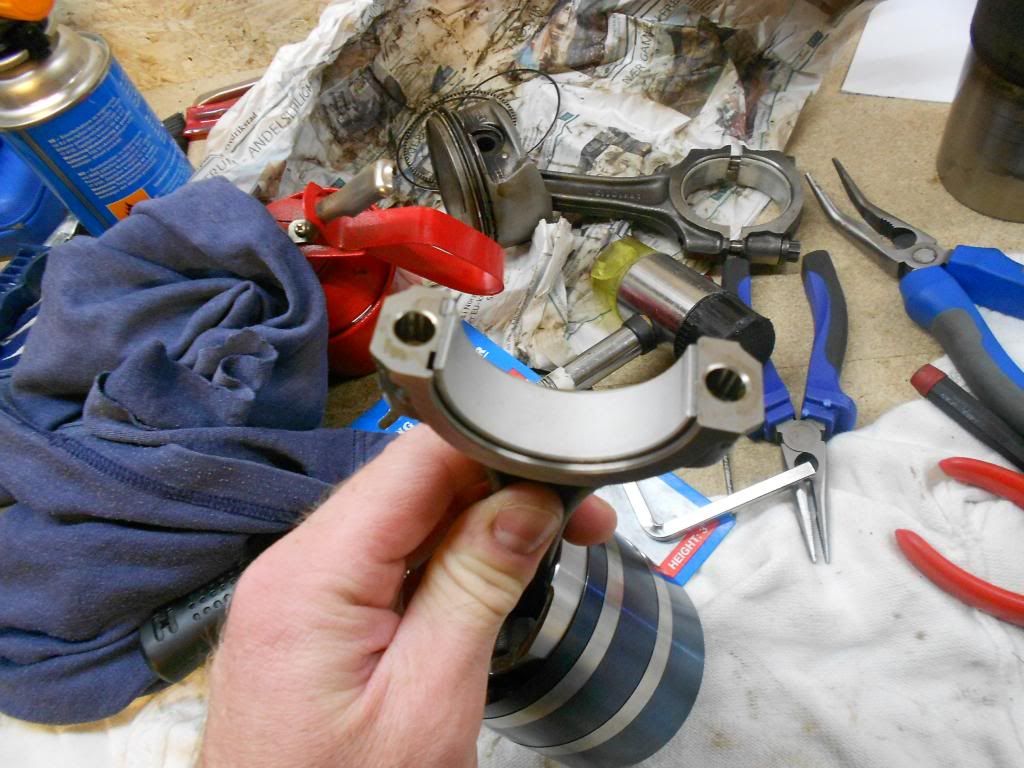 ..And put down into the bore: 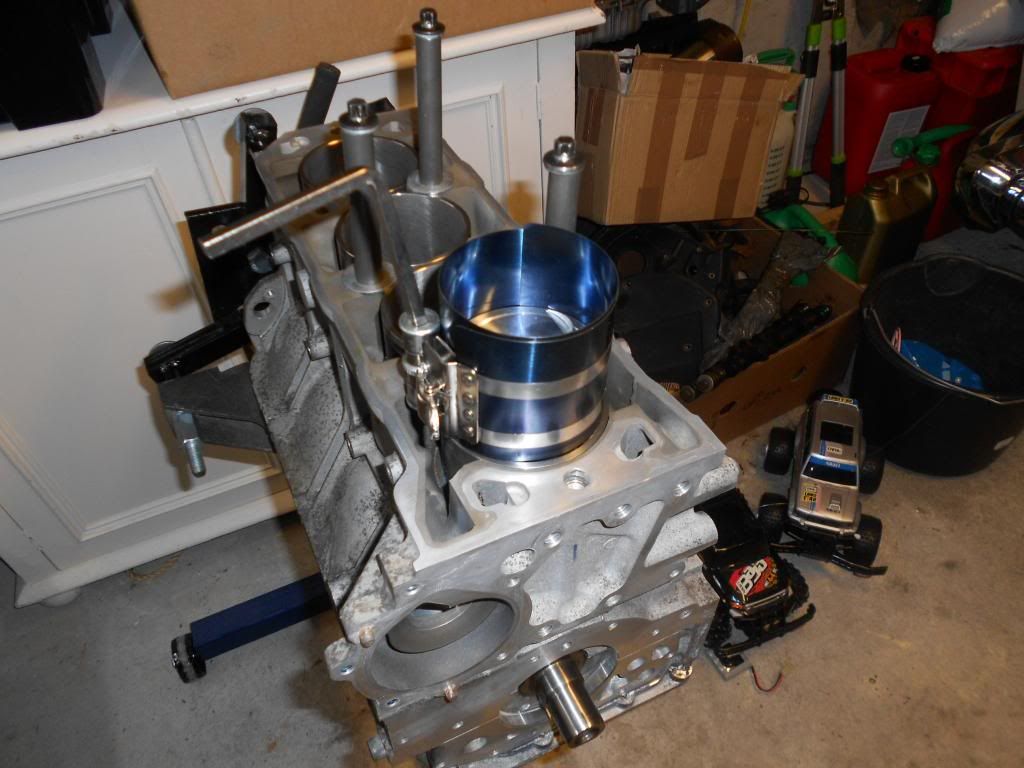 All 4 pistons was first installed down they bores with the crankshaft positioned at the TDC for cyl. No 1. This made me able to do all the big end bearing caps without rotating the crankshaft. Liner retainers and oil rail was removed to get access to the bottom of the pistons: 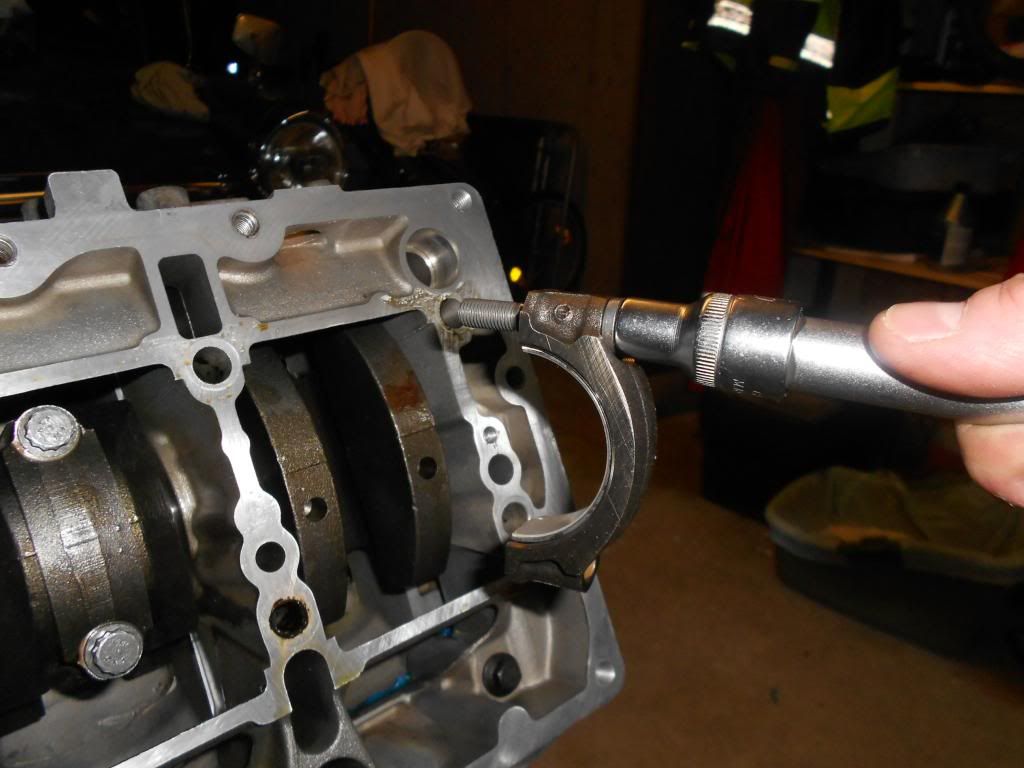 All bearing caps made up with new conrod bolts to the specified torque: 20Nm + 45 deg: 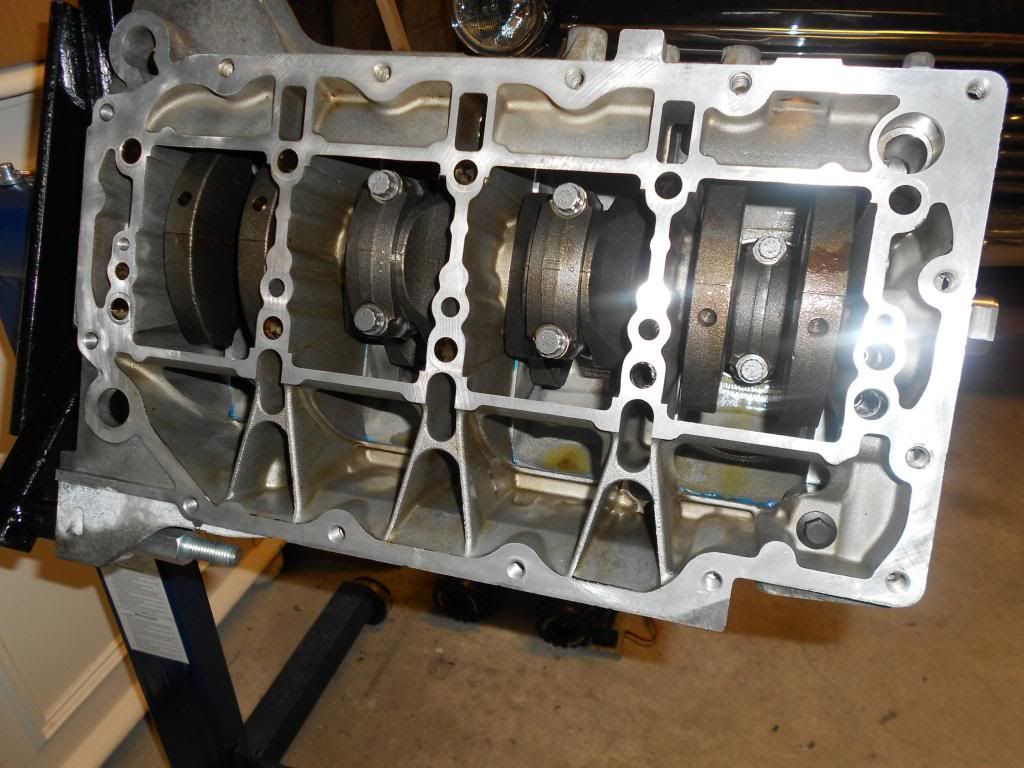 A thin bead of sealant applied to the oil rail oil bores prior to installation: 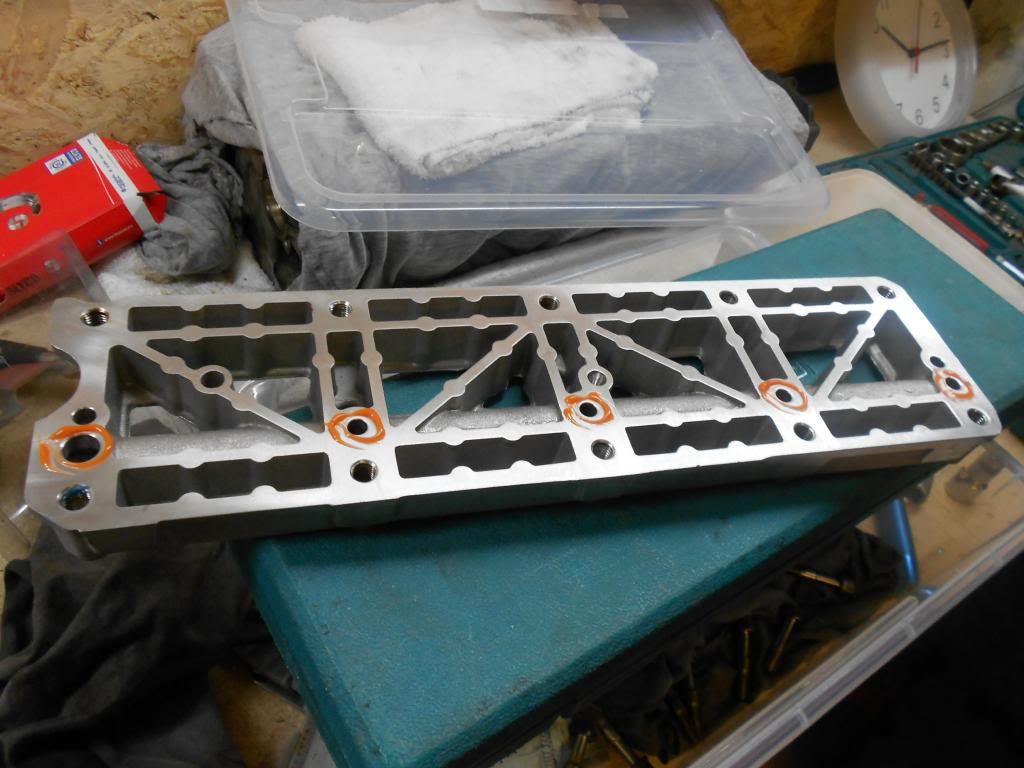 Uprated oil rail installed: 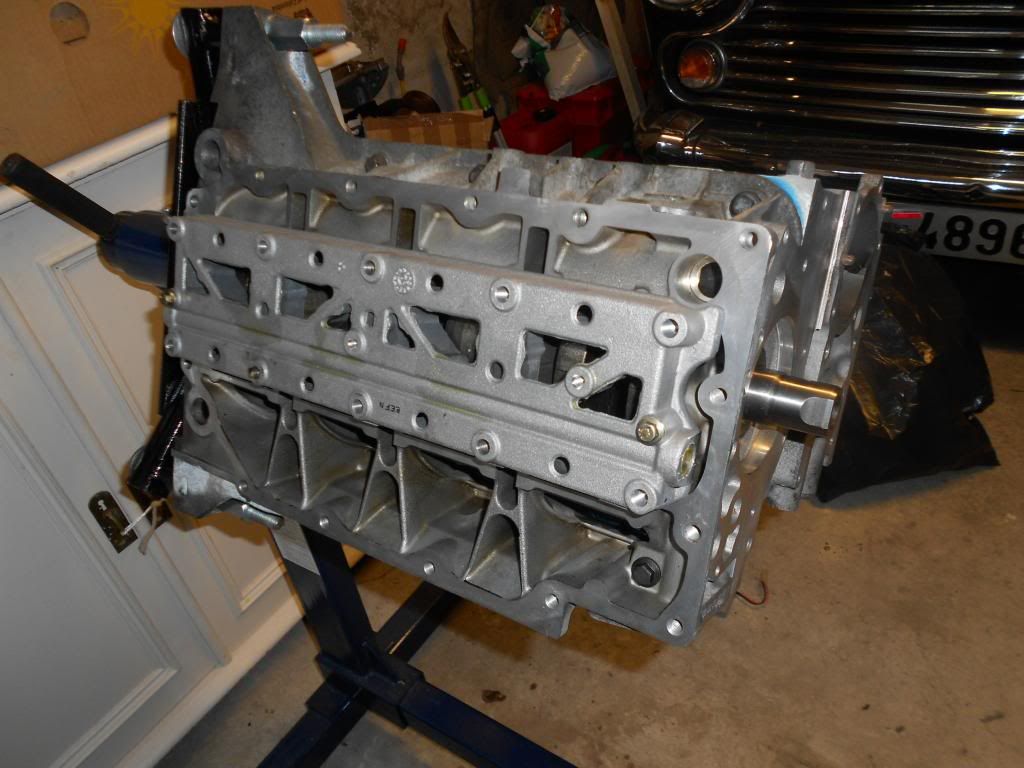 Liner retainers put back on. I was able to rotate the engine without any problems, but I guess that things will rotate more easily when the cylinder head are put back on. “Temporary engine seizure” due to missingcylinder head + stretch bolts are a known issue, and the engine does not need to rotate freely without these. Crankshaft put in the “safe position”: 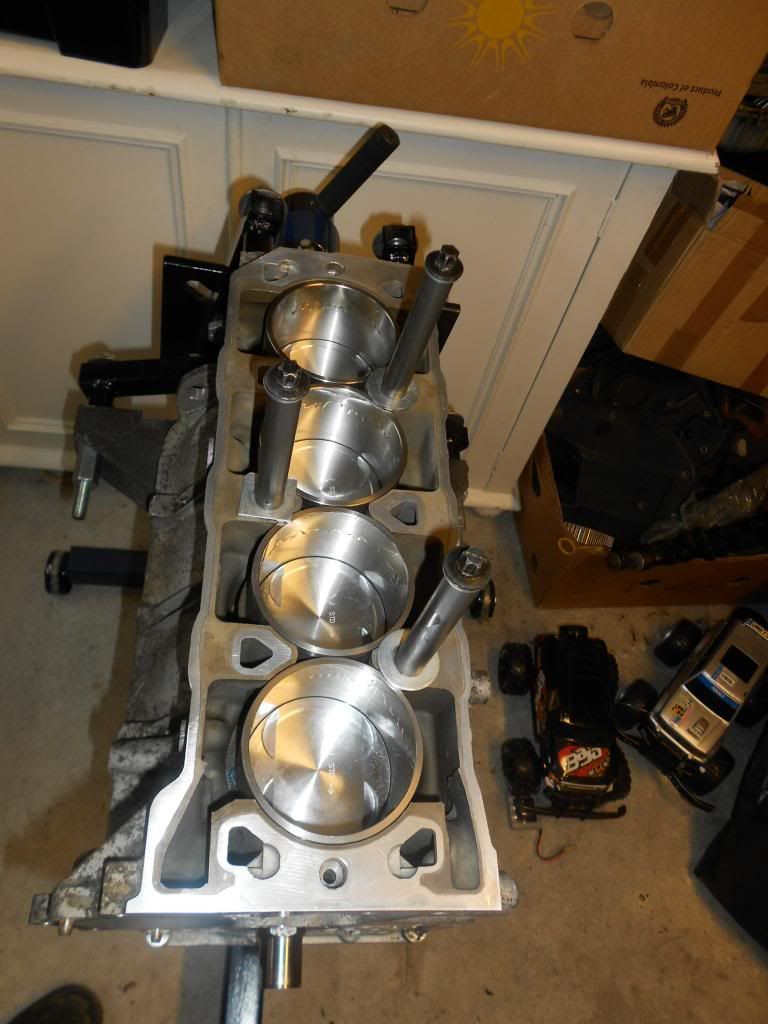 The cylinder head would be my next port of call.. J Last edited by beinet1; 4th December 2018 at 16:47.. |
|
|

|
|
|
#47 |
|
Posted a thing or two
Rover 75 2.0 V6 Auto Join Date: May 2011
Location: Sandnes - Norway
Posts: 1,560
Thanks: 64
Thanked 283 Times in 174 Posts
|
Hi all,
Cylinder head work ongoing, Cam ladder and cams removed: 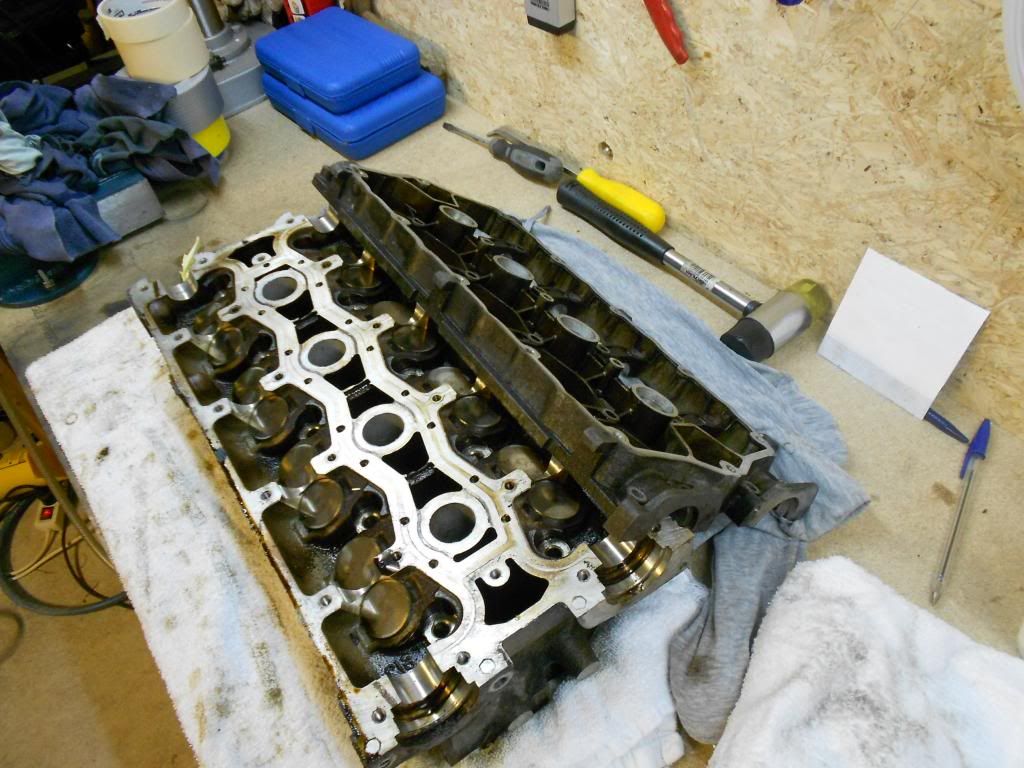 Valves and tappets removed and organized in cardboard cups, marked with its respective valve no.: 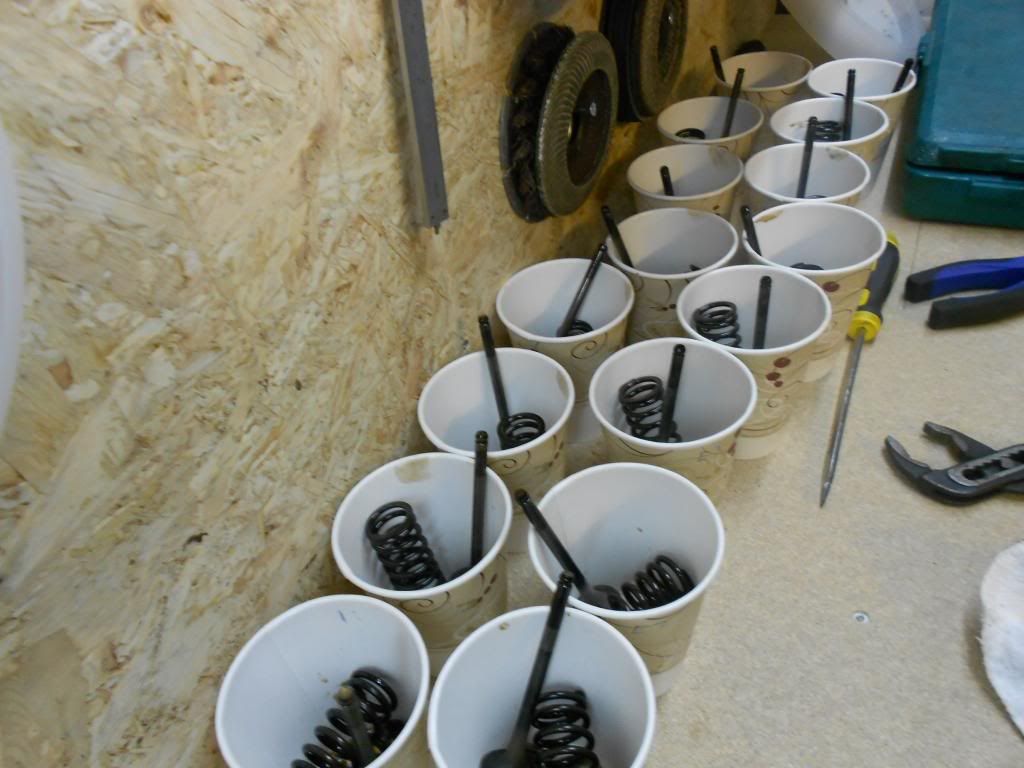 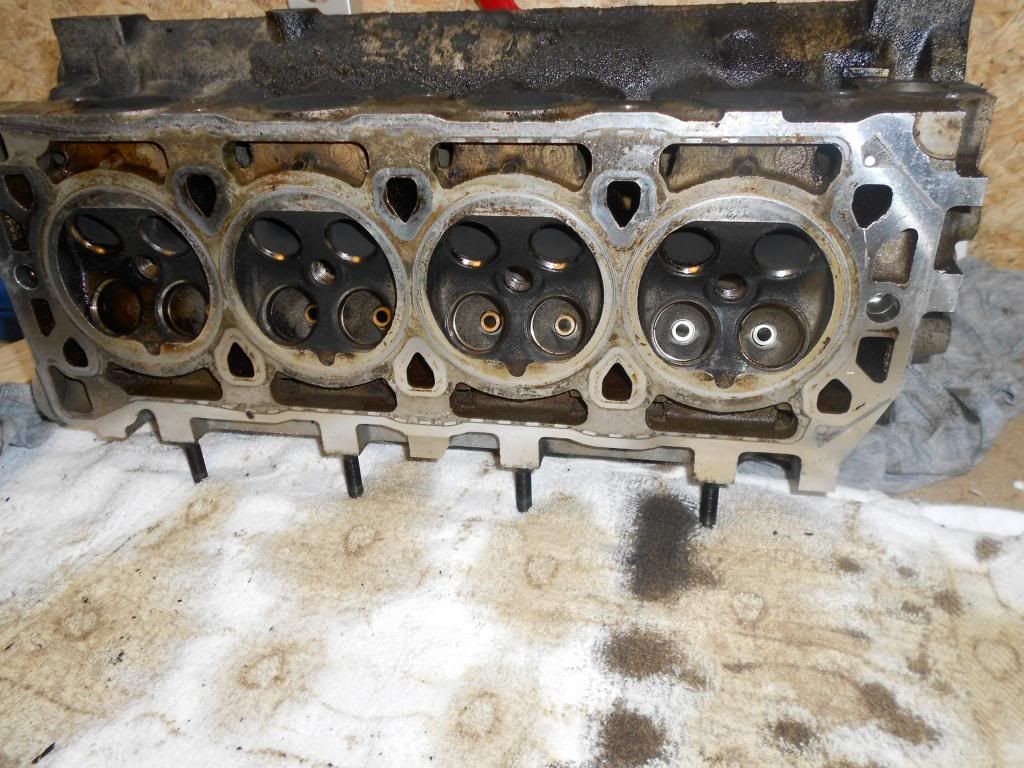 Valve inspection was done. The Inlet valves look good. No 1. Was wet with oil and “gunk” was found on the valve stem, probably due to a leaking valve seal. These will be replaced anyway. All the Inlet valves were lapped in and minor work was needed to clear up the valve seats: 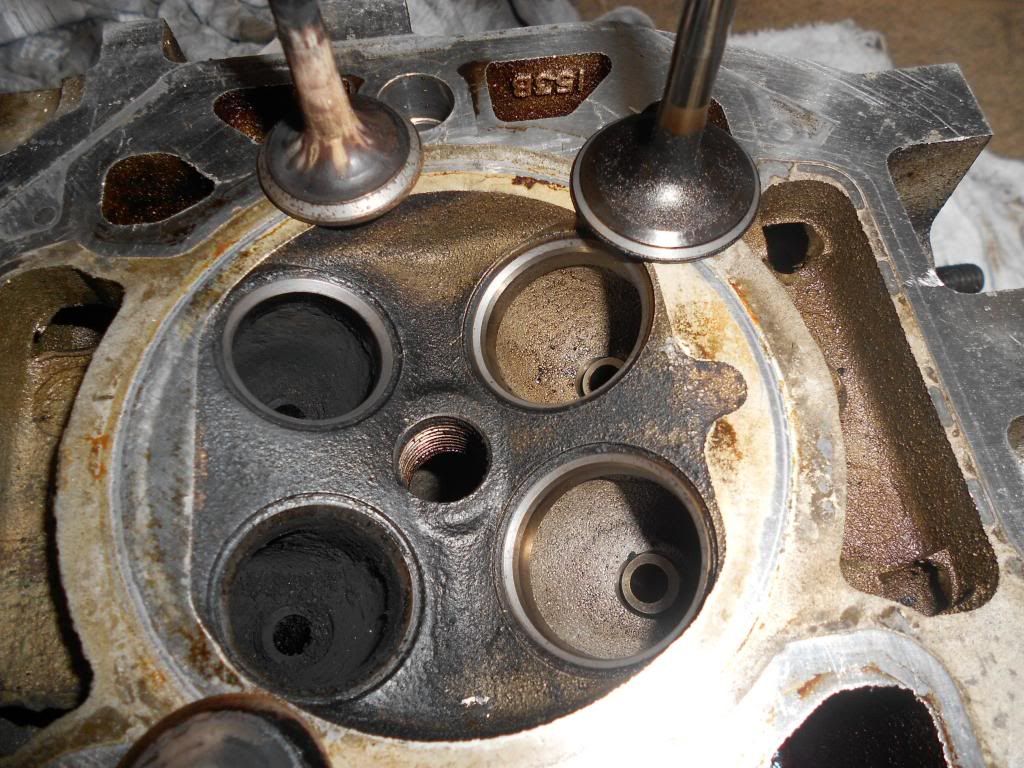 The exhaust valves look worse. A lot more carbon deposits and dirt was found in the exhaust port which needs to be cleaned out, shown here: 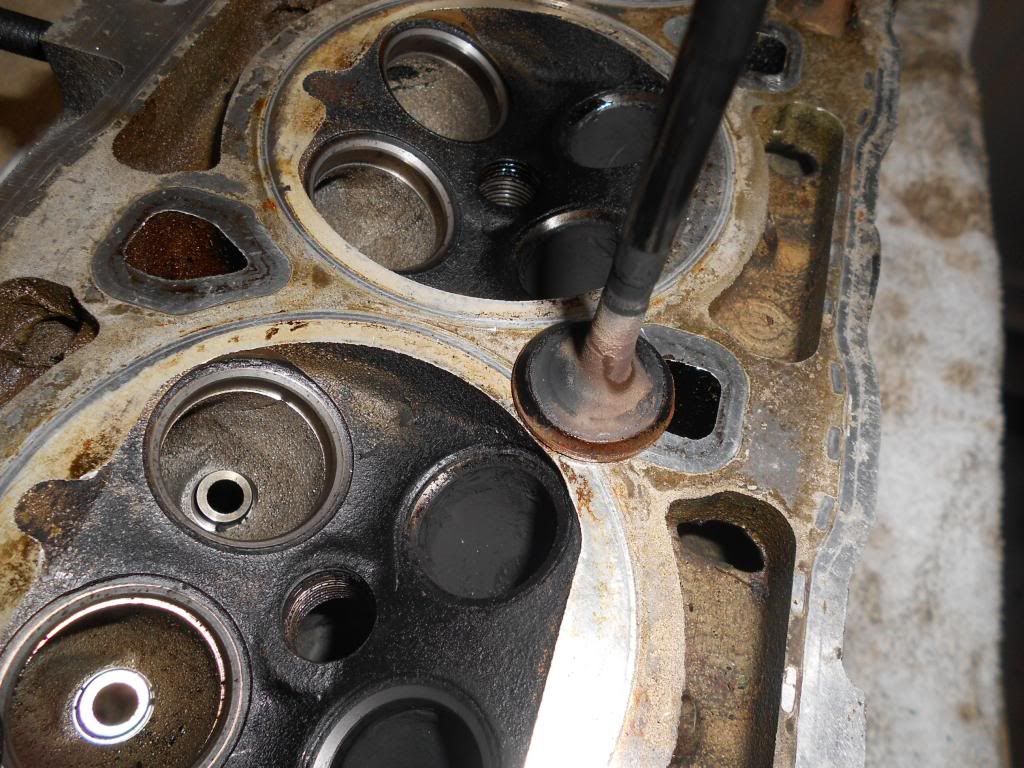 One exhaust valve was scraped clean and I tried to lap it in. The valve seat cleaned up quickly and got the clean grey ring. The valve got better, but it has still some marks/pittings after some moderate lapping work. I think some pitting should be OK, but not excessive. How much is “good enough”? Should the vale/valve seat be 100% clean or is some marks/pittings OK?. What do you think about this Exhaust valve? : 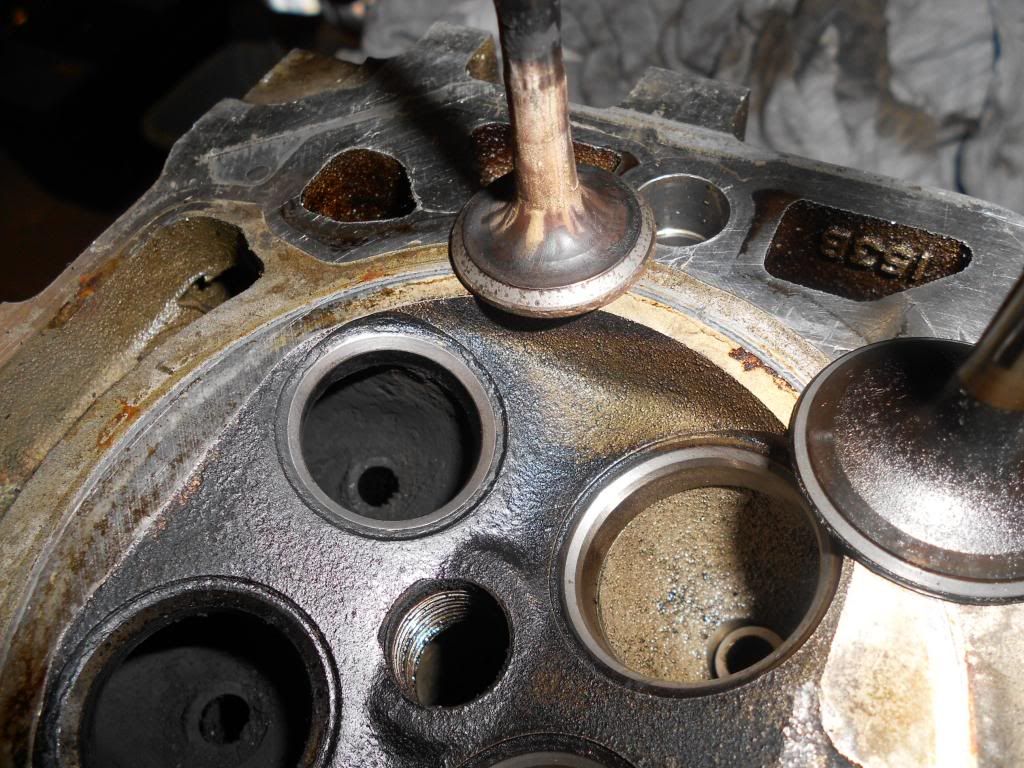 Last edited by beinet1; 16th January 2018 at 18:59.. |
|
|

|
|
|
#48 | |
|
I really should get out more.......
P6B, L550, Imp, F56, Commando Join Date: Nov 2006
Location: Aberdeenshire
Posts: 2,886
Thanks: 352
Thanked 677 Times in 440 Posts
|
Quote:
 |
|
|
|

|
|
|
#49 |
|
Posted a thing or two
Rover 75 2.0 V6 Auto Join Date: May 2011
Location: Sandnes - Norway
Posts: 1,560
Thanks: 64
Thanked 283 Times in 174 Posts
|
|
|
|

|
|
|
#50 |
|
Posted a thing or two
ex. MG ZT+ Join Date: May 2013
Location: Northampton-ish
Posts: 1,484
Thanks: 156
Thanked 98 Times in 95 Posts
|
I'd try a little more lapping, but to be honest that's already a very wide reveal. In reality it will probably be ok, but it really needs a new valve and recut the seats to be honest.
__________________
'03 MG ZT+ 1.8T X-Power Grey with Monogram 'WTD' black alcantara trim. [SIGPIC][/SIGPIC] My project thread HERE 
|
|
|

|
 |
|
|