
|
|
|
|
|
|
||
|
|
||
 30th June 2015, 23:02
|
#31 |
|
Posted a thing or two
MG ZT 190 + and MKIV Supra Join Date: Jan 2009
Location: Plymouth
Posts: 1,551
Thanks: 224
Thanked 493 Times in 359 Posts
|
I have made a bit of progress on the interior and some upgrades over the last couple of days
 Firstly After fighting to get the carpet in I cleaned all the parts I would need in the interior around the carpet and replaced the missing carpet edge trims by the door. Whilst the centre console was off I also added an auxiliary charging connection in the cubby hole. 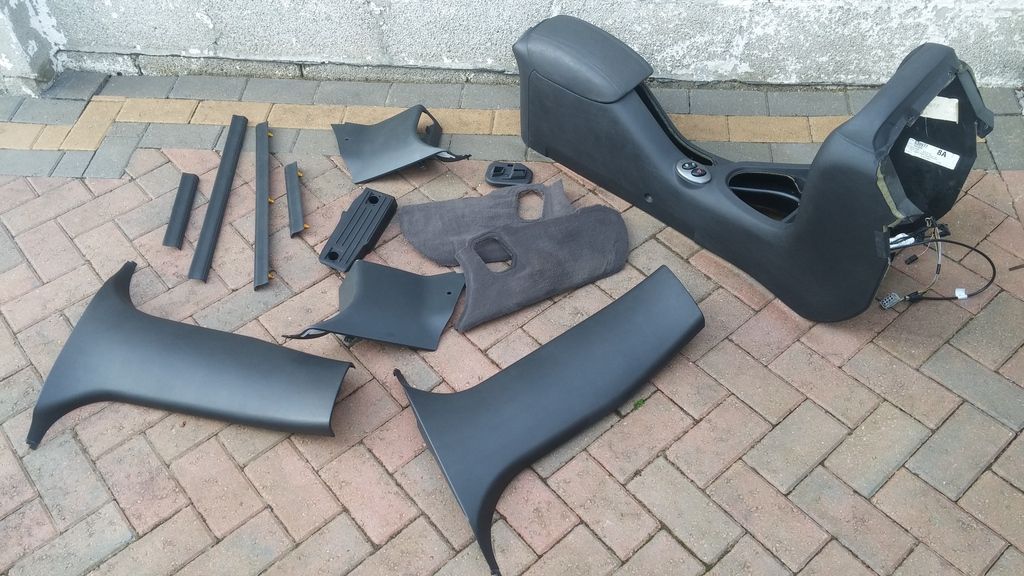 Next I wanted to swap the headlinings. There was a coupls of reasons for this:- 1. The previous owners had the drivers seat at his maximum height and the headlining above the drivers seat was pretty grubby from where hair had been rubbing the lining for years. 2. The wiring loom for the auto dim mirror and rain sensors are glued to the replacement lining. Firstly I removed all the handles 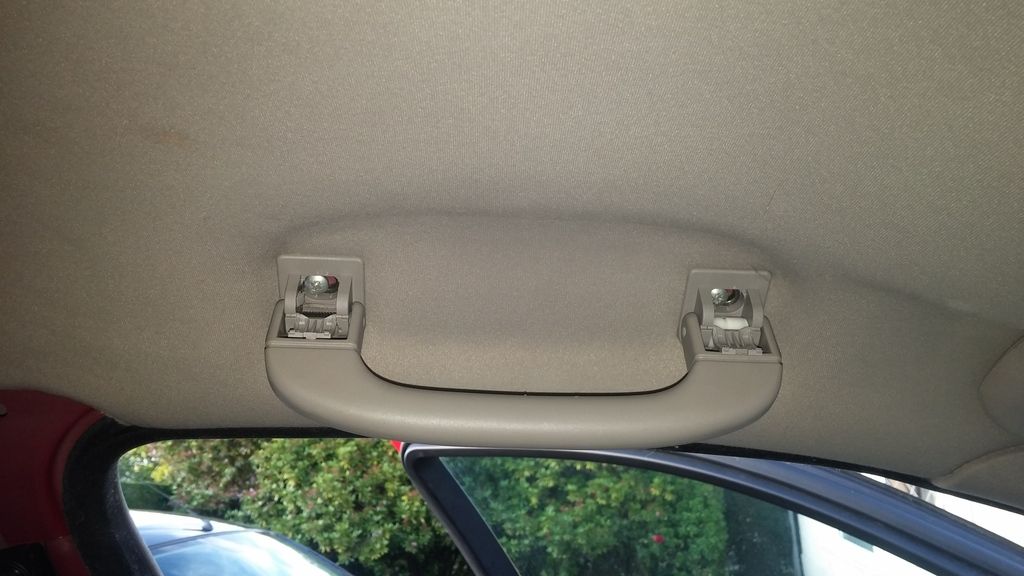 and then the sunshades. Im not interested in the lit mirror shades but the shades off the red ZT were the same material as the headlining (Was this changed during the project drive?) so I decided to keep them and clean them up 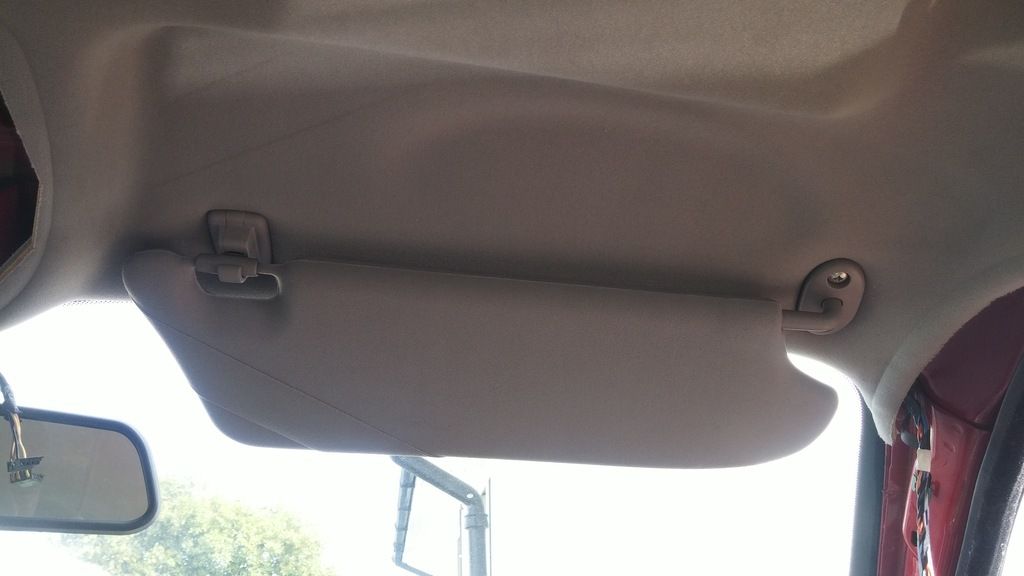 next I removed the interior lights. The front light cluster is held by two self tappers under the plastic cover and clips 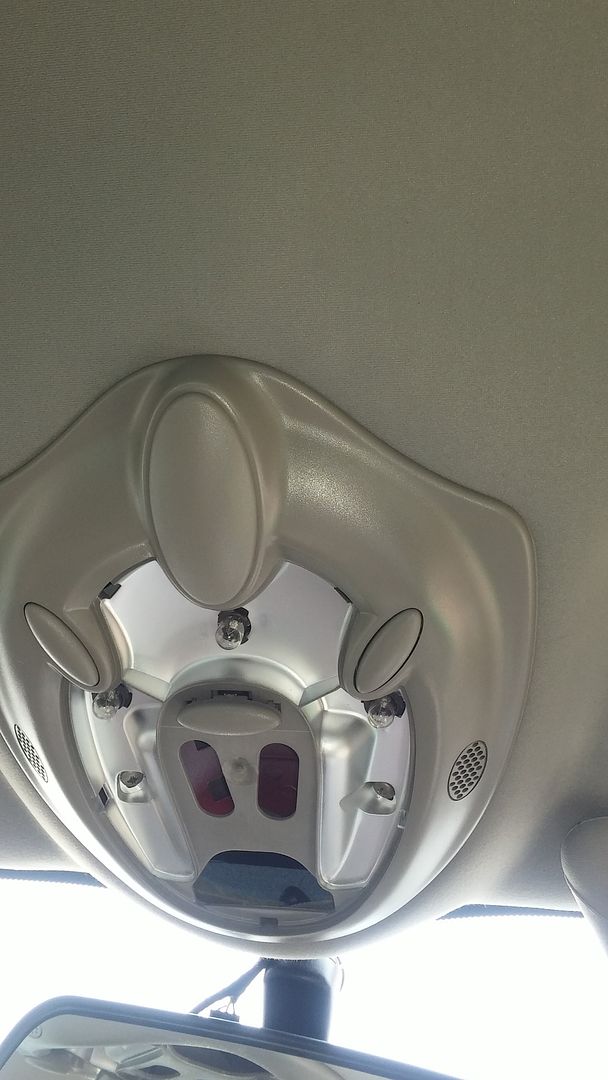 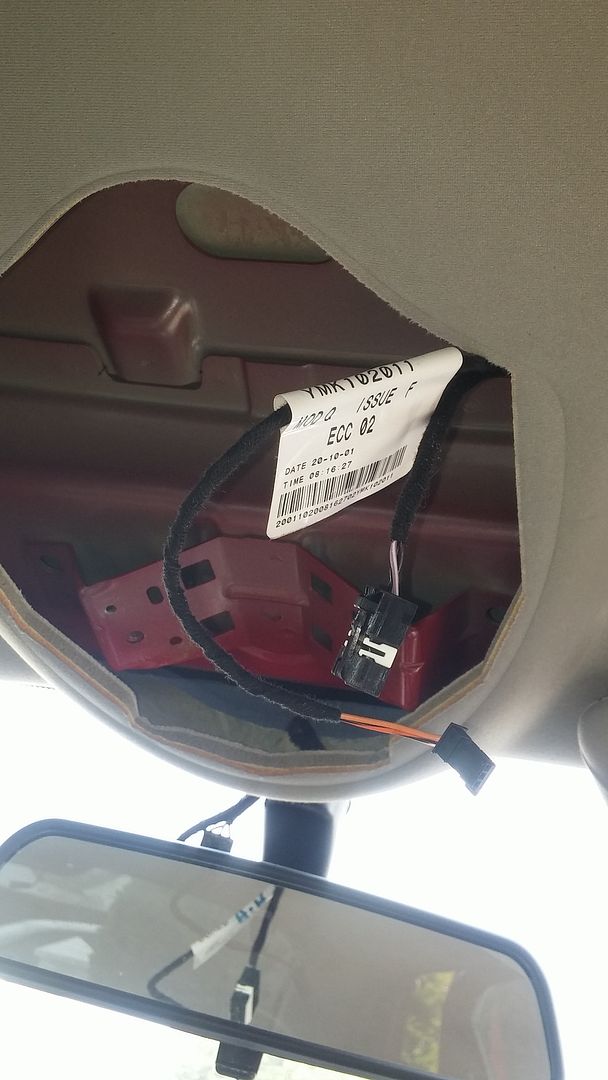 and the rear light cluster is just clipped in. I also removed the cover on the high level brake light and disconnected the wiring. 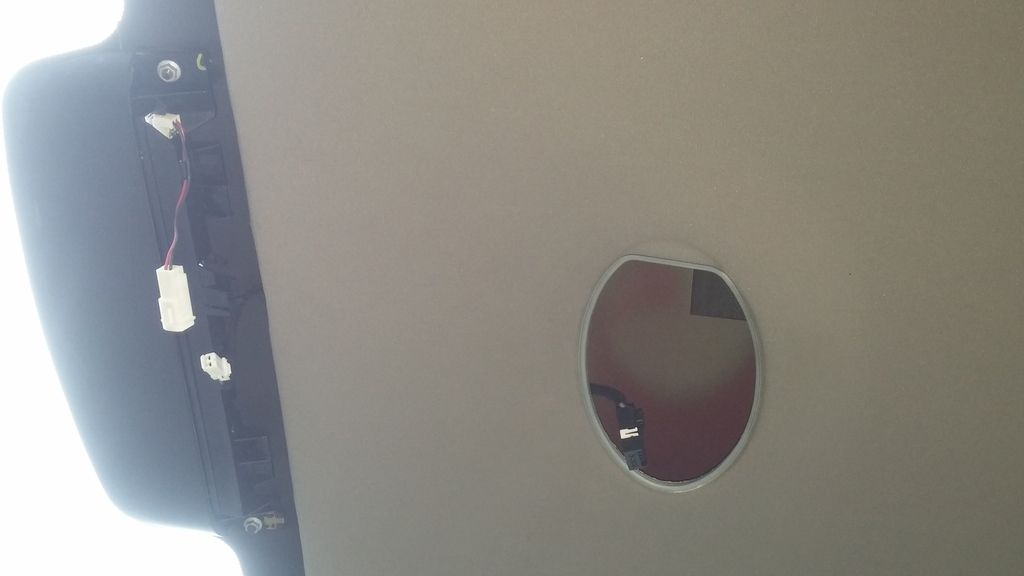 Finally the rear quarter panels were removed around the rear window and the earth was disconnected on the drivers rear quarter  Lastly I unclipped the door pillar interior trims. Do this carefully to ensure the clips stay in tact . I left the door rubbers holding the headlining in place unit I was ready to drop it then I just unclipped the rubbers form the lining I removed the headlining through the passenger front door. Its a bit fiddly adn i can only imagine even more fiddly with the centre console and seats in  Here are the two headlinings side by side. The right hand lining is the grubby lining which you can just see in the picture  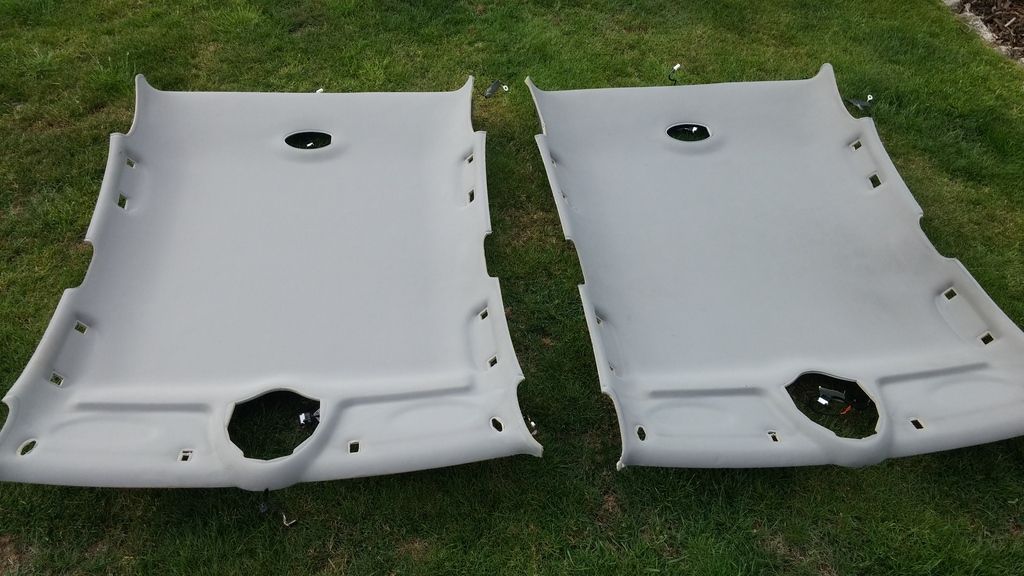 Next I got the headlining into the car and used the door rubbers again to hold in place. I then started with the handles and the sun visors replaced everything. I was lucky that the block connector for the headlining loom is the black type which means the additional wiring for the auto mirror and rain sensor clips right in 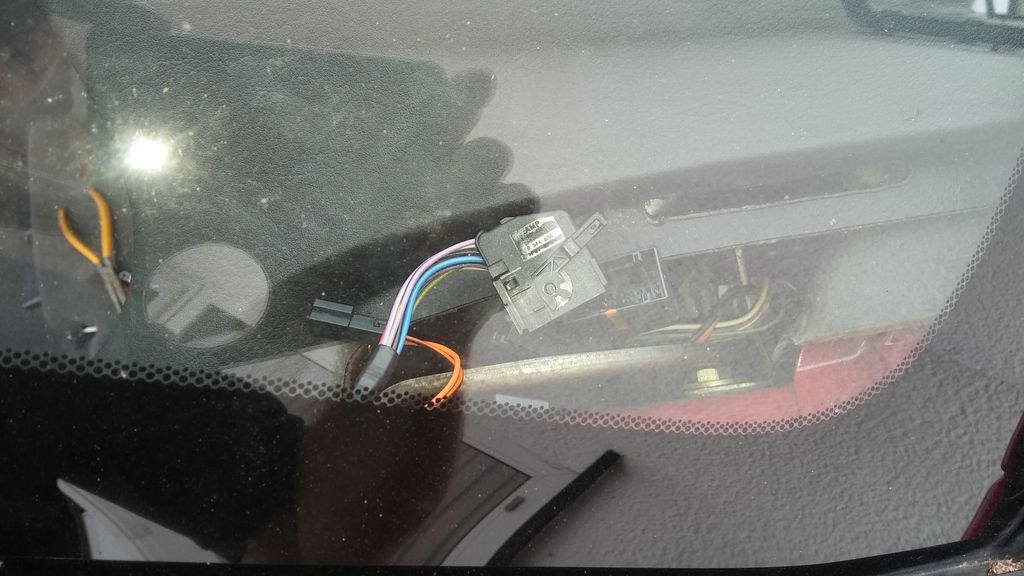 Once everything was bolted back on I began the job of clipping everything back in around the carpet and headlining 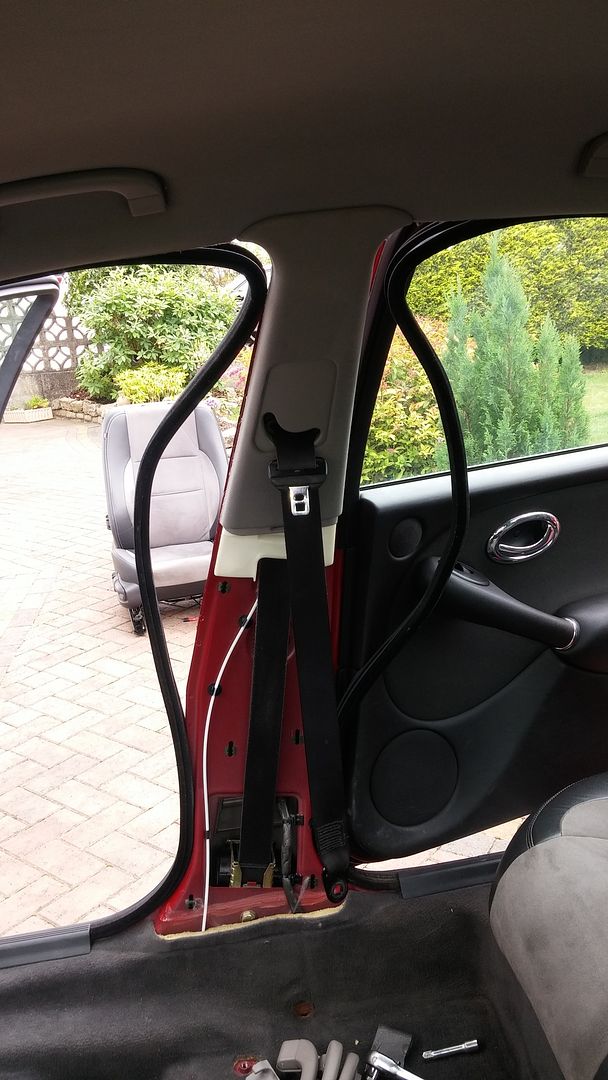  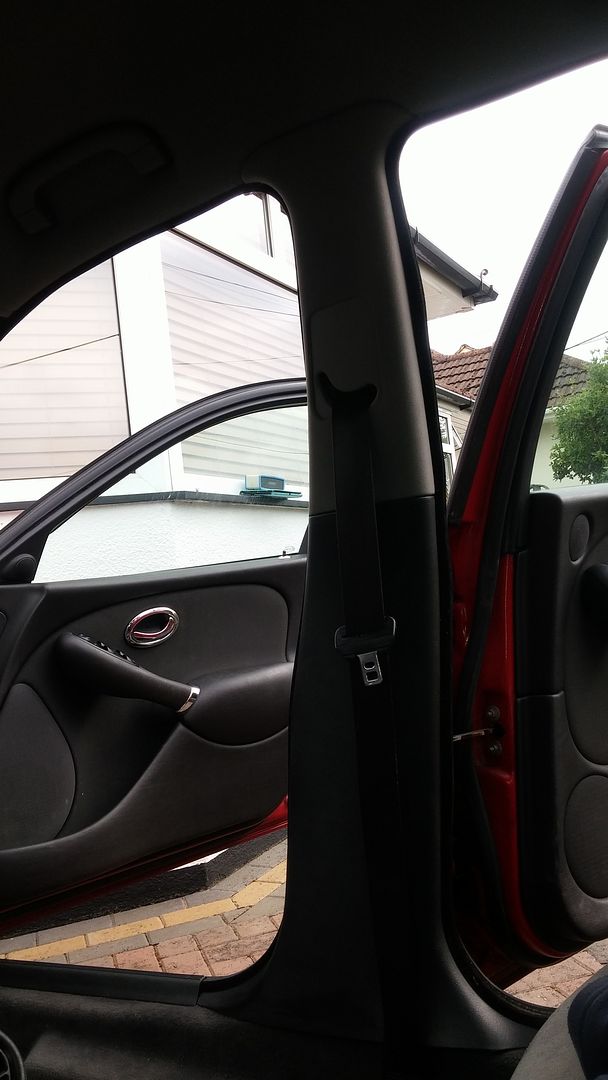   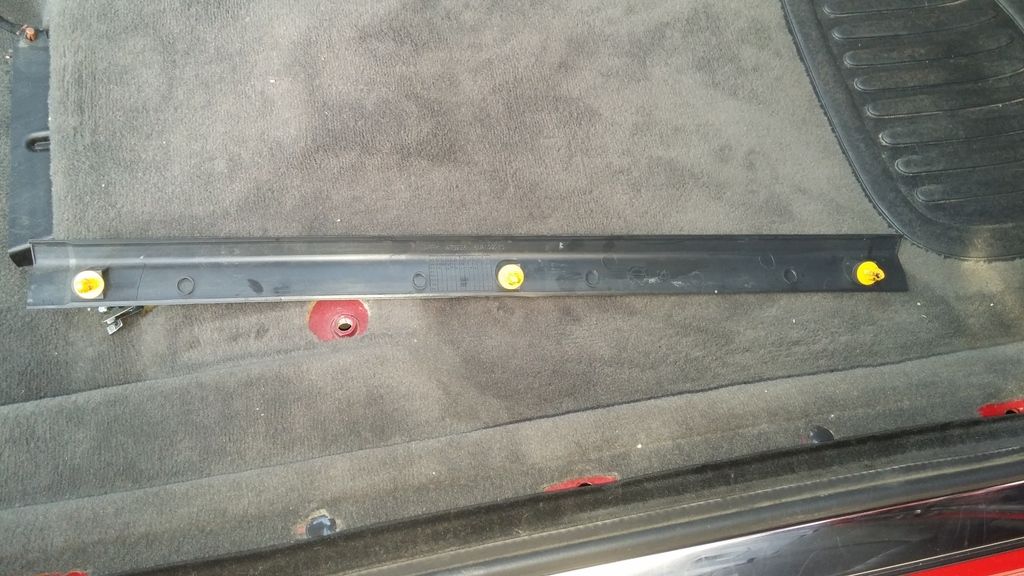 Next I fitted up the centre console. For those that dont know there are 4 screws under the dash 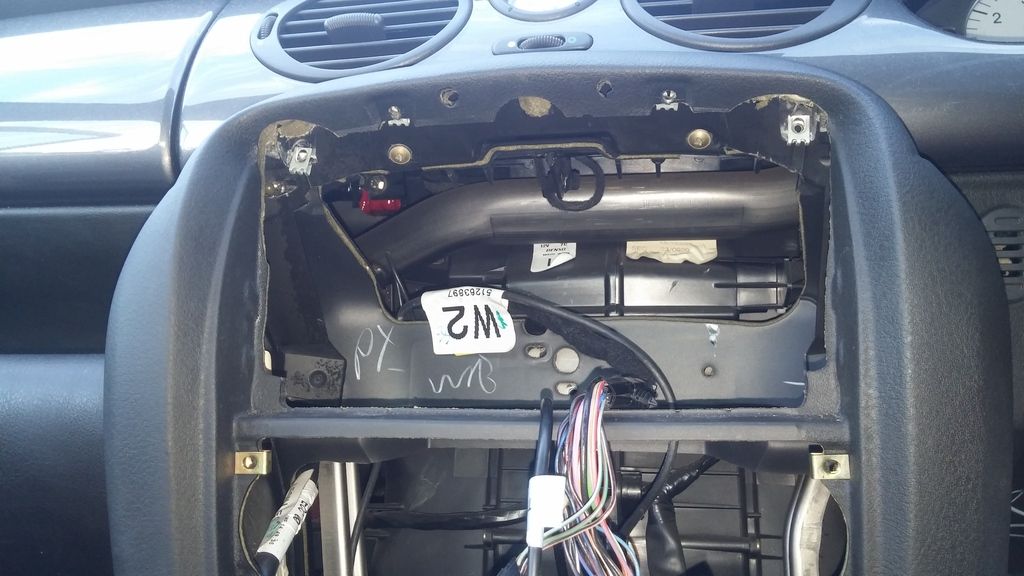 2 x screws either side of the console by the seats and two bolts under the rear ashtray which bolt onto the cover which goes over the brake compensator 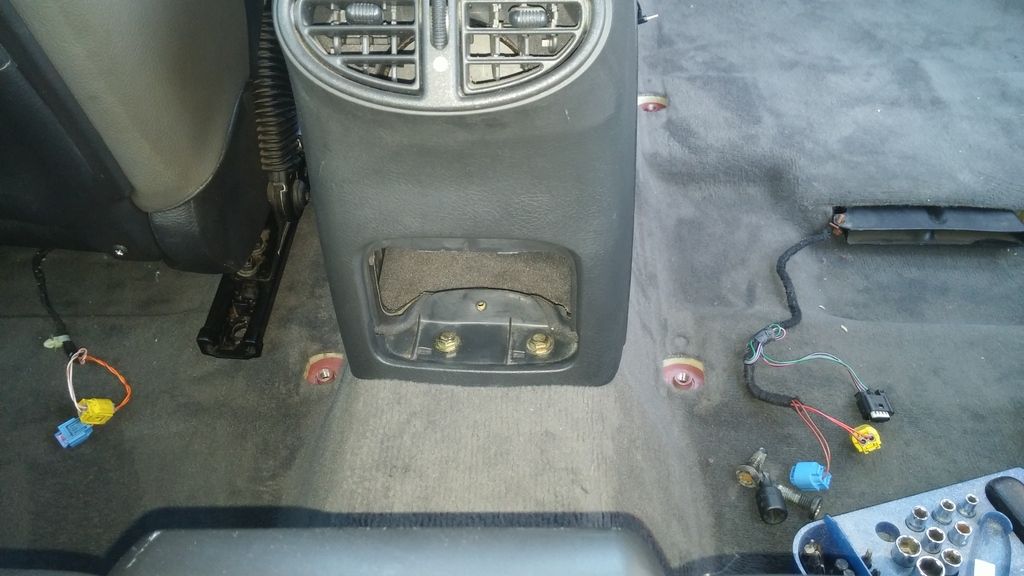 With all the bits put back in the carpet and headlining were fully back in place 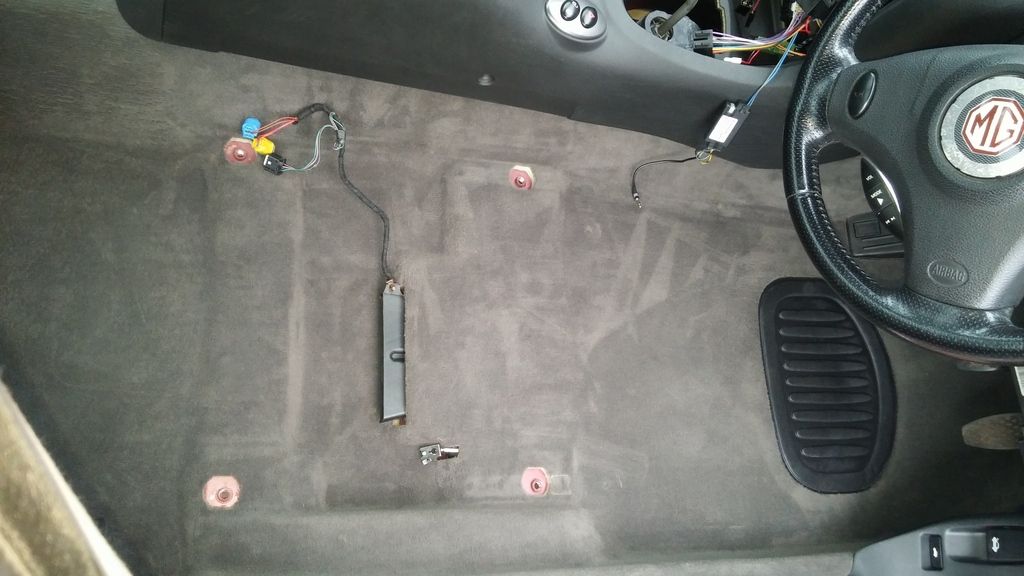 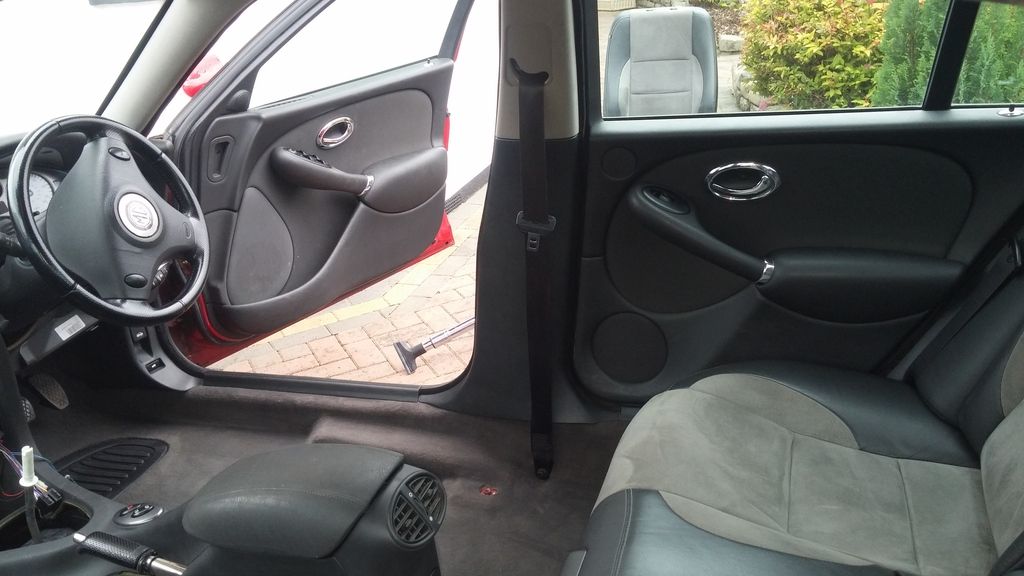 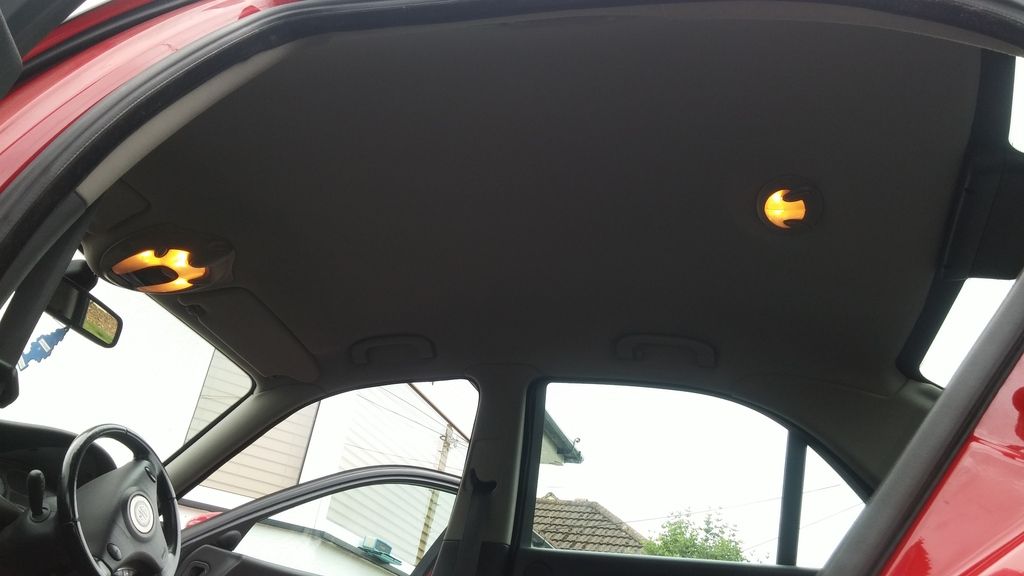 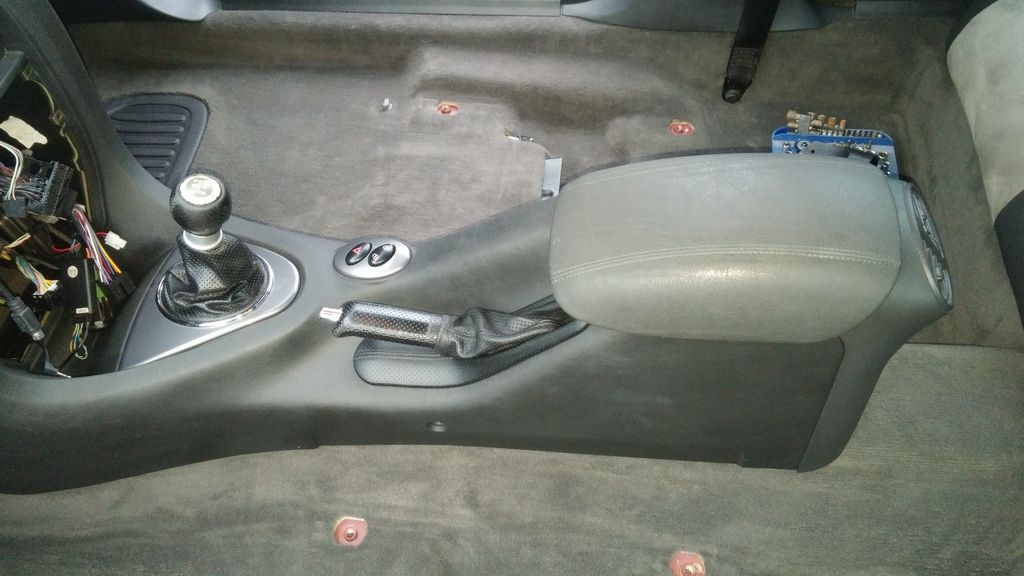 Next job was to build up the dash around the radio. Firstly the cup holder was replaced for a good one and I fitted a single hole switch panel for the blind switch. 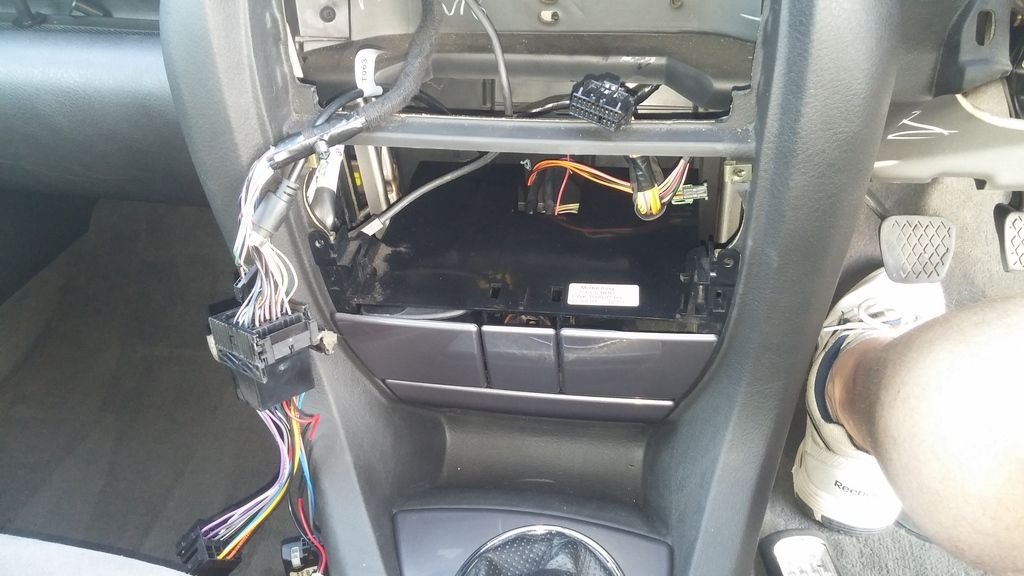 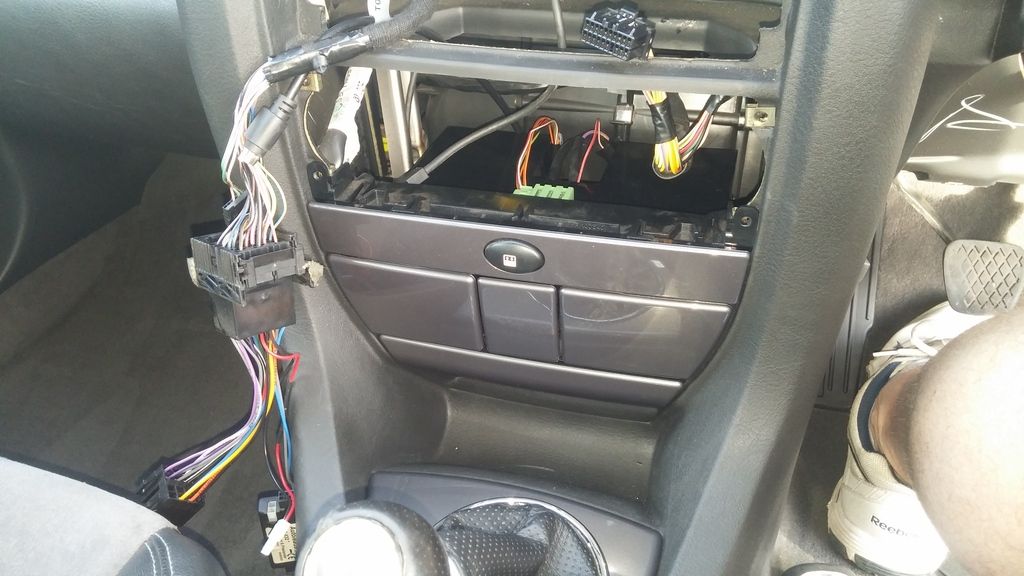 With the switch in I tested the blind 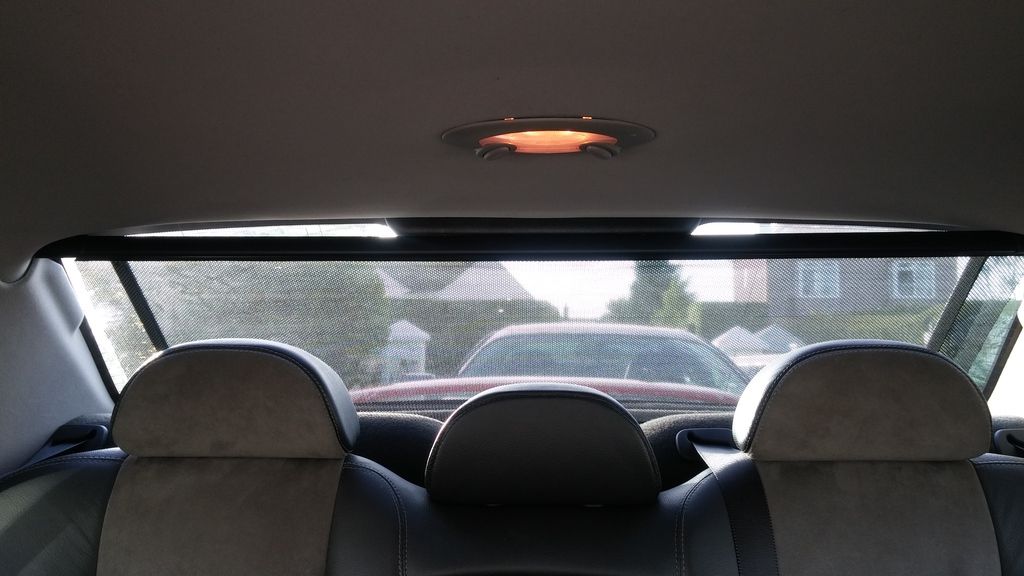 Next I fitted the AC controls. I have covered the black cover with 3M carbon fibre. Dont worry I have also kept the original cover so it can go back to OEM look if needed. 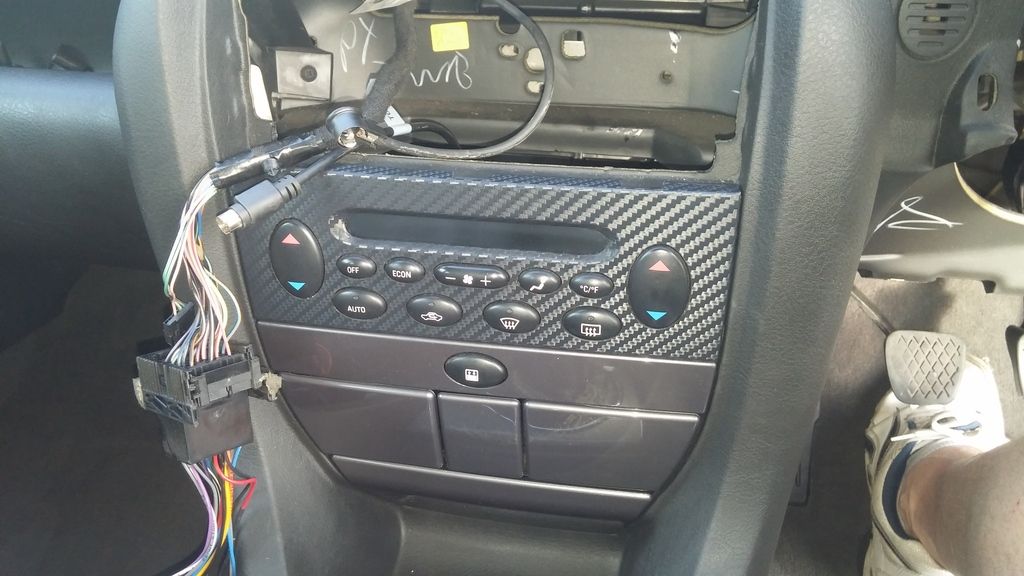 At this point I tested the ATC controls but had an issue. Everytime I tried the controls fuse 33 would blow   after a little investigation I found I had damaged the drivers side seatbelt tensioner wiring. I think It had got caught under the drivers seat whilst I have been working on the interior and chaffed the insulation . Obviously this needed fixing before I progressed. I intend changing the connectors when I bolt the seats down so its no really big issue although it did flummox me for a while after a little investigation I found I had damaged the drivers side seatbelt tensioner wiring. I think It had got caught under the drivers seat whilst I have been working on the interior and chaffed the insulation . Obviously this needed fixing before I progressed. I intend changing the connectors when I bolt the seats down so its no really big issue although it did flummox me for a whileThe DD head unit was then fitted. This is only a WINCE unit but it covers everything I need and to be honest with the oily bits coming up my money will be better used in other areas . Theunit is pretty much plug and play. I just had to hunt out the steering control wires and attach the head unit wiring. This car could not have had a Kenwood with IR controls as it had a stalk operating unit wired in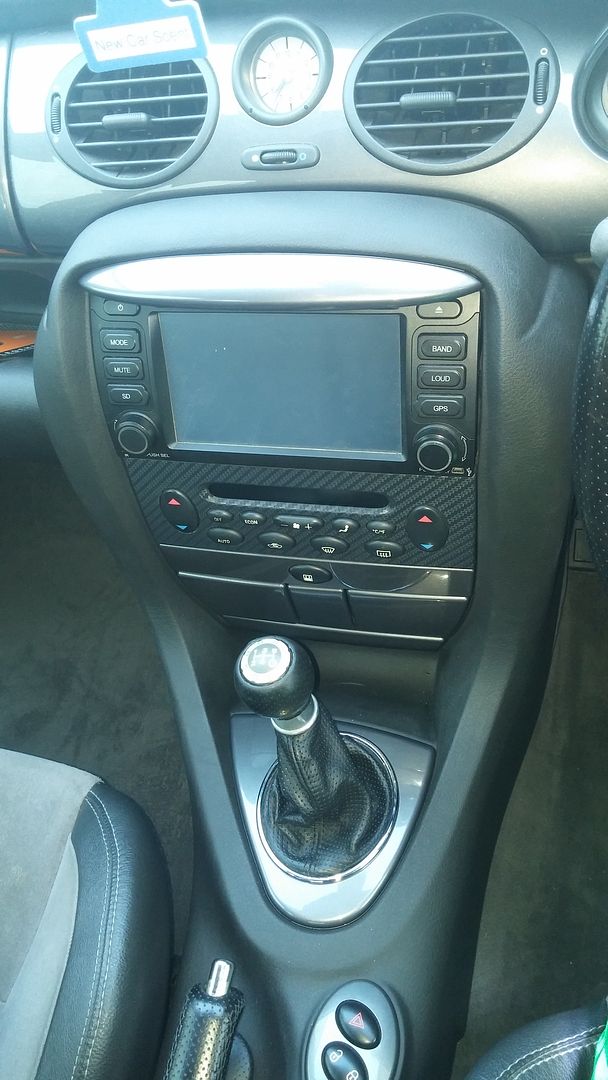 Next up I had the controls and IPK for a message centre. The IPK has been sent to Klarzy for line repair and virginalising (is that even a word  ) and the stalk with the computer end button was fitted. ) and the stalk with the computer end button was fitted.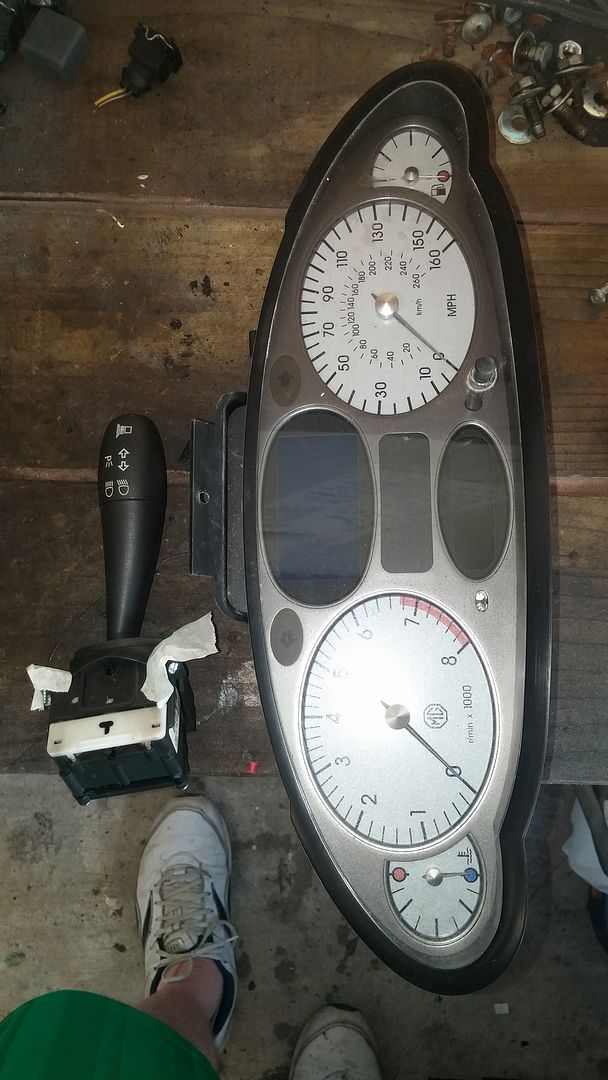 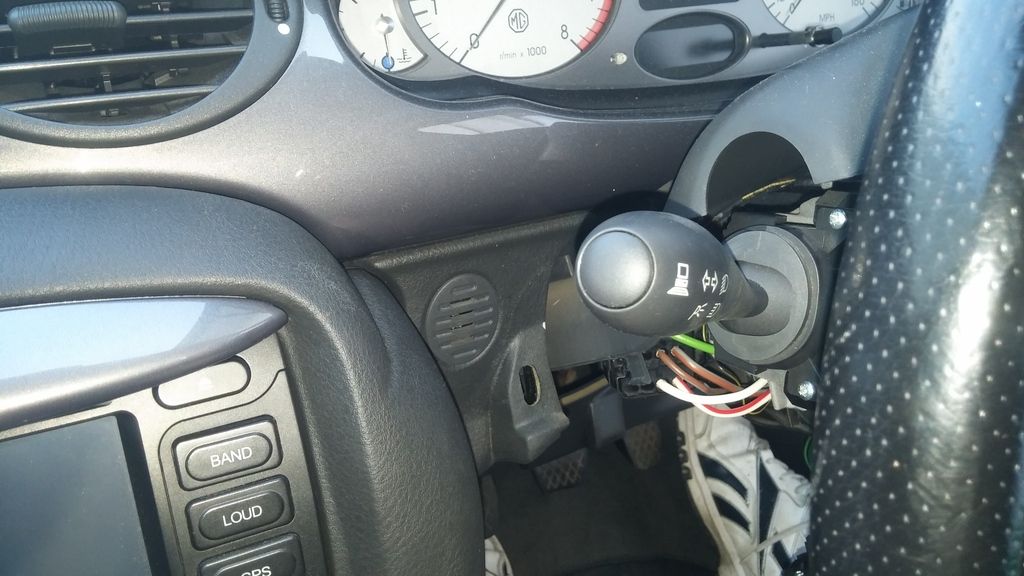 I am waiting on the wiring connectors for the under seat wiring then i can bolt the seats back in. Next job will be door cards, Windscreen for the rain sensor, corroded exterior handles and the defective actuator
__________________
Jon C Living the dream  MK IV VVTI Tiptronic TT Toyota Supra MG ZT 190+
BornTuesday, 10th July 2001 @ 09:01:10 259th ZT to run off the production line, out of 18,894 252nd ZT 190 + to be made out of 4,023 101st ZT in Solar Red (code: CEU) to be made out of 1,888 Last edited by jonc3725; 20th August 2017 at 20:28.. |

|

|
|
8th July 2015, 23:18
|
#32 |
|
Posted a thing or two
MG ZT 190 + and MKIV Supra Join Date: Jan 2009
Location: Plymouth
Posts: 1,551
Thanks: 224
Thanked 493 Times in 359 Posts
|
Worked a bit on the car over the last few days around some jobs around the house
 Although there wont be many pictures there was a fair degree of work completed. All the rusty door handles/lock covers have been replaced, all the loose door cards have new clips and are fitted correctly, 2 x door straps that were clonking badly were replaced, passenger rear lock actuator was replaced and the handle mechanism, Door switch black covers were covered with 3M and I also polished out the scratches under all the handles. Doesn't sound much but there was fair amount of work involved I wont show every door but this gives you an idea of what was done all the doors (This is the drivers door) Original handle with rust coming through the chrome and the paintwork heavily scratched 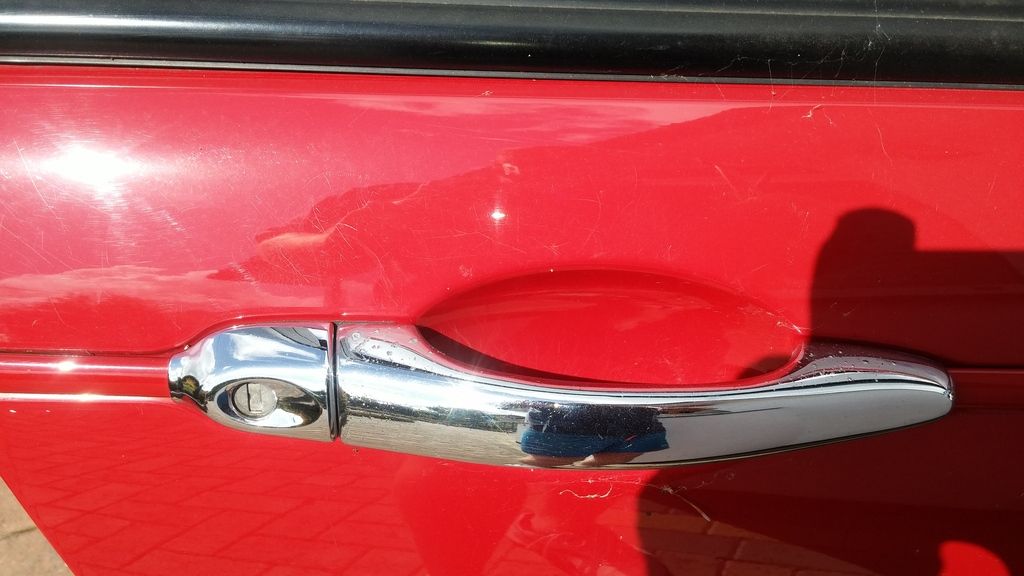 Handle removed which shows up the scratches even more. To get to the clips holding the lock covers in can be a bit of a pain on the front doors This link shows you how to remove the handles however I did it slightly differentlyhttps://www.the75andztclub.co.uk/for...ad.php?t=55324 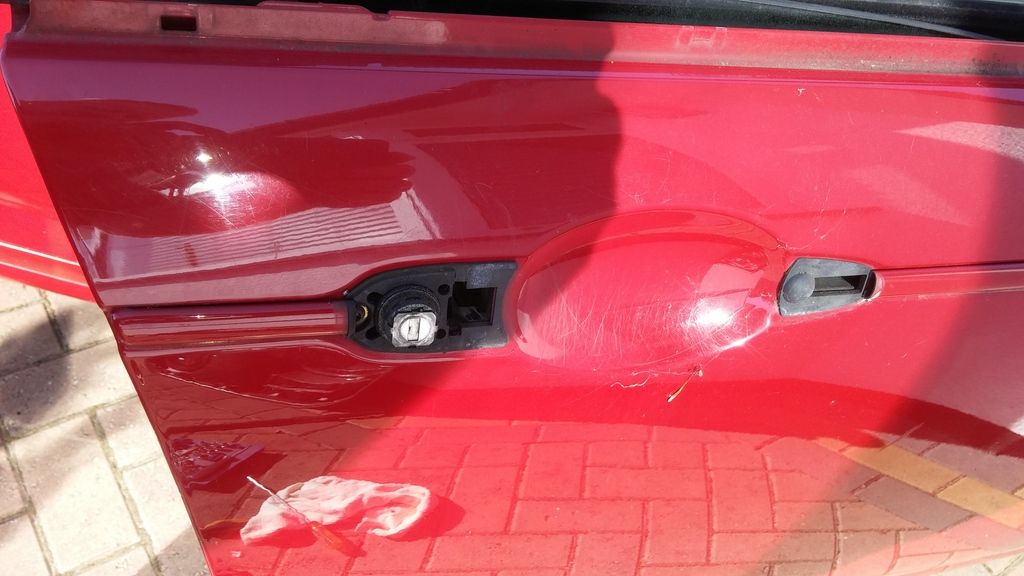 Out came the Polisher and the paintwork in the handle recess and around the handle was cut and polished back to get rid of the scratches. 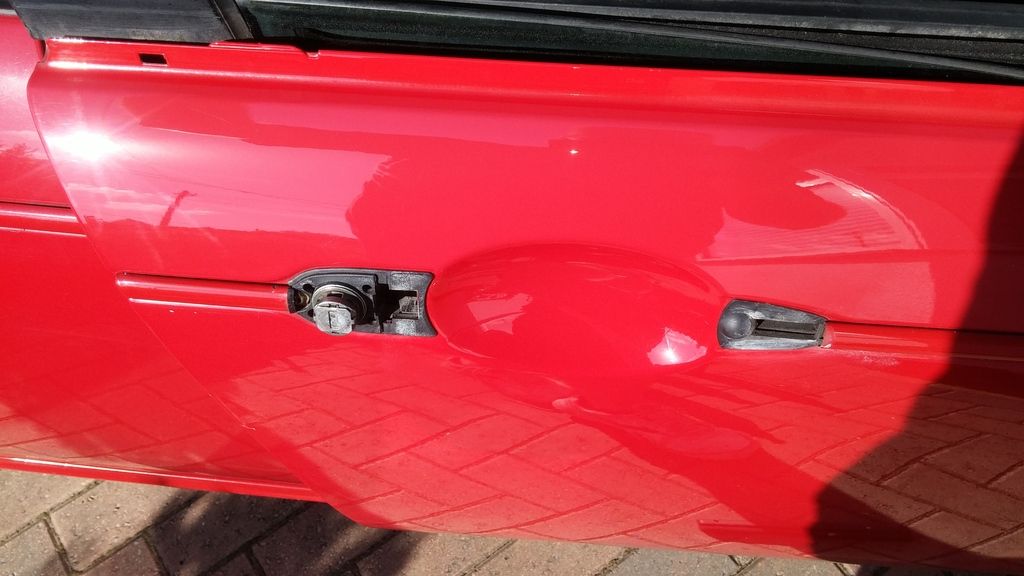 Then the paintwork was polished to protect it 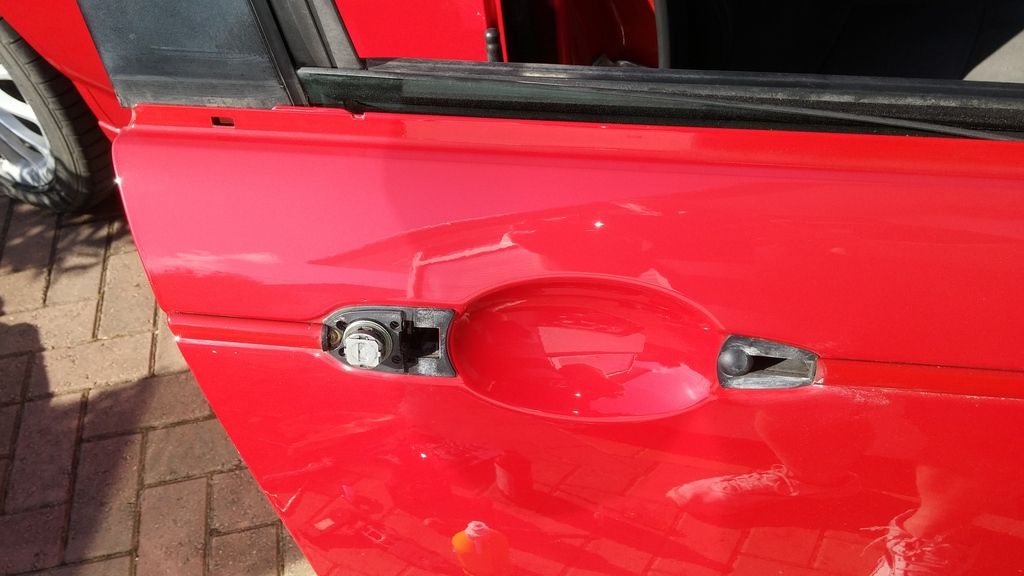 The replacement door handle was then fitted after a good polish 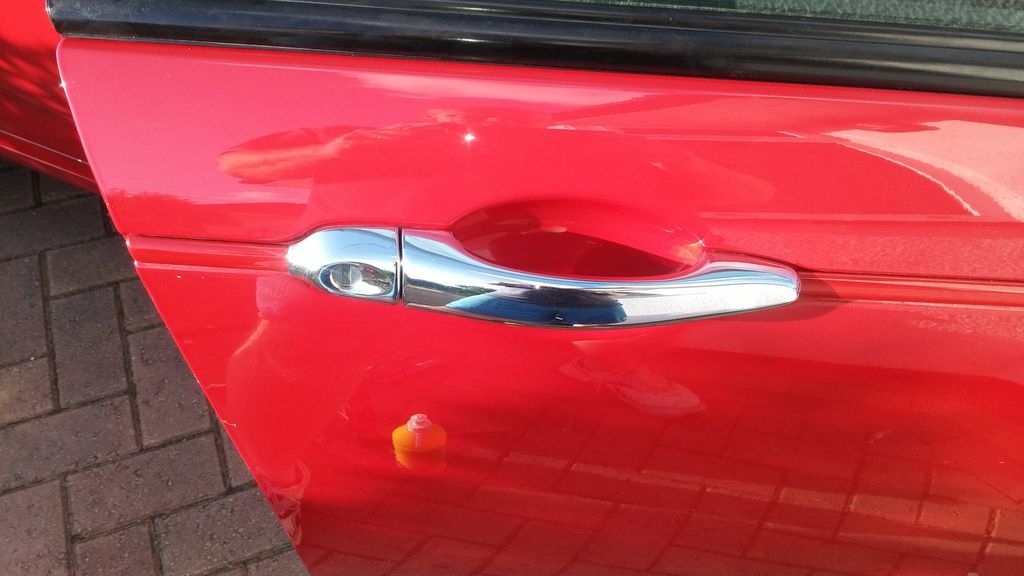 The door casing was sprayed with waxoyl and the water membrane refitted and the door card was cleaned and fitted with the correct clips in the correct place as per this link https://www.the75andztclub.co.uk/for...ad.php?t=79190  Door card and switch panel were fitted 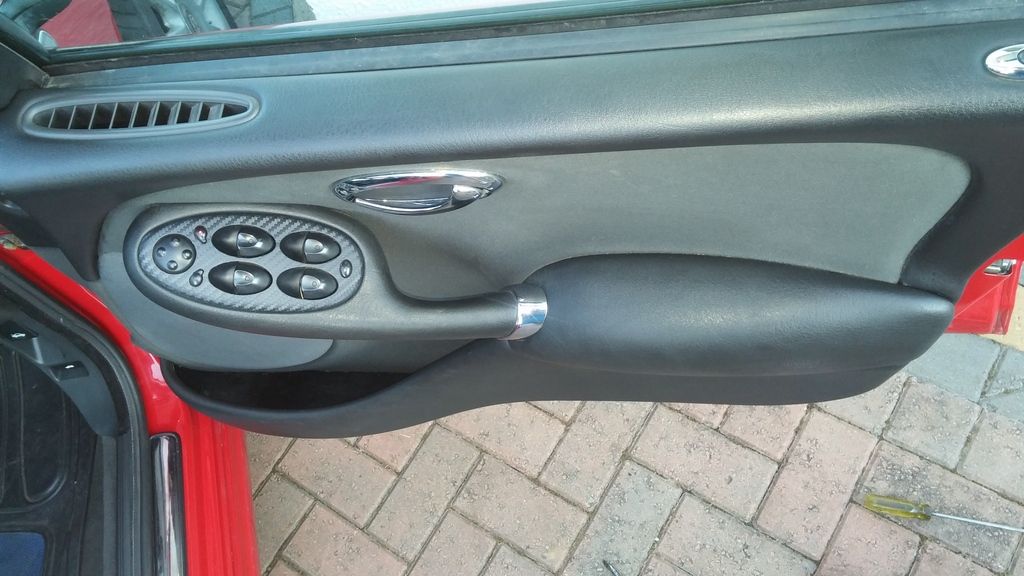 You get the gist of what went on on each door. I had spare door card clips for the main areas but I bought new fir tree clips for the top corners as they were all worn and broken causing the loose cards. The clonking door straps were due to corrosion and wear 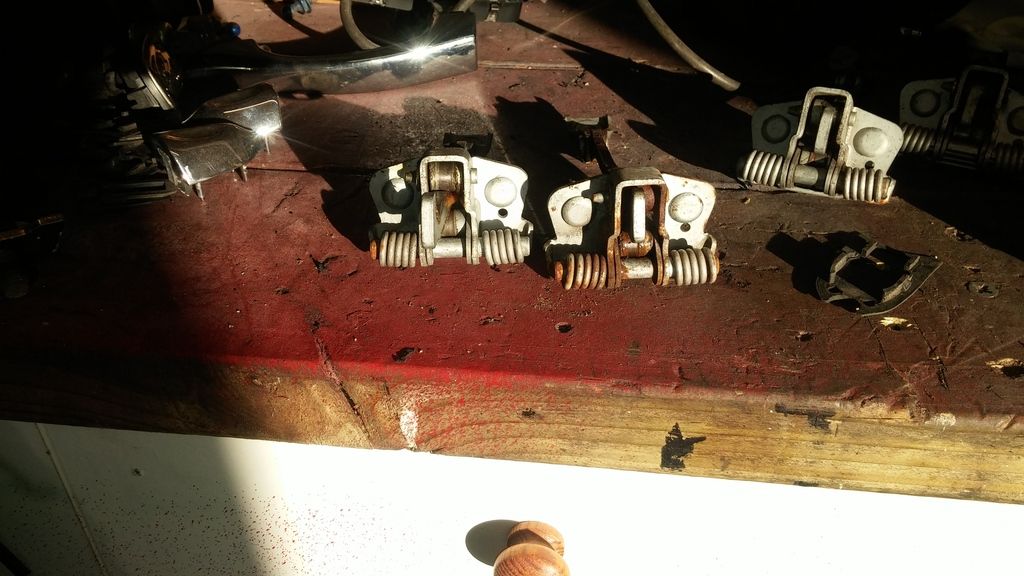 so were replaced and lightly lubricated 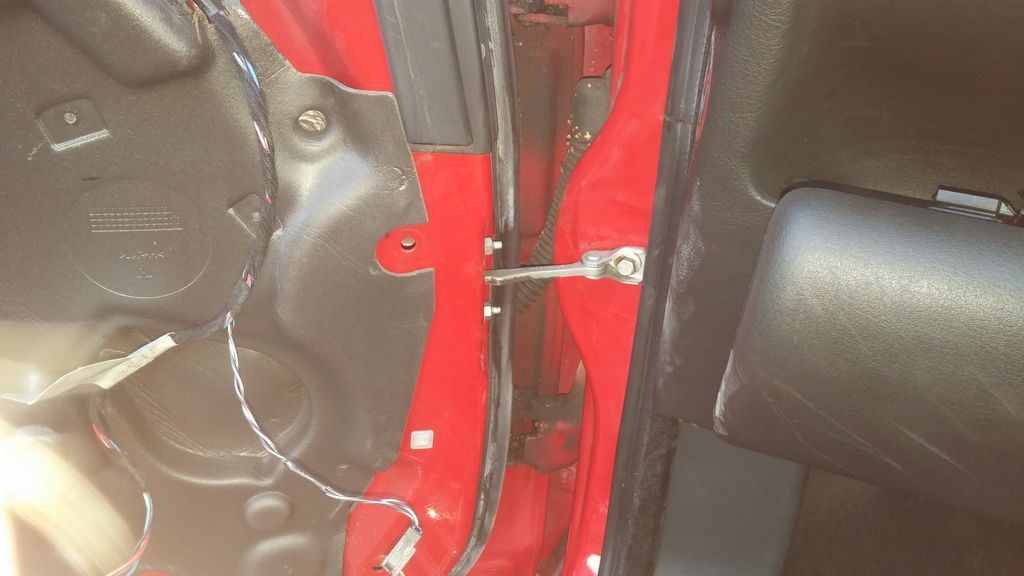 All the rusty worn bits ready for the bin 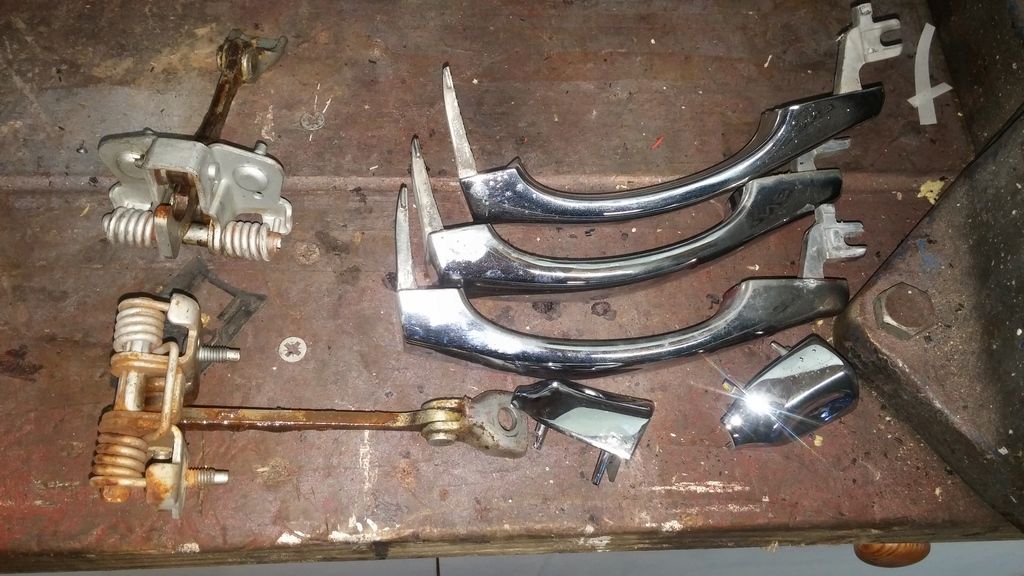 The passenger rear door actuator was broken and I found the lock indicator in the bottom of the door 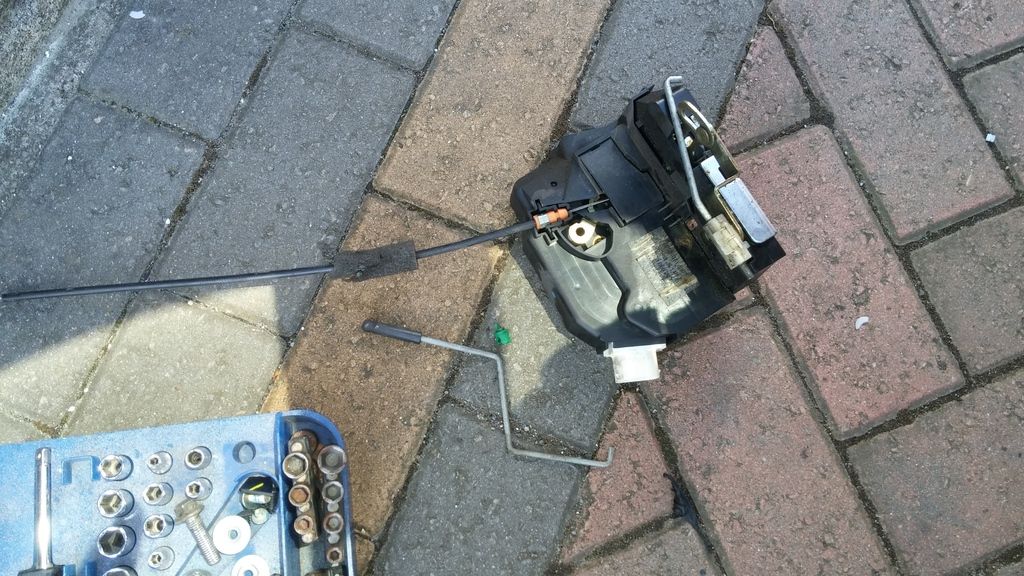 and a couple of the interior door handle were repaired in a tidier way than glue 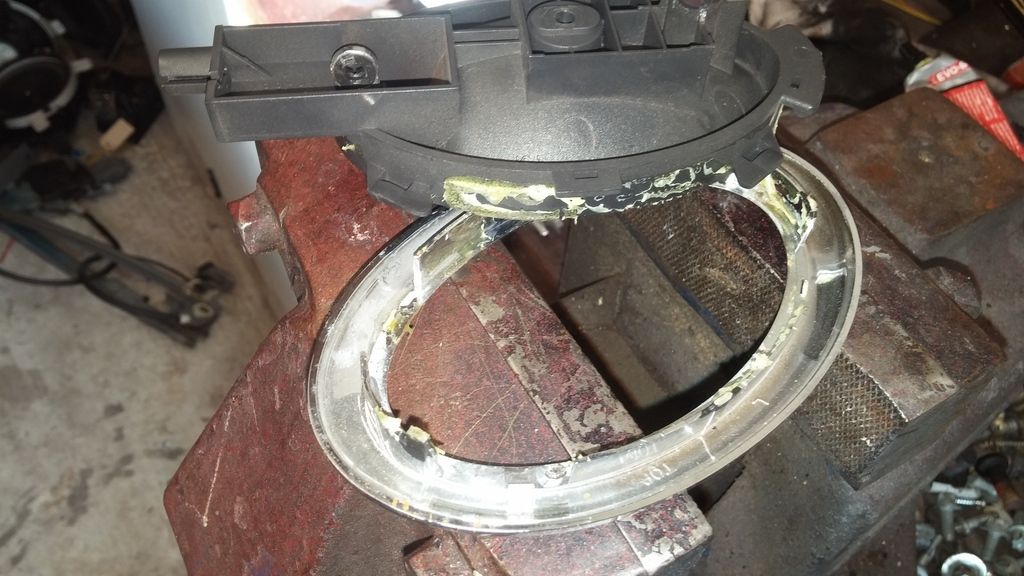 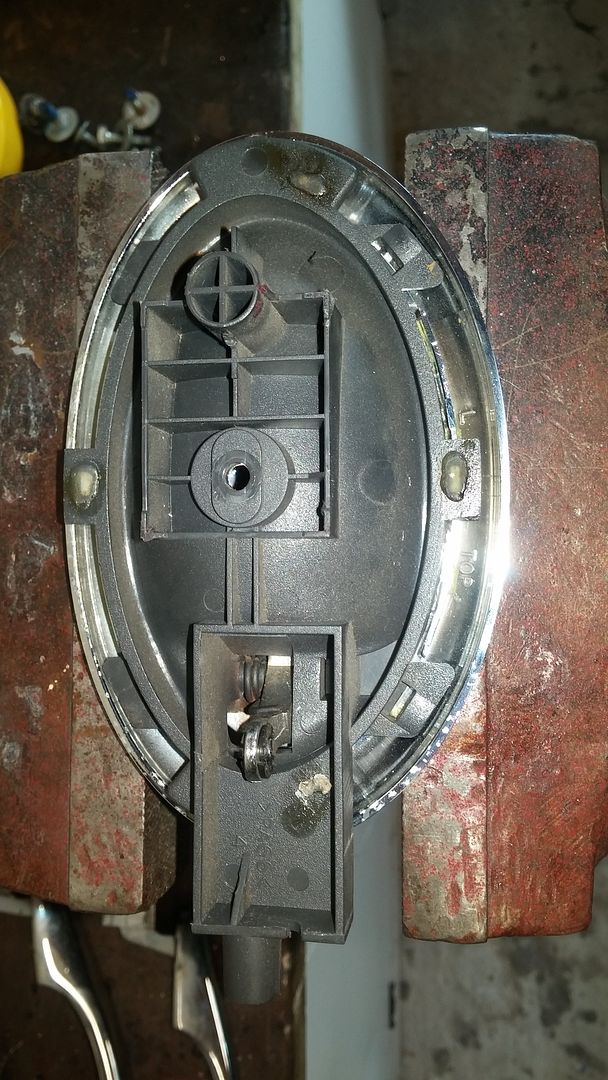 I also removed the last door tread on the passenger front and cleaned and polished around the area. 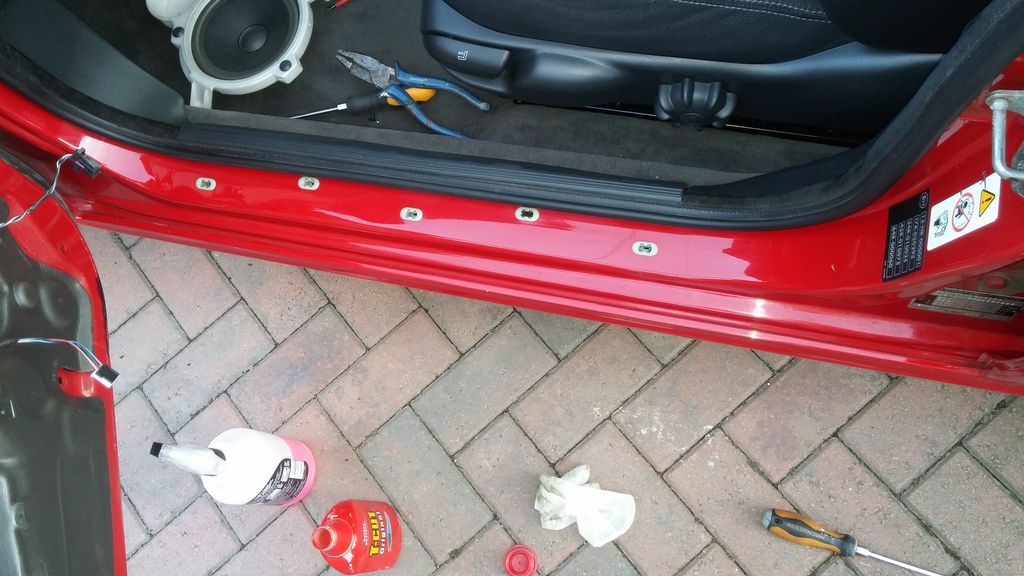 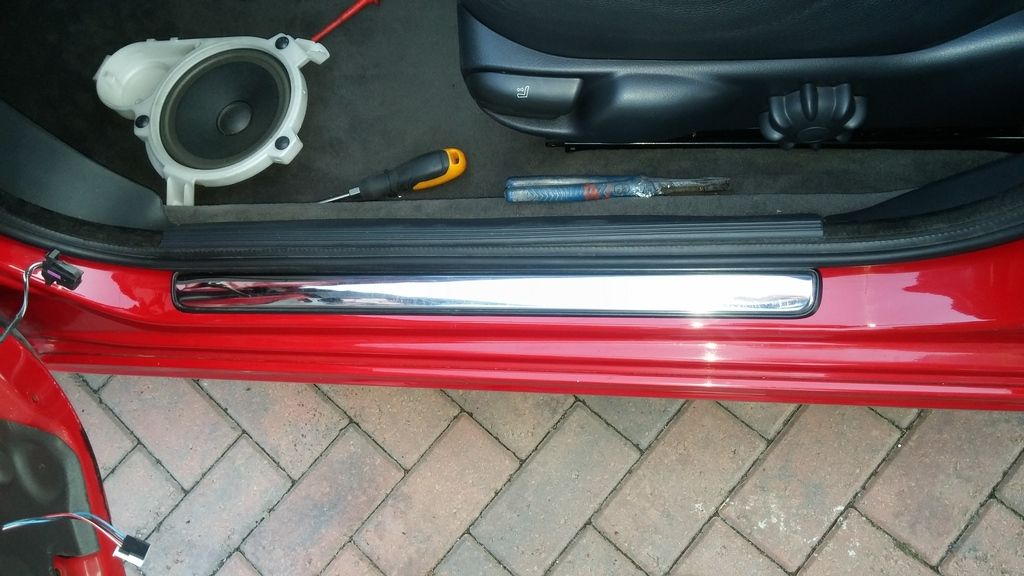 I know it does not seem like much is done but there was quite a lot of work involved to get this done. I am still waiting on the electrical connectors for under the seats so they are not bolted down yet
__________________
Jon C Living the dream MK IV VVTI Tiptronic TT Toyota Supra MG ZT 190+
BornTuesday, 10th July 2001 @ 09:01:10 259th ZT to run off the production line, out of 18,894 252nd ZT 190 + to be made out of 4,023 101st ZT in Solar Red (code: CEU) to be made out of 1,888 Last edited by jonc3725; 20th August 2017 at 20:30.. |
|
|
|
|
9th July 2015, 06:40
|
#33 |
|
This is my second home

2007 57 GOLF GTi EDITION 30 DSG Join Date: Nov 2011
Location: Newport Shropshire and Coventry.
Posts: 5,138
Thanks: 2,424
Thanked 1,452 Times in 852 Posts
|
Looks like its coming along nicely. I need to change the speakers in my car but I can never get the door card to catch at the top so have been putting it off!
You seem to have the skills and eye for all those jobs others have missed.  |
|
|
|
|
21st July 2015, 23:08
|
#34 |
|
Posted a thing or two
MG ZT 190 + and MKIV Supra Join Date: Jan 2009
Location: Plymouth
Posts: 1,551
Thanks: 224
Thanked 493 Times in 359 Posts
|
A little bit of an update with some work complete.
The long awaited electrical connectors arrived so I could do the airbag wiring and complete the interior. The connectors arrived in a kit form but are waterproof when built up and seemed good quality when they were put together and connected 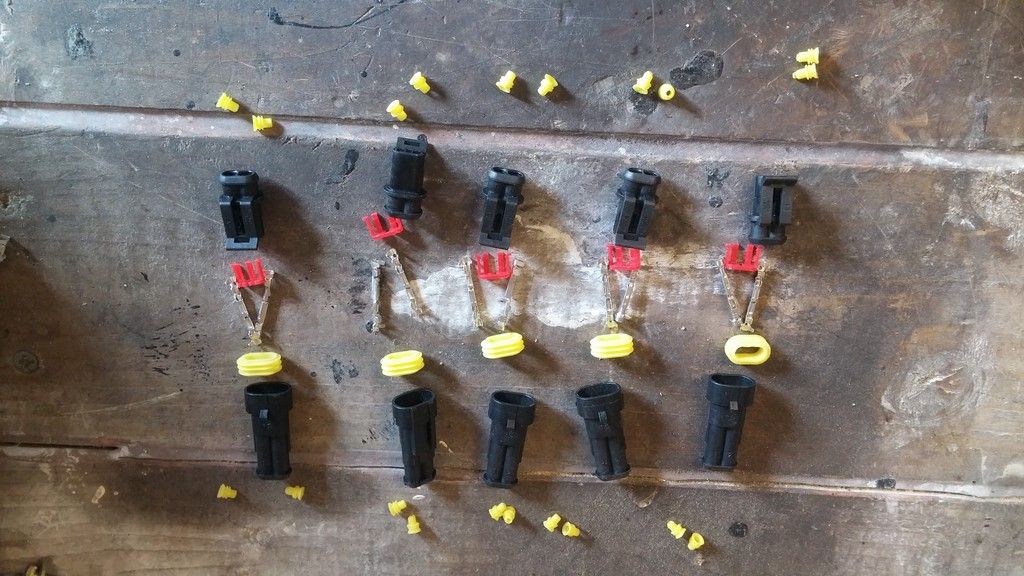 Firstly the old connectors were removed and the wires prepared. the first thing to put on were the small watertight grommets then I crimped and soldered the metal connectors 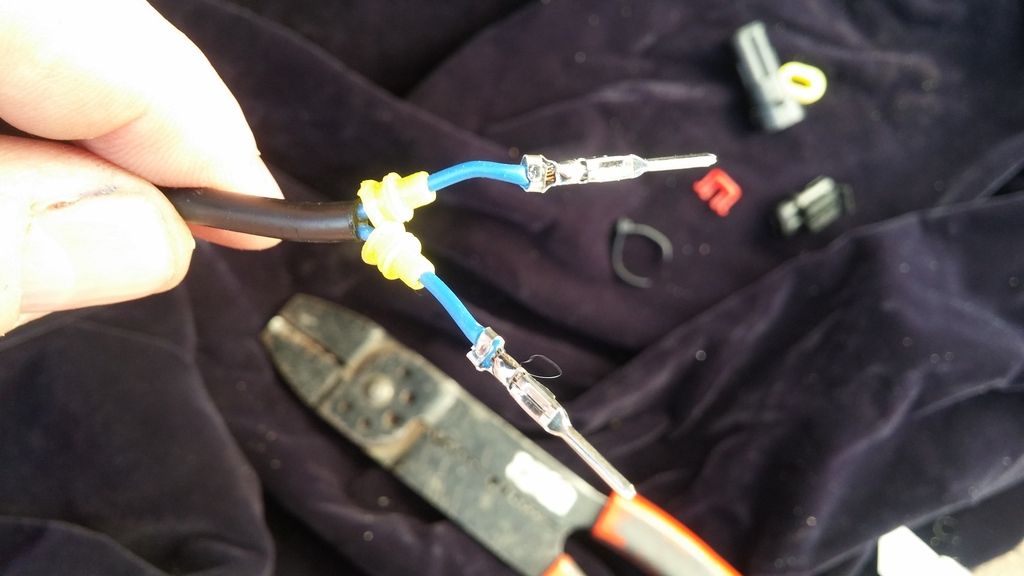 then the connectors were built up 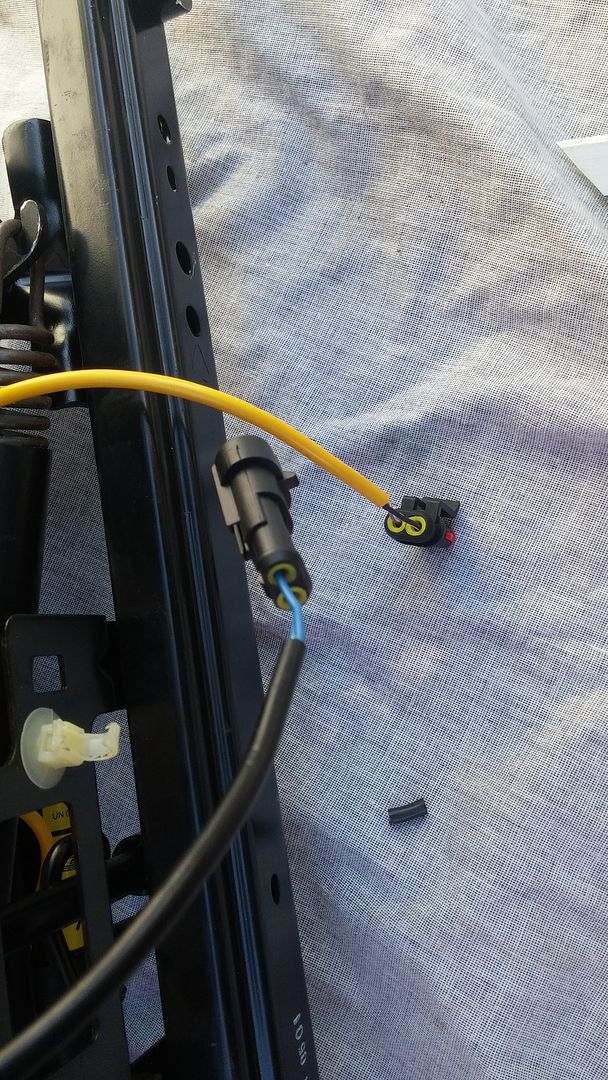 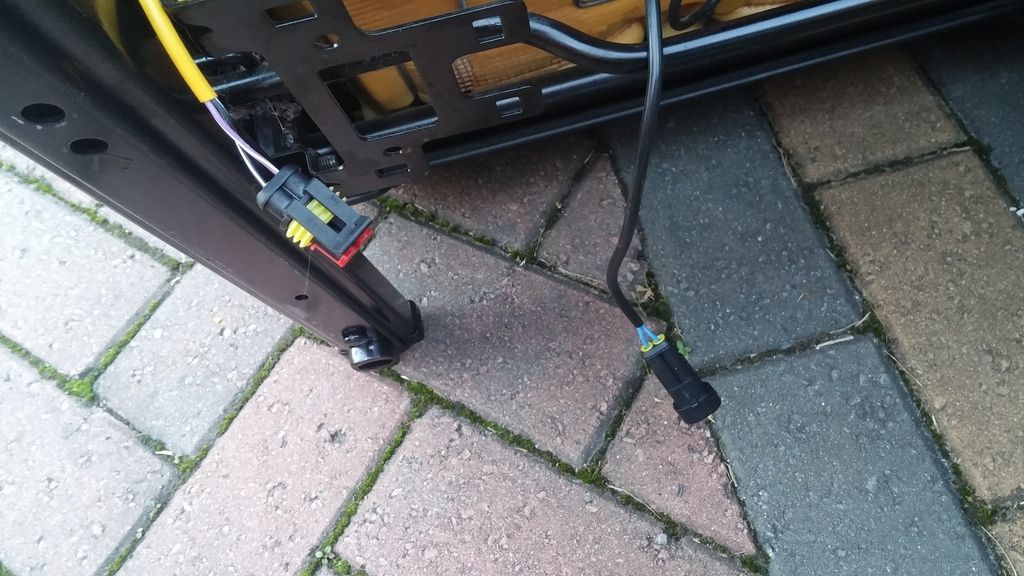 The same was done on the car loom in the opposite orientation 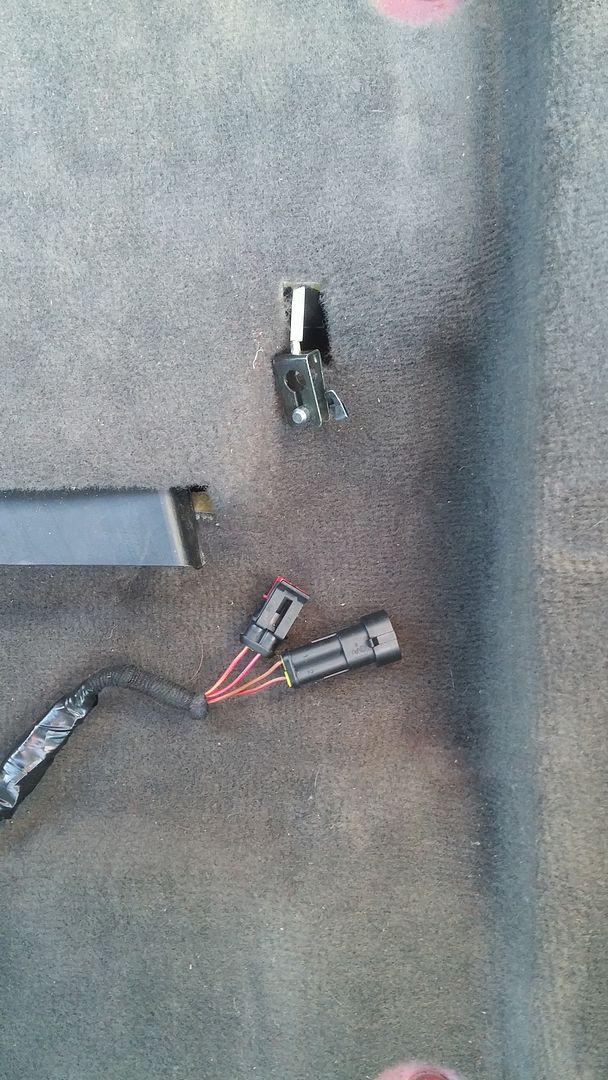 then both seat were connected 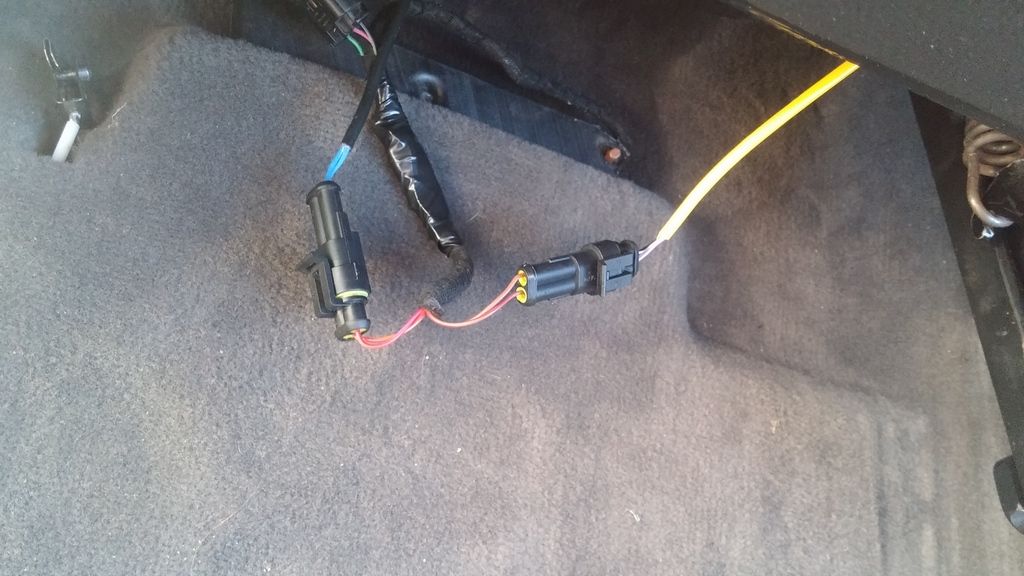 and tested and the good news is the airbag light has extinguished  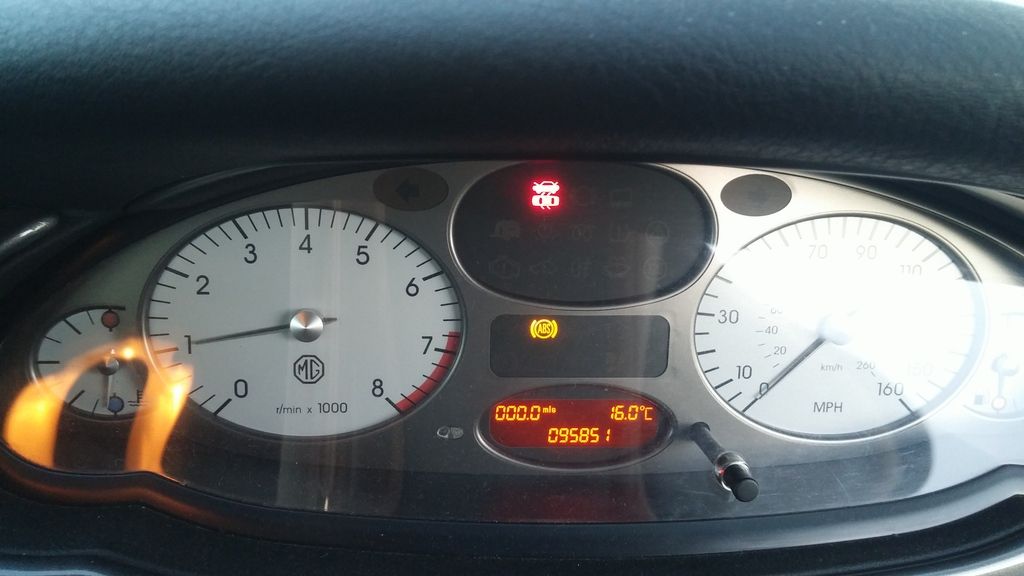 and the cables were tidied and clipped up. I couldn't use the original clips to connect the connectors to the seat bases so had to use tiewraps  I then gave the carpet and final hoover and bolted the seats in and replaced the headrests. The glove compartment lid was badly scratched on this car so I changed it for the one out of the blue ZT which was in really good nick Before and afters just to remind how the interior has changed Before 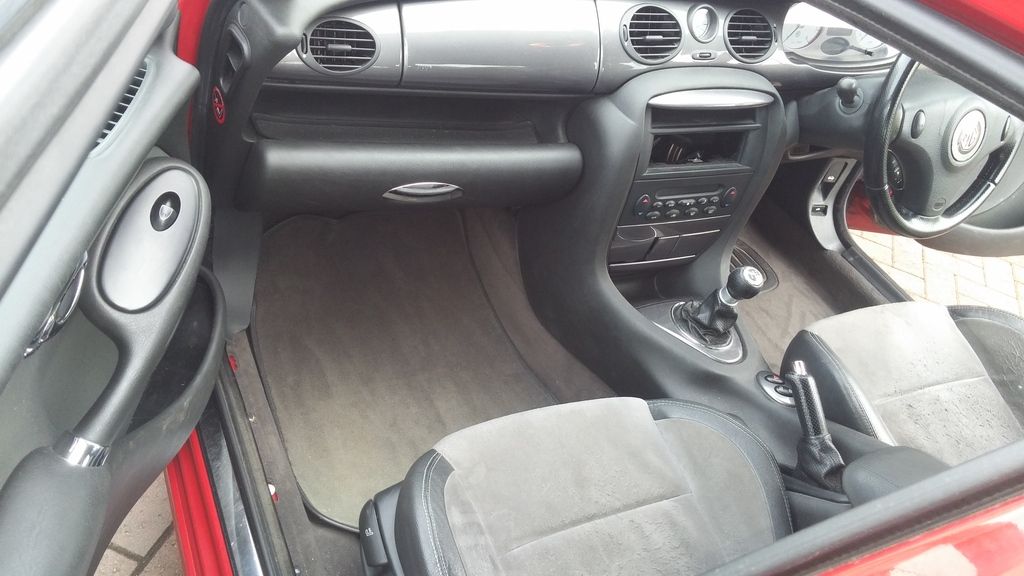 After 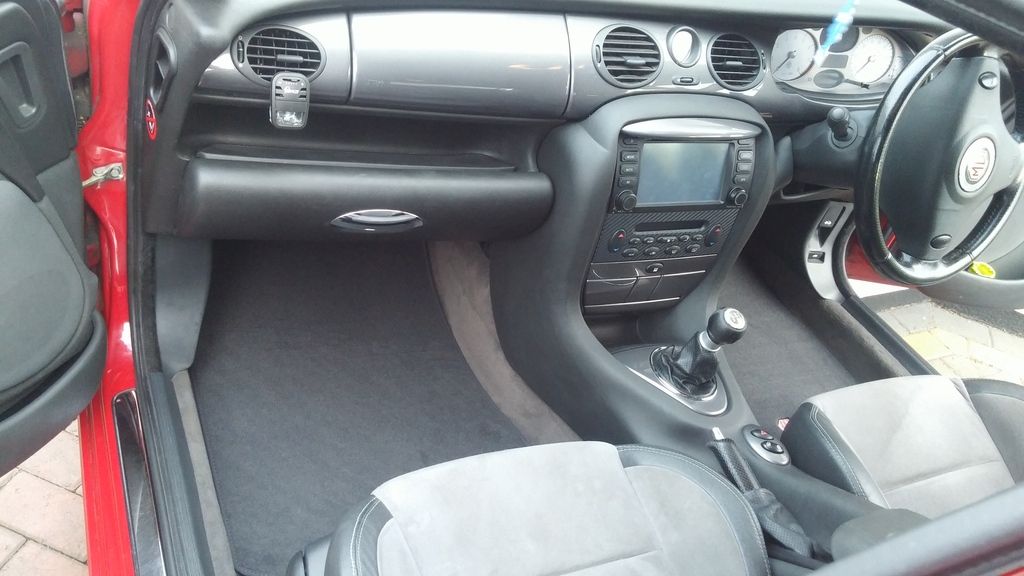 before 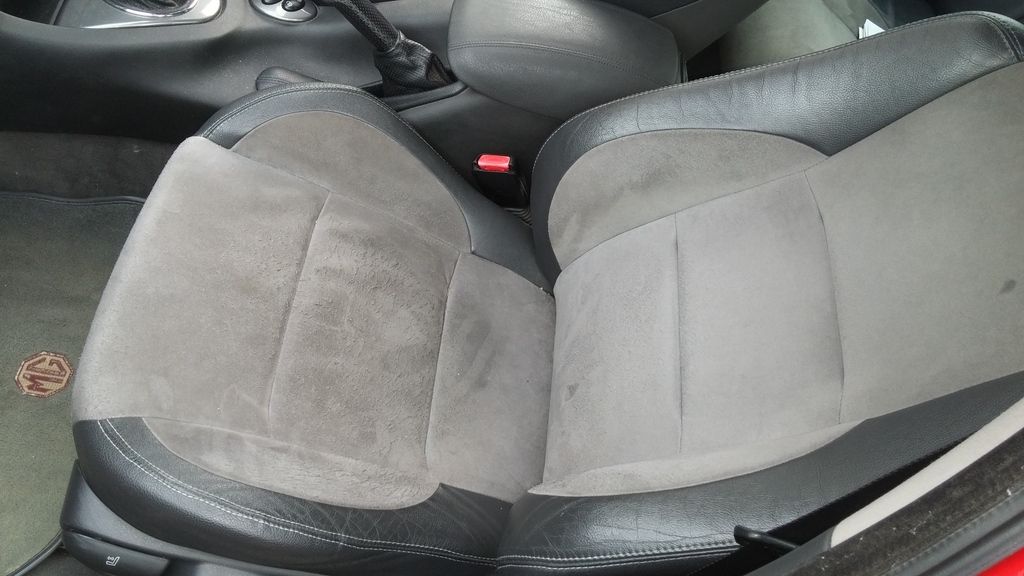 After 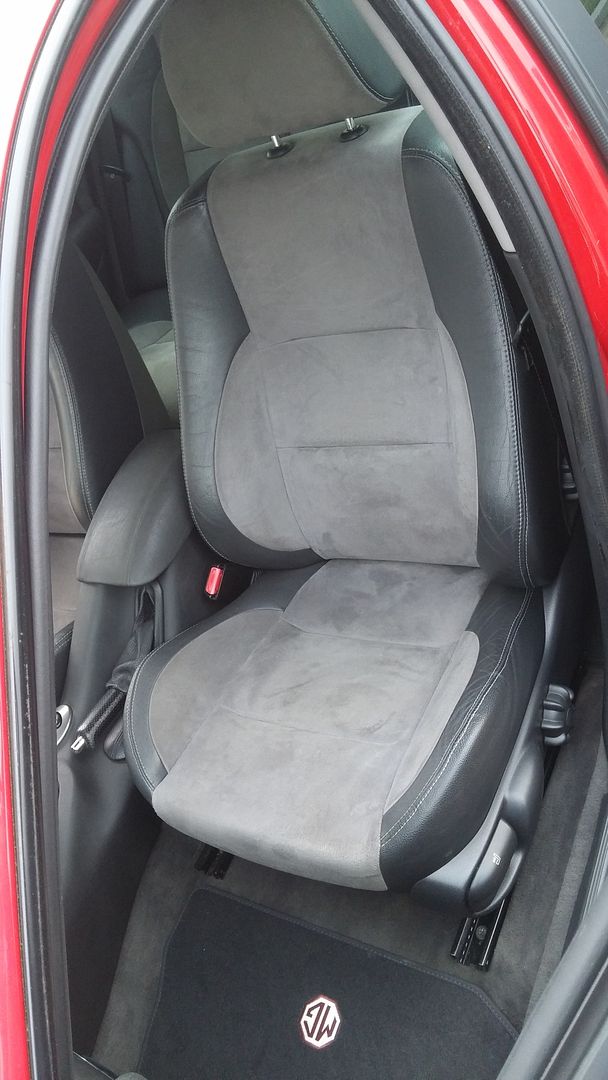 Before 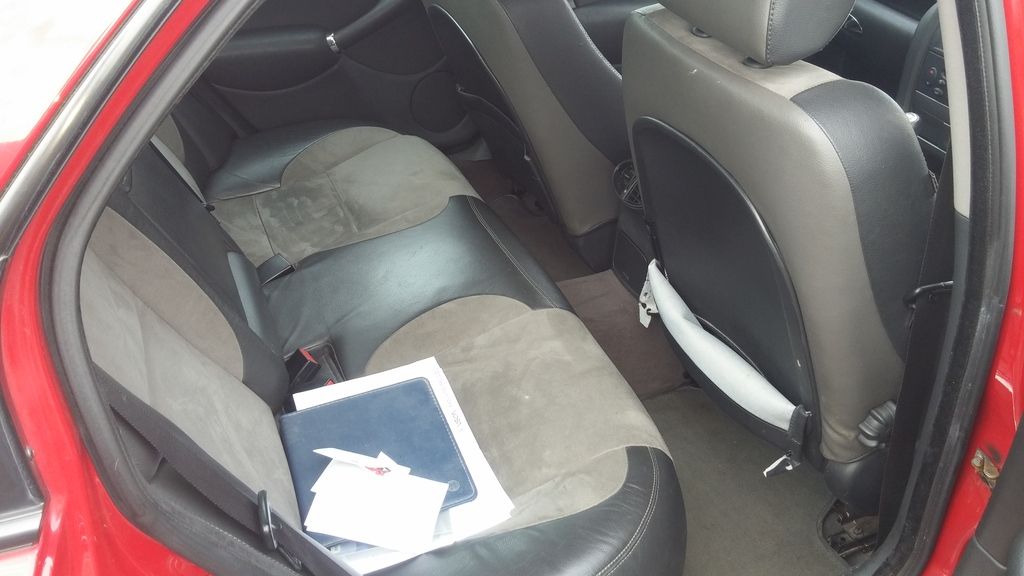 after  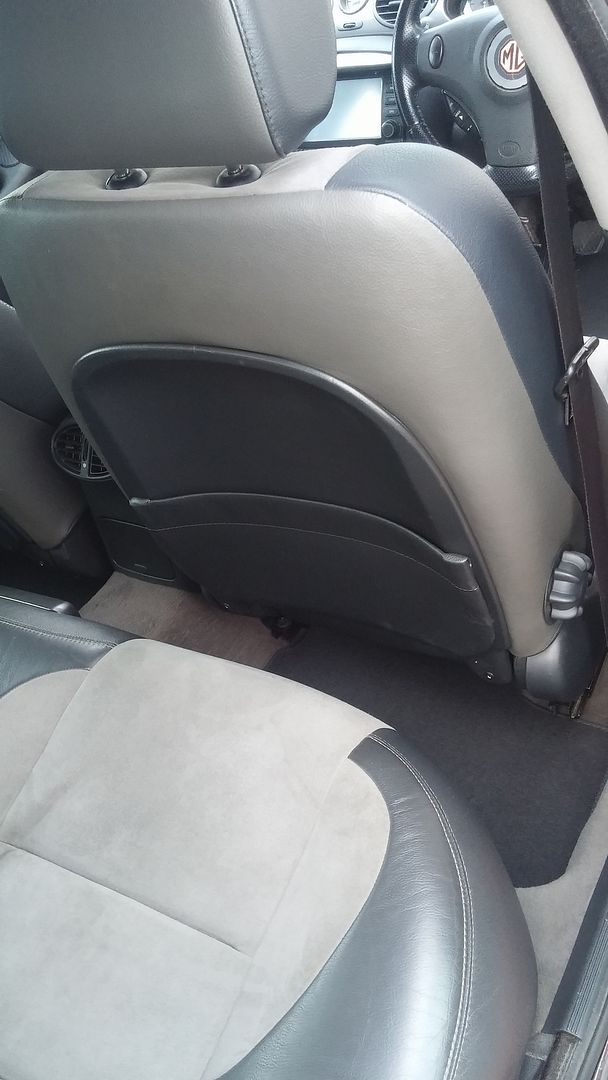 Before 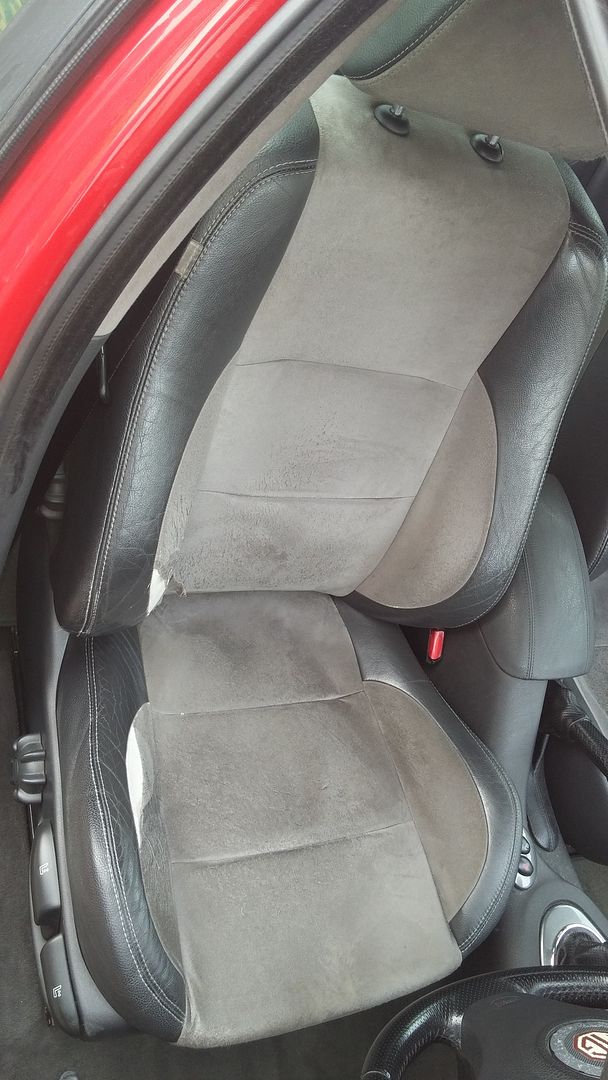 After 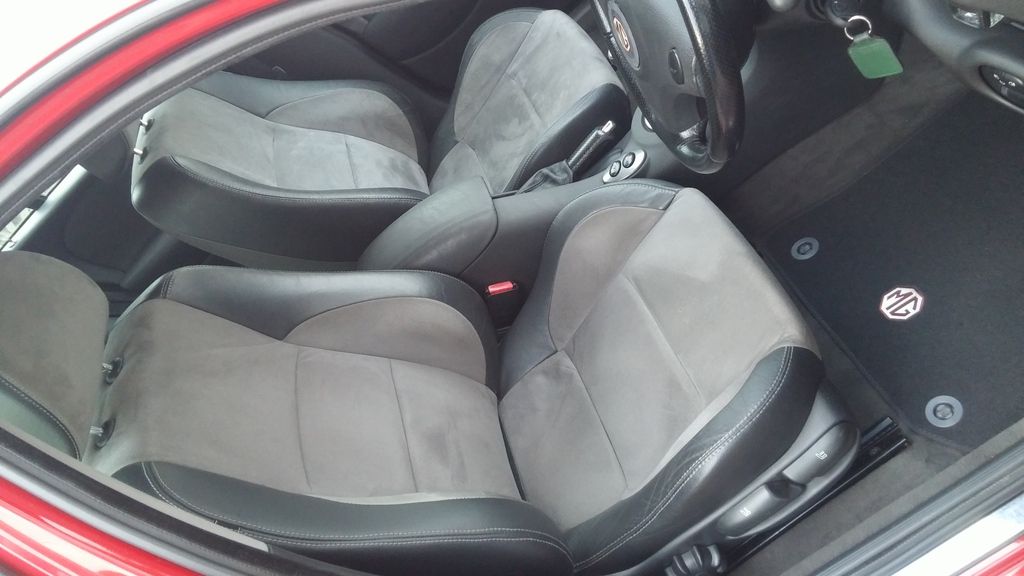 Before 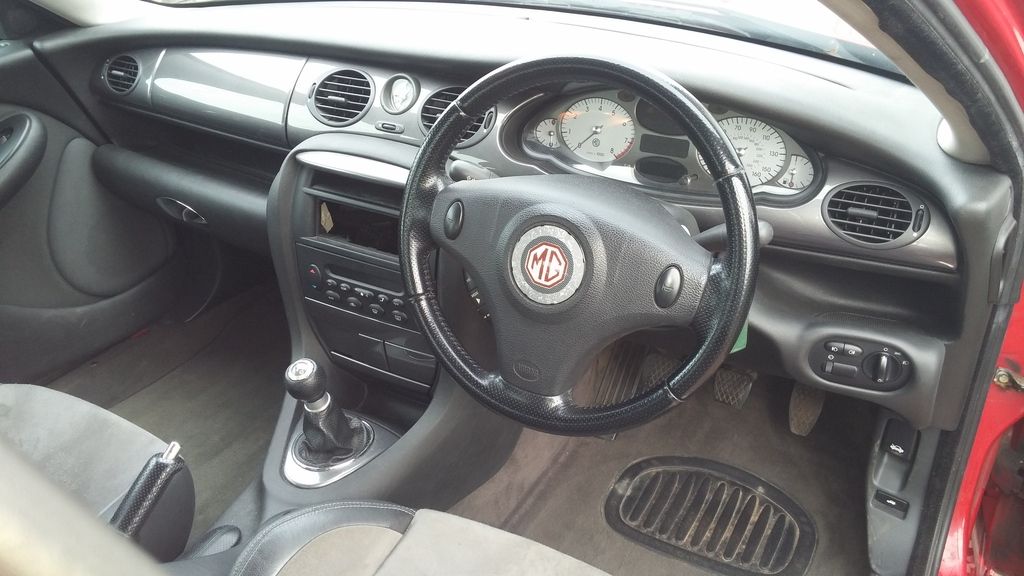 after 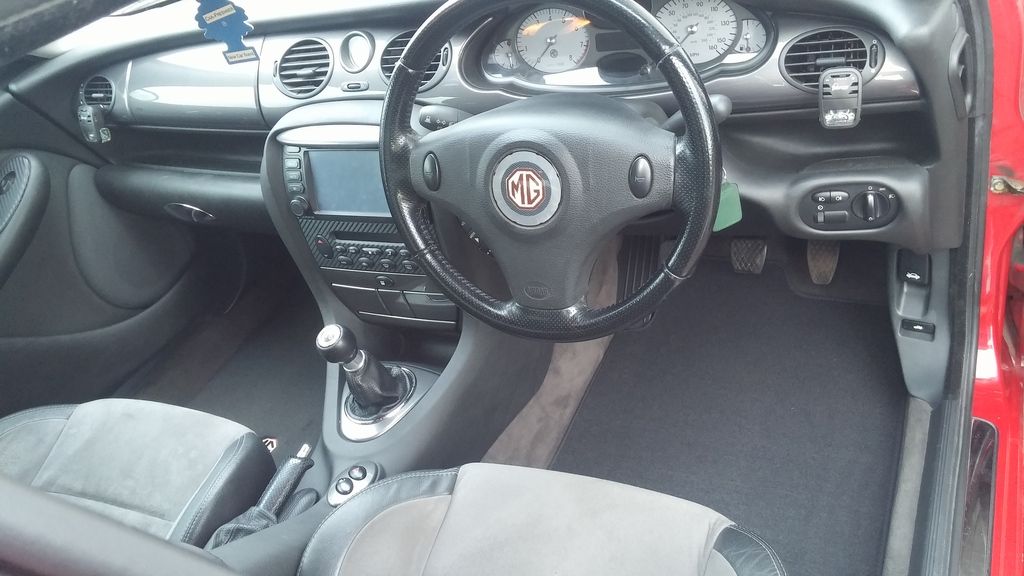 Thats the interior complete well almost I have to fit the IPK with message centre when I go for the T4 session and I will get a professional to change the windscreen for the one with a rain sensor on it. I know I can fit a sensor but I want to keep the OEM look of the masking out Thanks for all your kind comments so far I know its not of interest to everybody but I hope some of the info helps fellow members in some way or another. I realise it seems a bit **** about face to do the interior first but I wanted to get as much out of the blue ZT so starting on the interior made sense to me. Its onto the really interesting oily parts now but first I need to finish breaking the blue ZT so I can this one into the garage this could mean it may be a bit of time before I post any more updates
__________________
Jon C Living the dream MK IV VVTI Tiptronic TT Toyota Supra MG ZT 190+
BornTuesday, 10th July 2001 @ 09:01:10 259th ZT to run off the production line, out of 18,894 252nd ZT 190 + to be made out of 4,023 101st ZT in Solar Red (code: CEU) to be made out of 1,888 Last edited by jonc3725; 20th August 2017 at 20:32.. |
|
|
|
|
22nd July 2015, 01:25
|
#35 |
|
Posted a thing or two
2004 mk1 Rover 75 1.8T Club SE saloon (auto) Join Date: Jul 2013
Location: Enniskillen
Posts: 1,307
Thanks: 670
Thanked 254 Times in 222 Posts
|
Extremely impressive work Jon, and a very interesting thread for any enthusiast to follow
 Looking forward to the next instalment. Cheers, Karl. |
|
|
|
|
22nd July 2015, 08:43
|
#36 |
|
This is my second home
1979 Capri 1.6L, 1982 Capri 1.6L, 2016 Dacia Stepway Join Date: Jun 2009
Location: Dorset
Posts: 8,595
Thanks: 3,496
Thanked 3,397 Times in 2,218 Posts
|
Super impressive work Jon.
|
|
|
|
|
23rd July 2015, 17:41
|
#37 | ||
|
Posted a thing or two
MG ZT 190 + and MKIV Supra Join Date: Jan 2009
Location: Plymouth
Posts: 1,551
Thanks: 224
Thanked 493 Times in 359 Posts
|
Quote:
Quote:
Thanks for the kind comments. Hopefully I will get my finger out and get the other car broken quickly so i can move onto the oily bits
__________________
Jon C Living the dream MK IV VVTI Tiptronic TT Toyota Supra MG ZT 190+
BornTuesday, 10th July 2001 @ 09:01:10 259th ZT to run off the production line, out of 18,894 252nd ZT 190 + to be made out of 4,023 101st ZT in Solar Red (code: CEU) to be made out of 1,888 |
||
|
|
|
|
24th July 2015, 08:17
|
#38 |
|
This is my second home
2007 57 GOLF GTi EDITION 30 DSG Join Date: Nov 2011
Location: Newport Shropshire and Coventry.
Posts: 5,138
Thanks: 2,424
Thanked 1,452 Times in 852 Posts
|
I look forward to posts like this!
I built up the courage and changed my speakers and the door cards went on perfectly. Wouldnt of done it if it wasnt for Jon and his posts lol. |
|
|
|
|
24th July 2015, 08:43
|
#39 |
|
Posted a thing or two
Rover 75 V6 Auto, 2000 year Join Date: Aug 2010
Location: Chisinau, Moldova
Posts: 1,506
Thanks: 389
Thanked 273 Times in 211 Posts
|
A lot of work! Well done!
|
|
|
|
|
29th July 2015, 23:19
|
#40 |
|
Posted a thing or two

75 Conn CDT Tourer, 75 Conn SE V6, 75 Conn V6, 75 Conn CDTi Tourer, ZS 180 Join Date: Jan 2014
Location: Devon
Posts: 1,986
Thanks: 1,287
Thanked 963 Times in 534 Posts
|
So glad you bought this car Jon, you really are doing a superb job
__________________

|
|
|
|
 |
|
|


 Linear Mode

