

|
||
|
|
||
|
|
||
|
|
#1 |
|
Loves to post
Facelift Rover 75 Classic CDT auto and Connoisseur SE 1.8T Join Date: Jun 2014
Location: Ferryhill
Posts: 399
Thanks: 113
Thanked 110 Times in 83 Posts
|
I’ve finally got round to investigating my 1.8t that I bought last year. I have not driven it other than backing the car onto my drive after it was delivered on the back of a recovery truck. It starts and runs but produces incredible amounts of smoke. The smoke is mainly white, but there is also lots of blue / black there too. The exhaust gas stinks and catches you at the back of the throat so you don’t want to be around it for too long.
Usually, white smoke results from coolant or water; black smoke is an overly rich fuel mix; and blue smoke is oil. At first I suspected HGF because there is a lot of white smoke. However, Marinabrian, gave me tip to check the turbo compressor wheel for play so I took off the hose to the centre of the aluminium compressor housing, aka ‘snail shell’. When I looked and felt the wheel, it did not take a mechanical genius to see that in my case, the turbo had excessive play in the bearings and the seals had failed. This image from dieselnet shows a sectional view of turbocharger. The turbocharger has journal bearings in the middle of the turbocharger, between the intake and exhaust sides. The bearing supports the shaft on a thin layer of oil that is constantly pumped around the shaft. The shaft is lubricated by oil under high pressure from the engine's oil pump. There are oil seals on the intake side and the exhaust side that keep oil from escaping from the bearing. If the exhaust side oil seal fails then oil will leak into the exhaust system, where it may, or may not, burn if the exhaust temperature is hot enough. This will give different smoke colours, depending on if, or how much, the oil is burnt. The smoke is only blue if the oil is burning. If the oil that gets into the exhaust is not burnt but is vaporised by the heat instead then there is white smoke. If the intake side oil seal fails then oil will leak into the intake system, where it is drawn into the engine and burnt along with the fuel, creating blue smoke. My turbo was clearly very poorly so I considered the following three options. 1. Replace turbo 2. Buy a ‘turbo fix kit’ from eBay. These can be an el-cheapo few washers and seals in a bag or more expensive, fairly comprehensive looking kits with axles, new compressor wheels and turbine wheels. 3. Install a replacement, fully balanced, centre part of the turbo with all the moving parts. This is known as a Centre Hub Rotating Assembly (CHRA) cartridge. I discounted the eBay turbo fix kits because it is essential that the assembly is fully balanced and I cannot see how anyone at home can achieve this with one of these kits. Turbochargers spin exceptionally quickly and any unbalance would quickly lead to destruction. Videos on YouTube suggest carefully marking the wheels to replace them in the same position. I was too sceptical to seriously consider this. I did not want the hassle of fitting a second hand turbo, as it could be trouble in the future. I rang Midland Turbo who was very helpful and gave me an exceptionally good price for a replacement turbo they had on the shelf – and that was very tempting. In my research I had come across CHRAs and it looked to me like it was possible to replace the CHRA without removing the complete turbo unit from the car. This would save considerable time and aggravation removing stubborn nuts, bolts or studs on the exhaust manifold and the exhaust side of the turbo. [Marinabrian reassured me that the whole turbo would come out easily but I’m lazy and I figured that if I don’t have to take it all out then it makes my life easier]. Midland turbo would have to make up a CHRA for me, which would take a few days and the price was not as attractive, so I identified one on eBay from Turbocharger Solutions which was £95, manufactured in the UK and comes with a balance test sheet. I stripped out the compressor side of the turbo from the car before ordering the CHRA so that I could be sure that it could be done without removing the whole turbo. I will put the details of the turbo strip down and rebuild in my next post… |
|
|

|
|
|
#2 |
|
Loves to post
Rover 75 Tourer Join Date: Jan 2015
Location: Shifnal
Posts: 422
Thanks: 57
Thanked 80 Times in 66 Posts
|
You've certainly done your research and I'll certainly be looking forward to your updates on this.
__________________
Done so far... loads. Special thanks to Arctic, Lord_Skyrunner John_H, Holland314, JamieWelch and Drewski for their help so far. Left to do... loads!!! |
|
|

|
|
|
#3 |
|
This is my second home
Rover75 and Mreg Corsa. Join Date: Nov 2006
Location: Sumweer onat mote o'dust (Sagin)
Posts: 21,753
Thanks: 341
Thanked 3,660 Times in 2,924 Posts
|
Your venture will be useful. Several threads this week discuss fixing a 'blown' turbocharger and while it's obvious how oil gets into the compressor and turbine housings, it's less clear how coolant can get in there. From my examination, the coolant jacket has no direct access to these chambers and can't enter the inlet duct or the exhaust system. The only route seems to be via its contamination of the engine oil - clearly a byproduct of HGF in its various guises. When you do the suggested write up, maybe you could address this facet? While I've commented myself that direct coolant loss can be the result of turbocharger failure, a more considered argument is that this cannot actually happen. Only if the CHRA body (the casting) cracks into the cooling jacket can coolant escape via the turbocharger. I recently fitted a Mellett CHRA to a Garrett turbo myself.
TC |
|
|

|
|
|
#4 |
|
Loves to post
Facelift Rover 75 Classic CDT auto and Connoisseur SE 1.8T Join Date: Jun 2014
Location: Ferryhill
Posts: 399
Thanks: 113
Thanked 110 Times in 83 Posts
|
This is the first time I've done this so I'm not saying this is a definitive 'how to', but it seems to be going well so far.
I sprayed everything with penetrating oil frequently for a couple of weeks before getting around to this… I removed the front end of the car to give easy access. There is a handy ‘how to’ on this forum that shows how to remove the bumper, crash bar and radiator assembly. 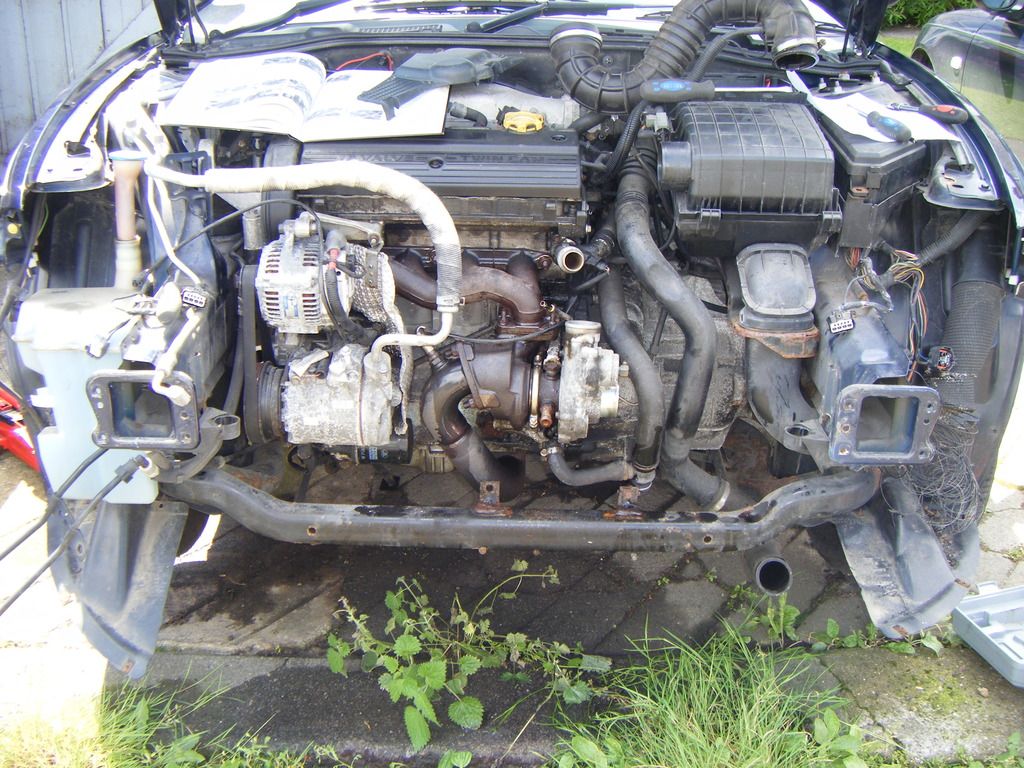 You will need. 1. Shiny new CHRA 2. Labelled storage: It is helpful to have paper to label things and small polythene bags to store them temporarily. I used freezer bags from the kitchen and some post-it notes. 3. Penetrating oil 4. Spanners 5. Socket set (3/8 drive was easier to use than my ½ inch set as access is limited at times). 6. T-30 Torx bit 7. Small screwdriver 8. Mirror 9. Copper grease 10. Engine oil Make sure you order the correct CHRA 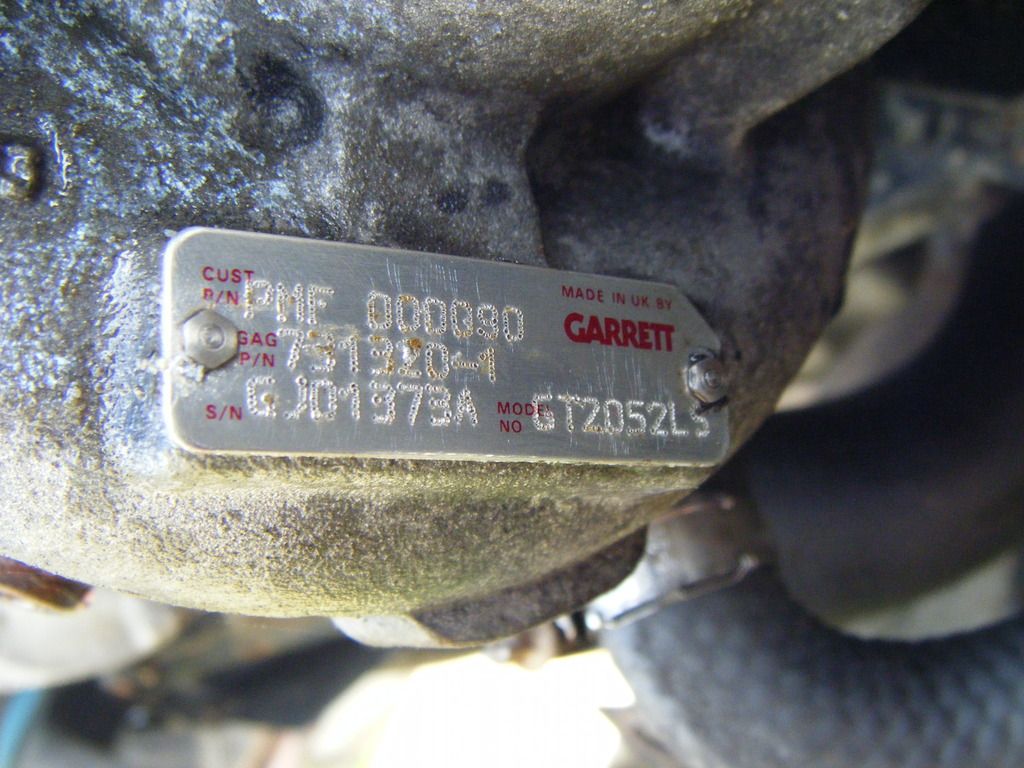 I got mine from eBay http://www.ebay.co.uk/itm/2715430322...%3AMEBIDX%3AIT 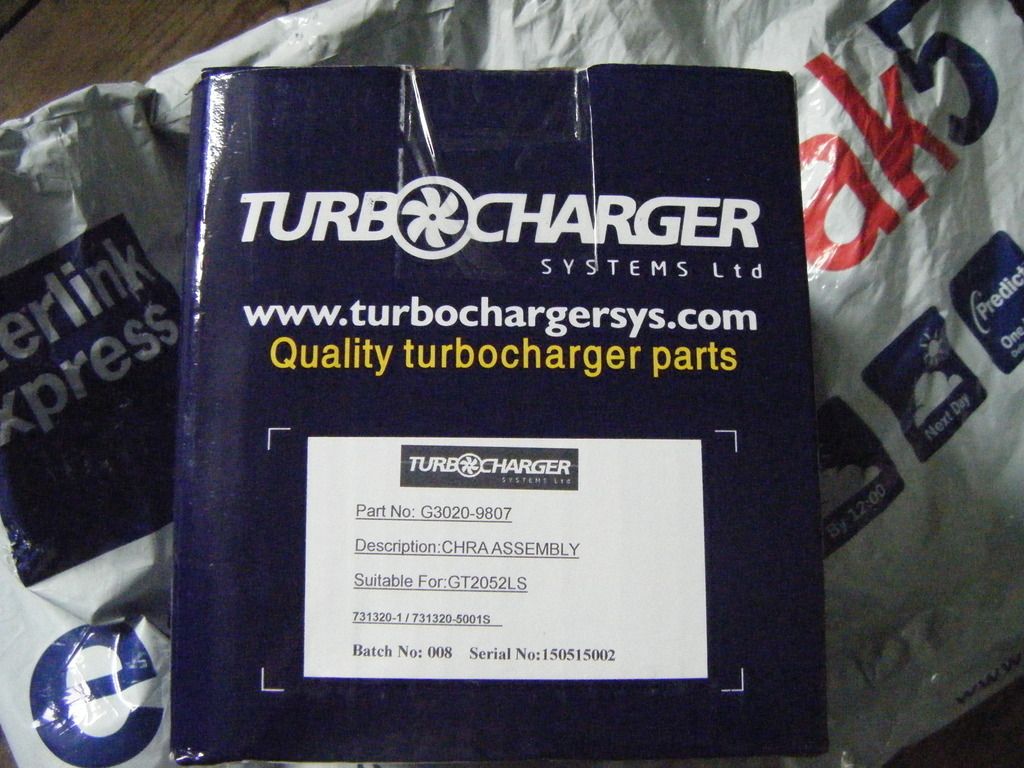 It came with a balance certificate from Turbo Technics. 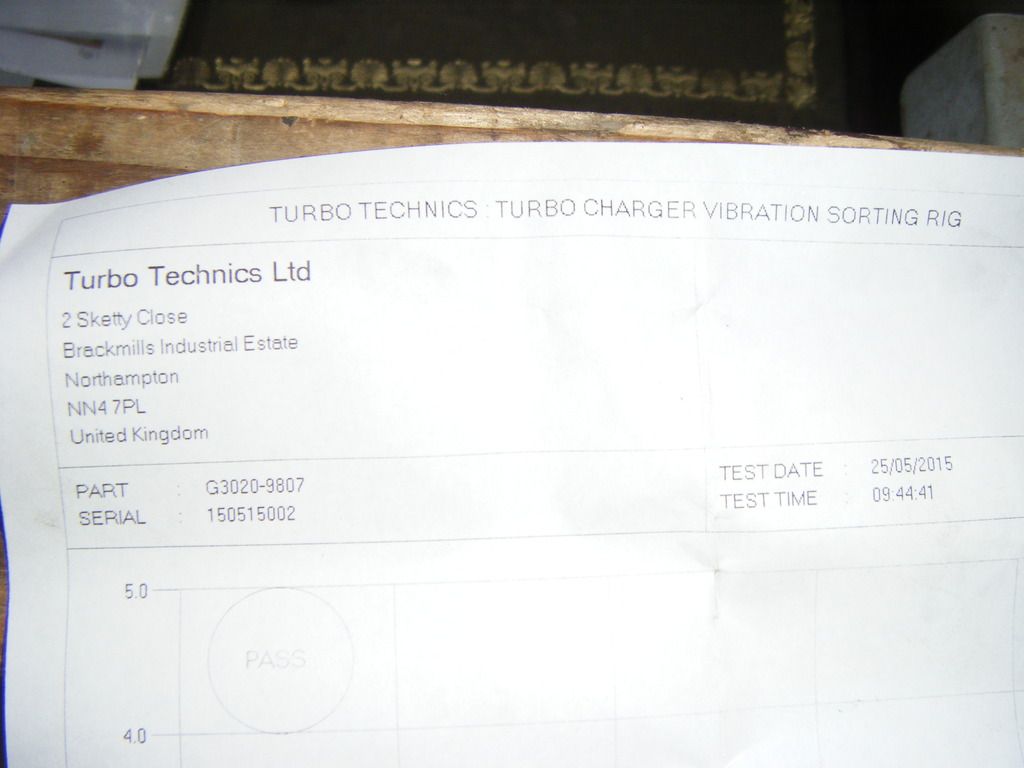 Drain the oil sump and dispose of the oil responsibly. 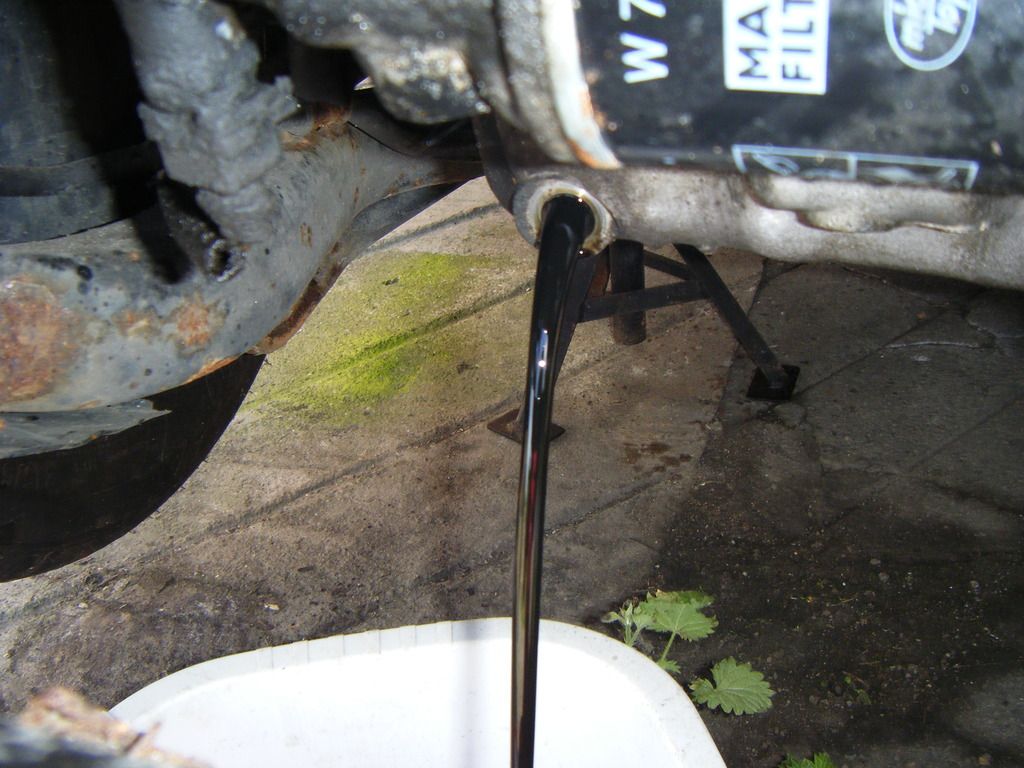 Remove lower oil pipe (return). There are four 8mm headed bolts. Two of these are short at the turbo end and there are two long ones at the engine block. One is hard to access. In the picture it is the fat thing covered in the silver heat shield. 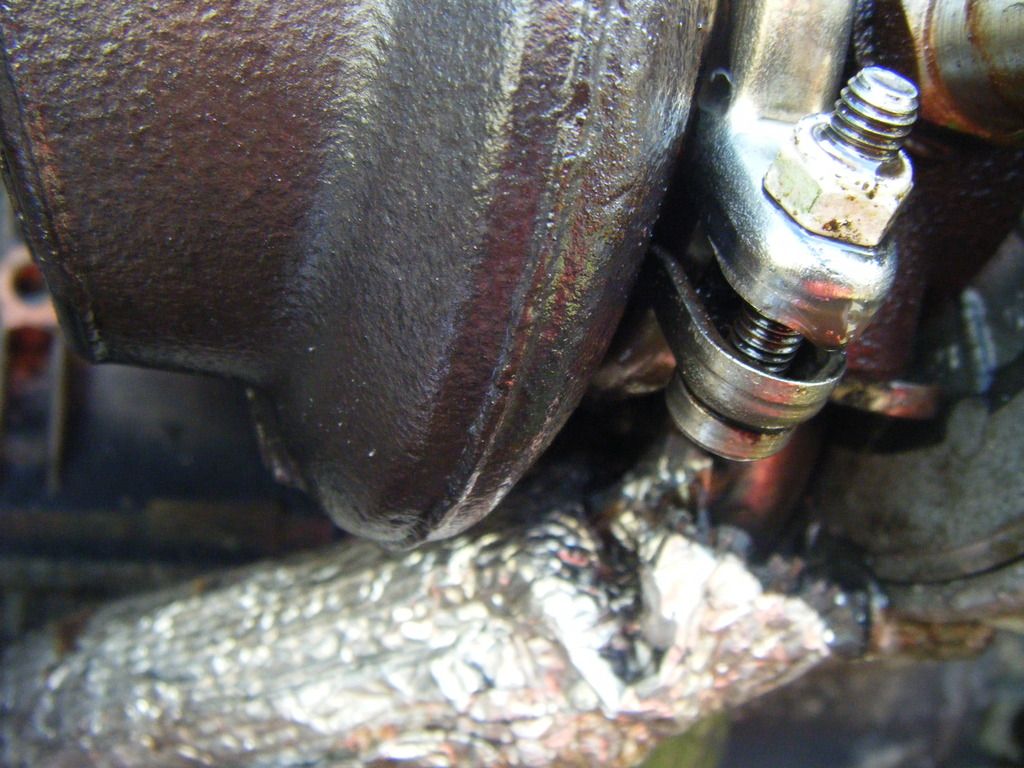 Remove bolt from upper oil pipe (feed). Note the washer above and below the banjo fitting. 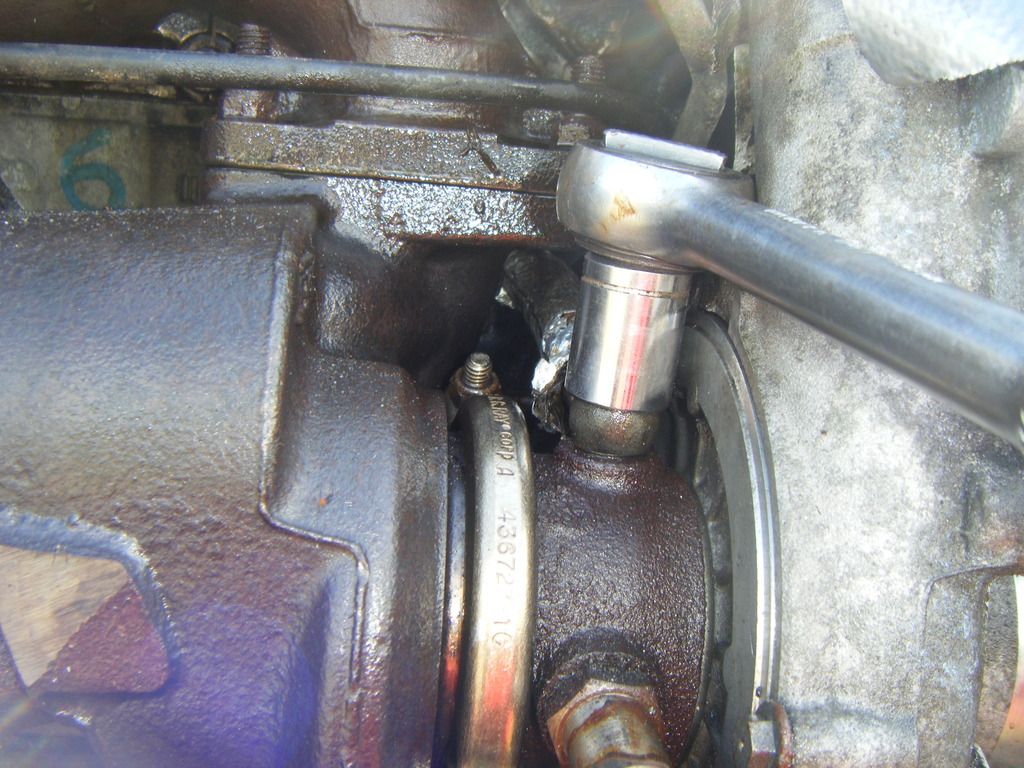 Use a mirror to see the circlip and its orientation then use a small screwdriver remove this from the wastegate pivot and disengage the actuator rod. (Take great care not to lose the circlip). 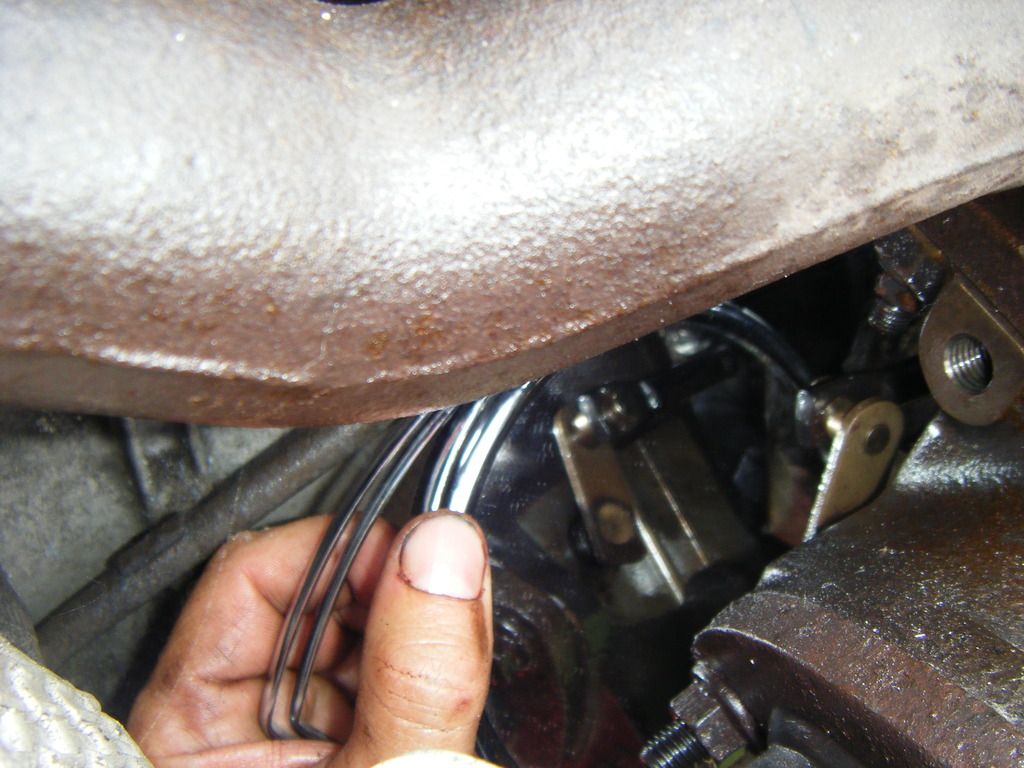 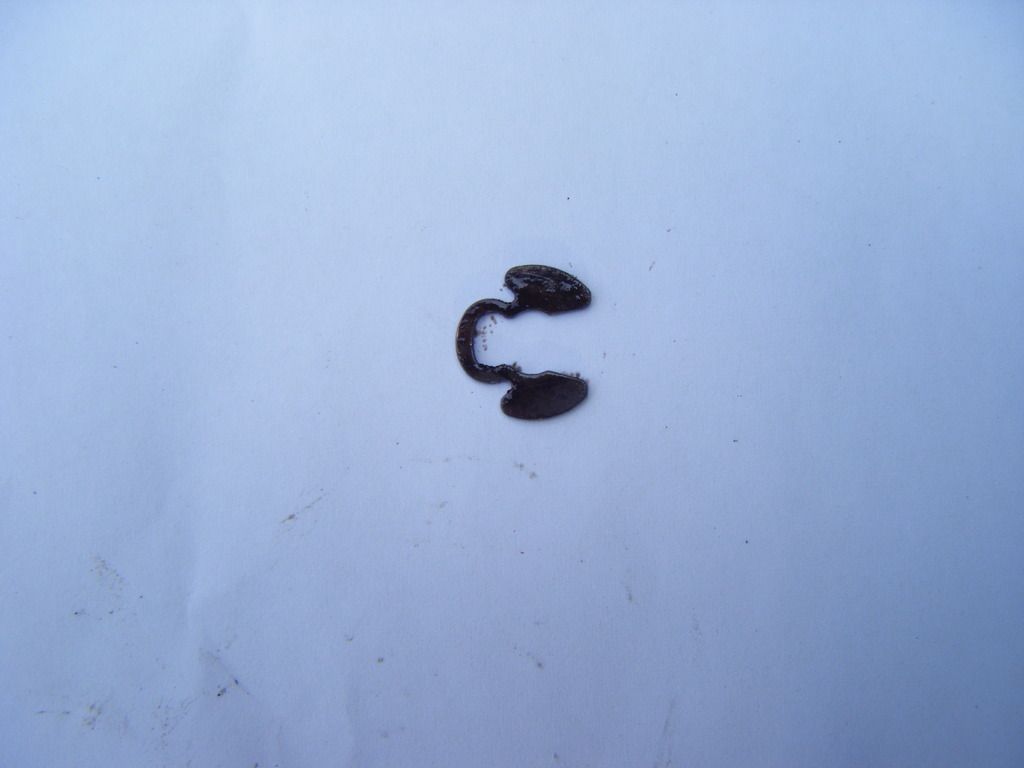 Remove band from the middle of the turbo. This is in two parts and there are two bolts with a Torx T-30 head and a 10mm nut. 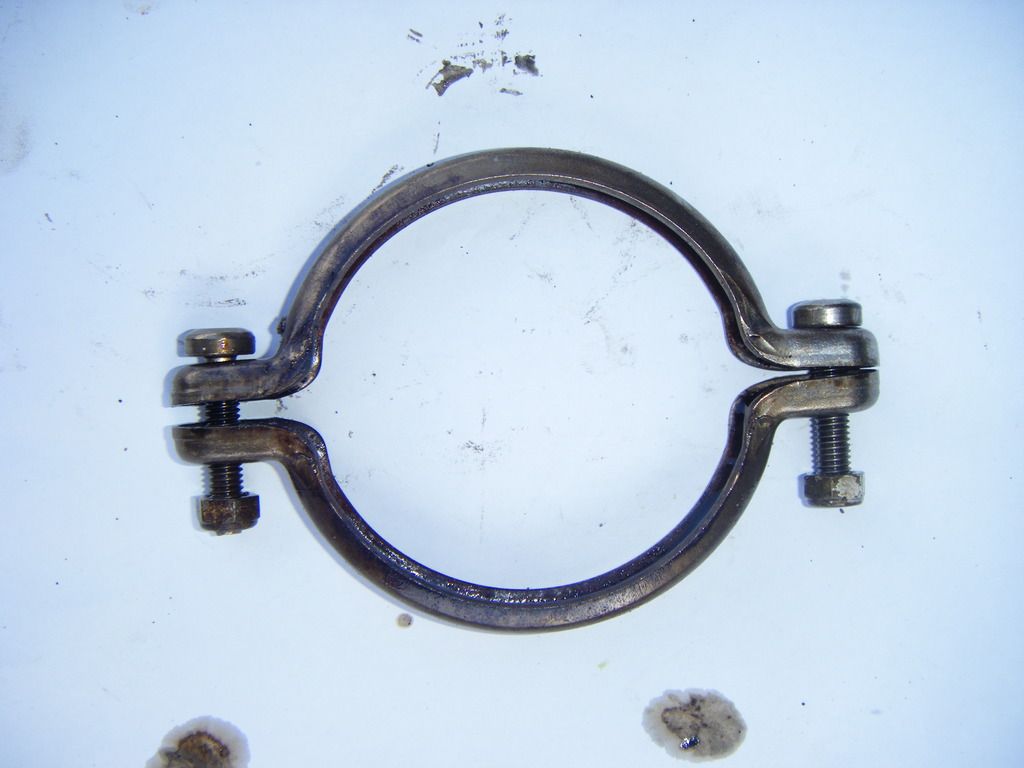 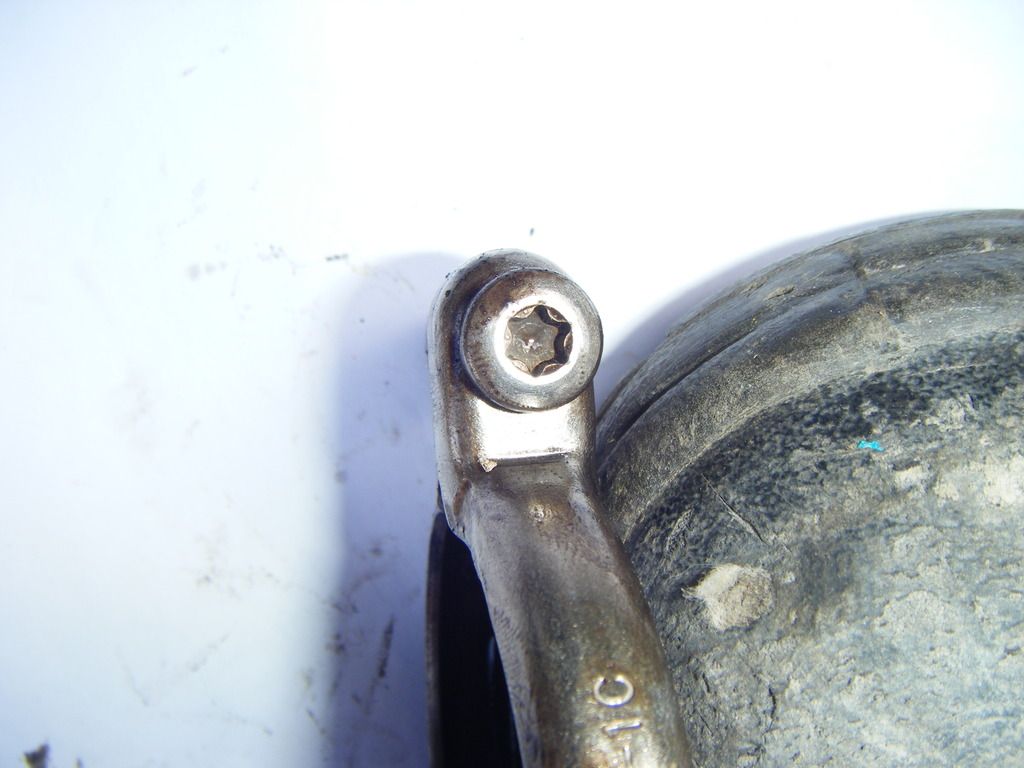 Tap the mid section gently with a hammer and socket extension to separate the turbo halves. Note the very small locating dowel. (Don’t try to rotate the turbo halves, when separating them as this will damage the dowel). The hole for the dowel is visible near the top of the turbine housing. 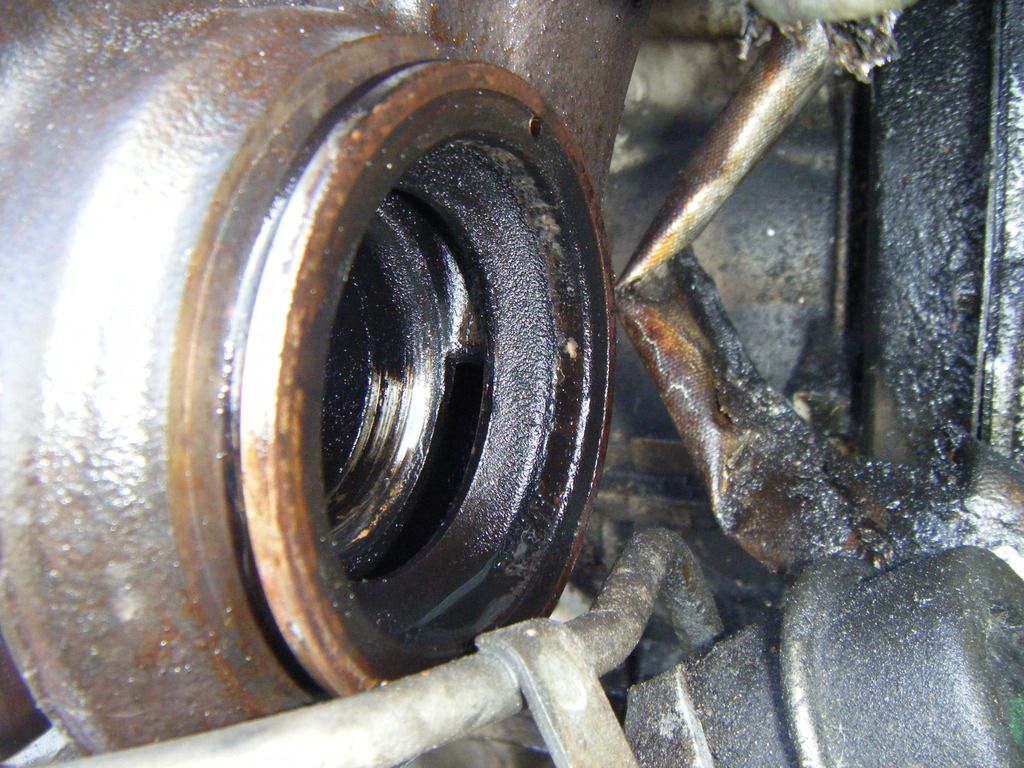 Remove the thin bore tubes that run up to the air box. Black is uppermost and joins underneath the water pipe bracket. Yellow goes to the turbo actuator. 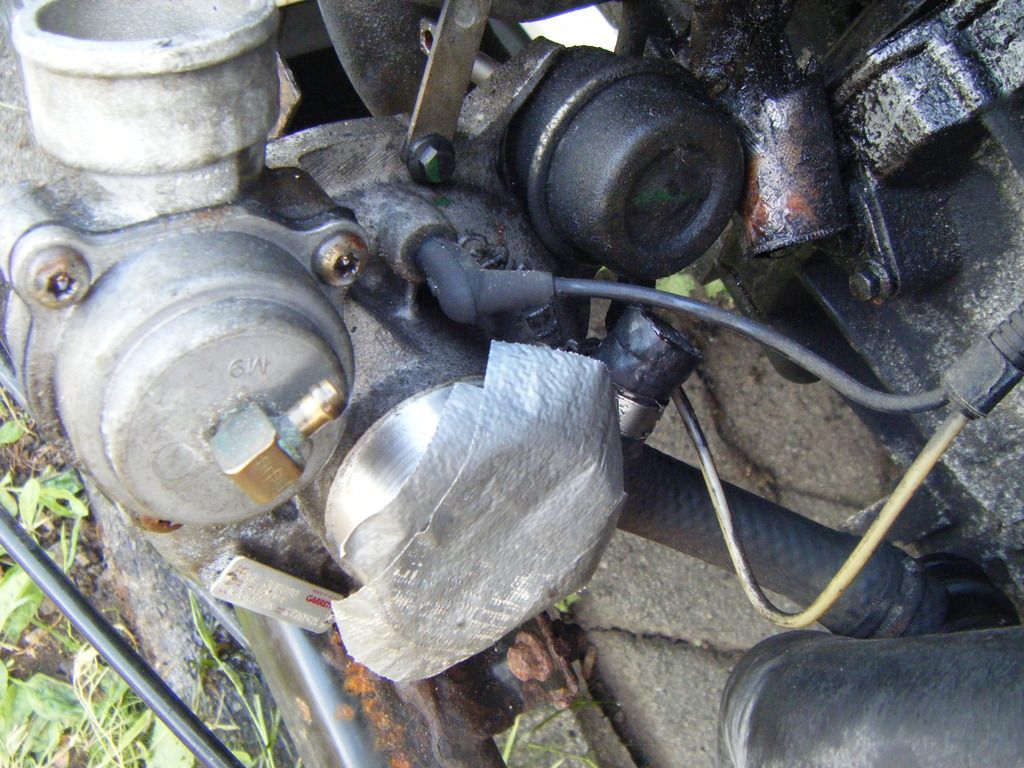 Tip any oil out of the snail shell. (Mine had a cupful). 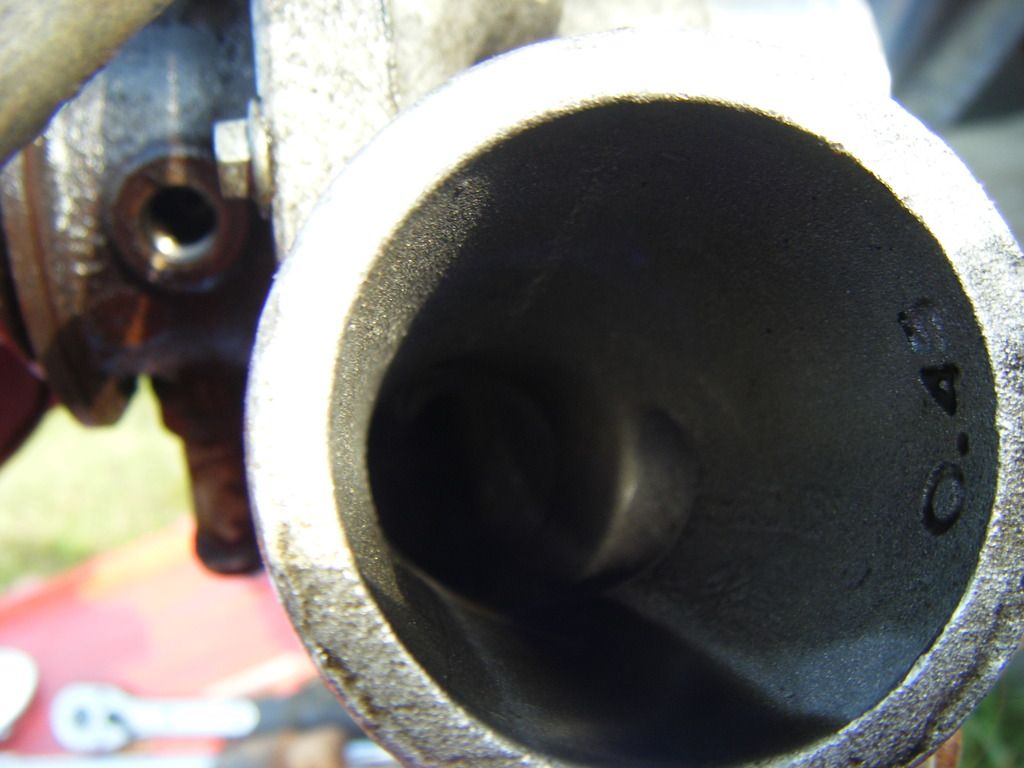 The turbine housing needs a good clean. I placed a cloth inside it and sprayed the mating face with oven cleaner. 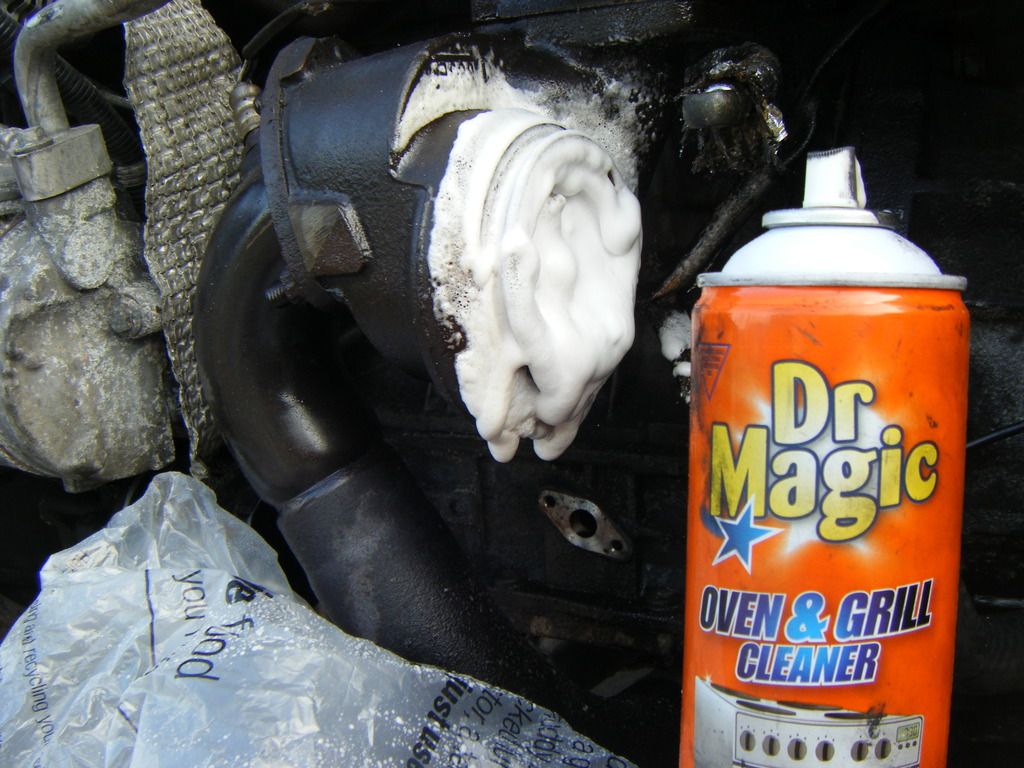 De-grease the outer housing of compressor side of the turbo to make subsequent handling easier. 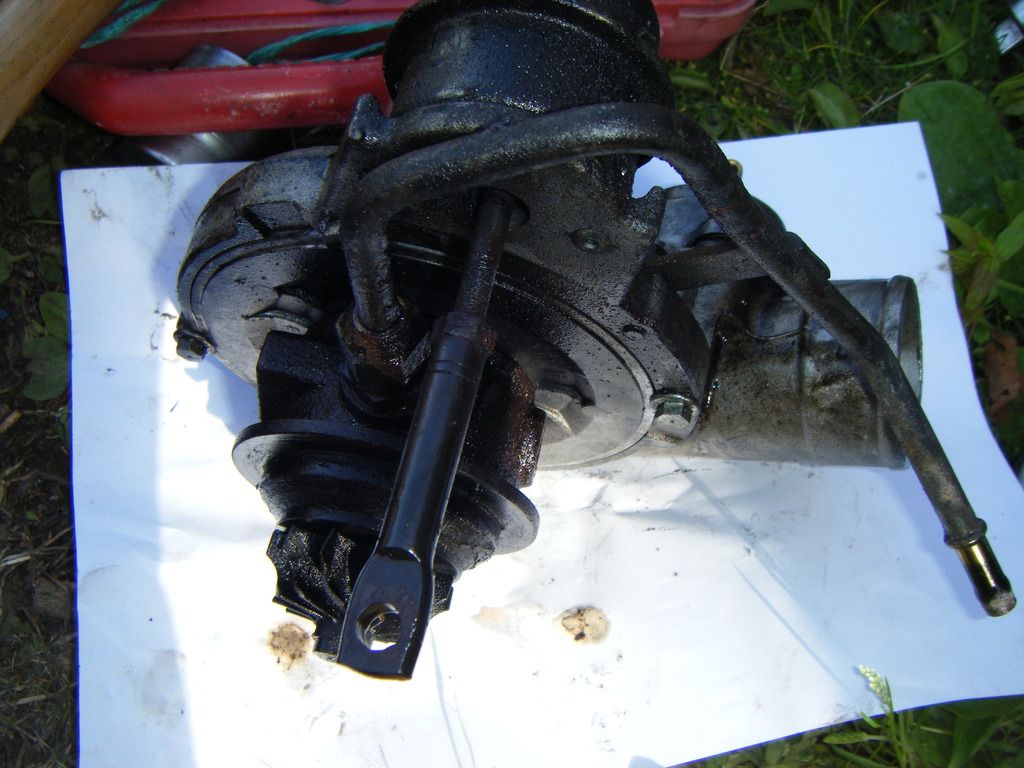 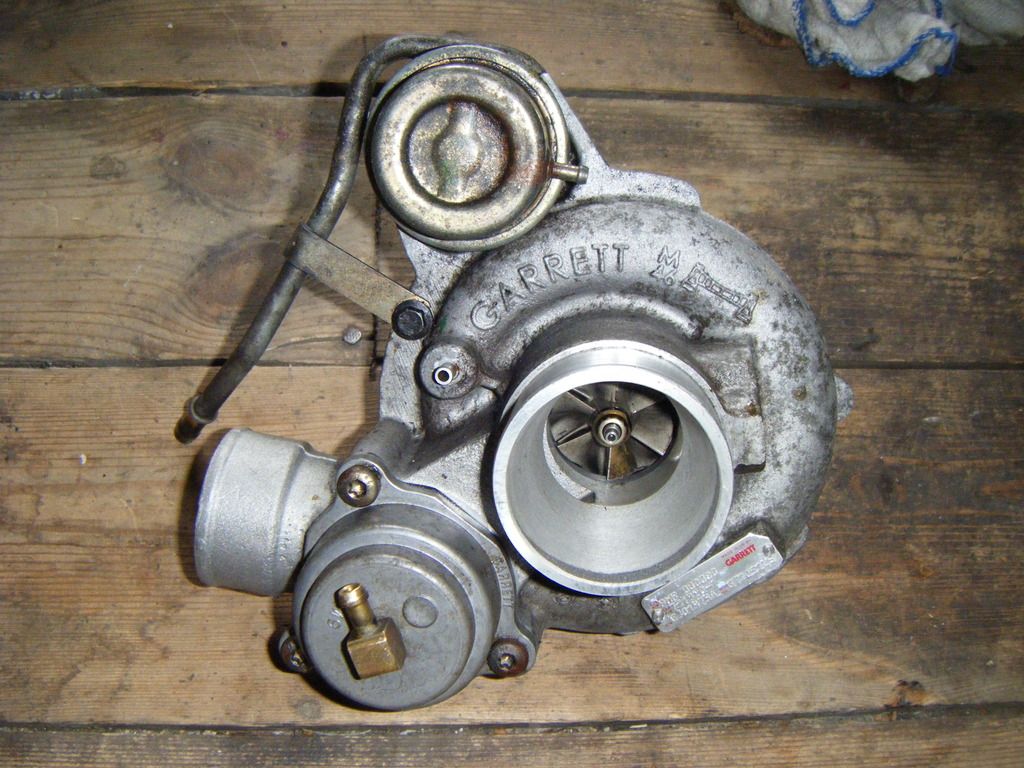 Remove metal water pipe from old CHRA 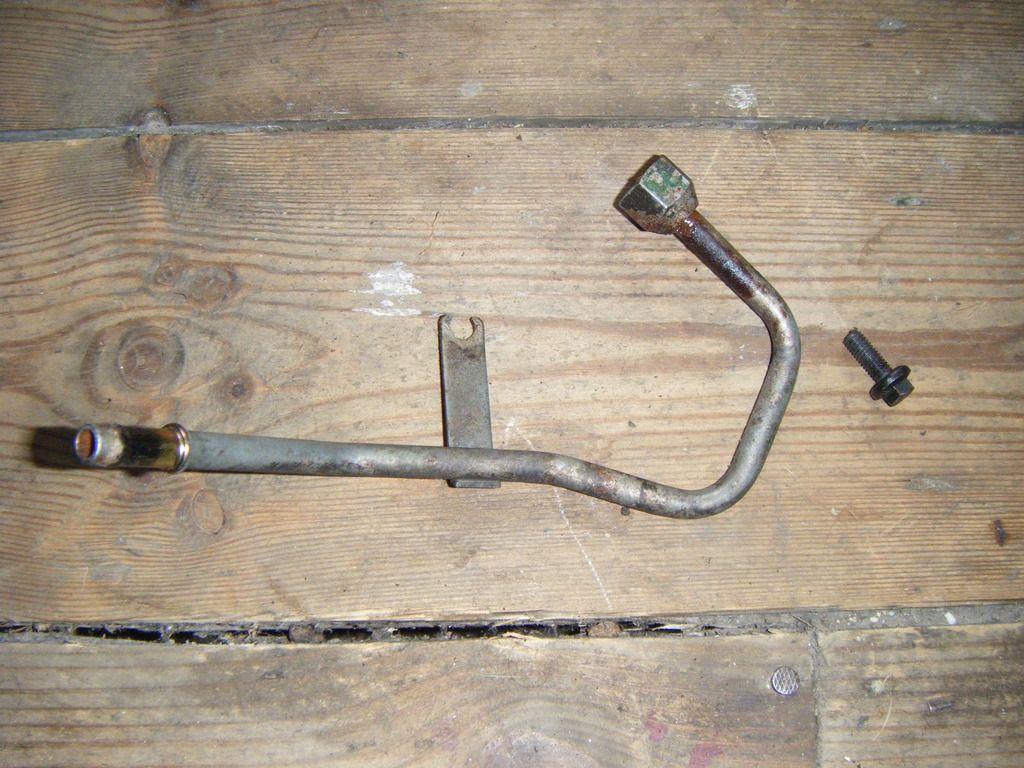 Remove 4 x bolts from snail shell (8 mm head) 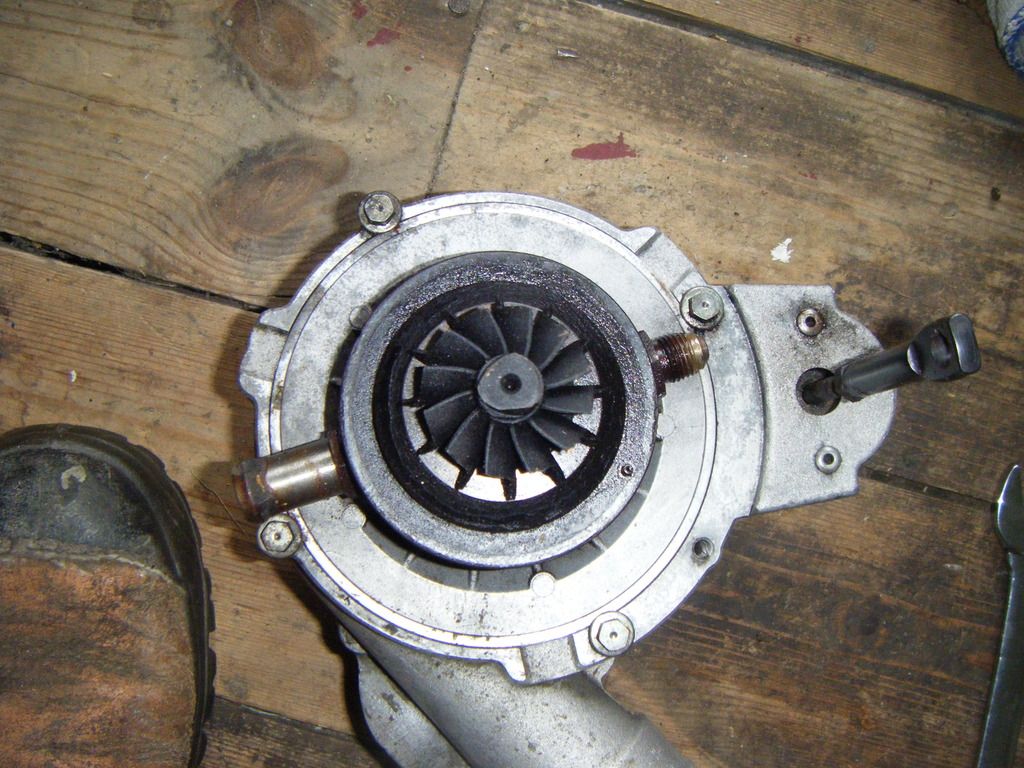 The CHRA will now lift out. 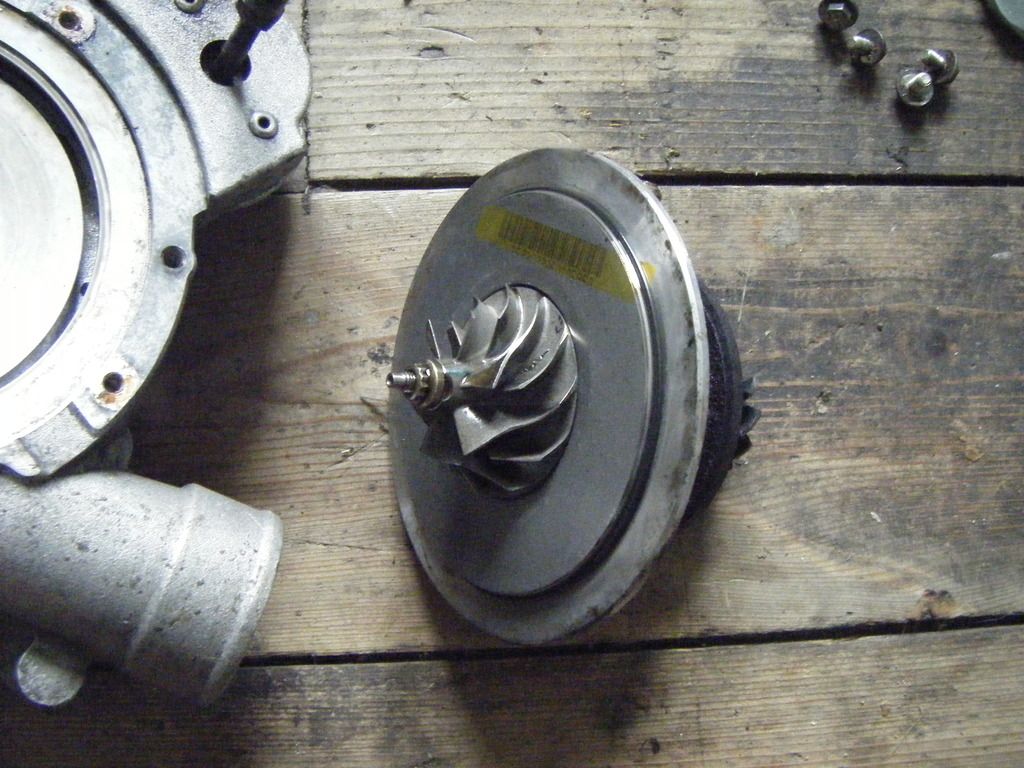 From old CHRA, remove the two threaded nozzles and note the copper washers. 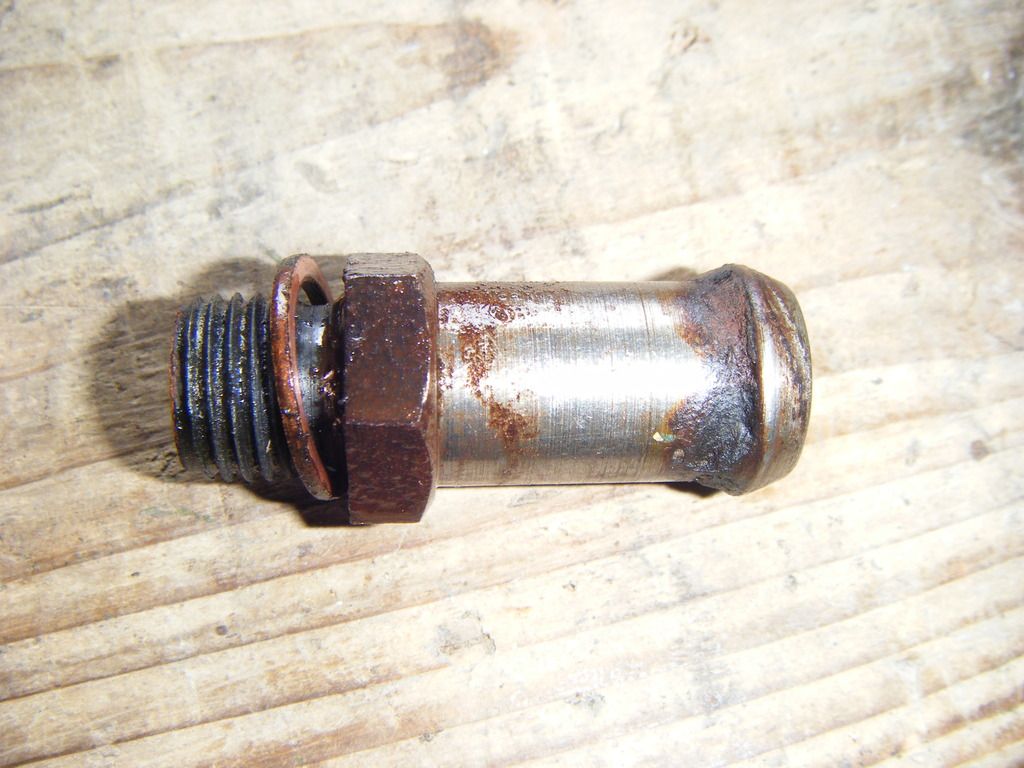 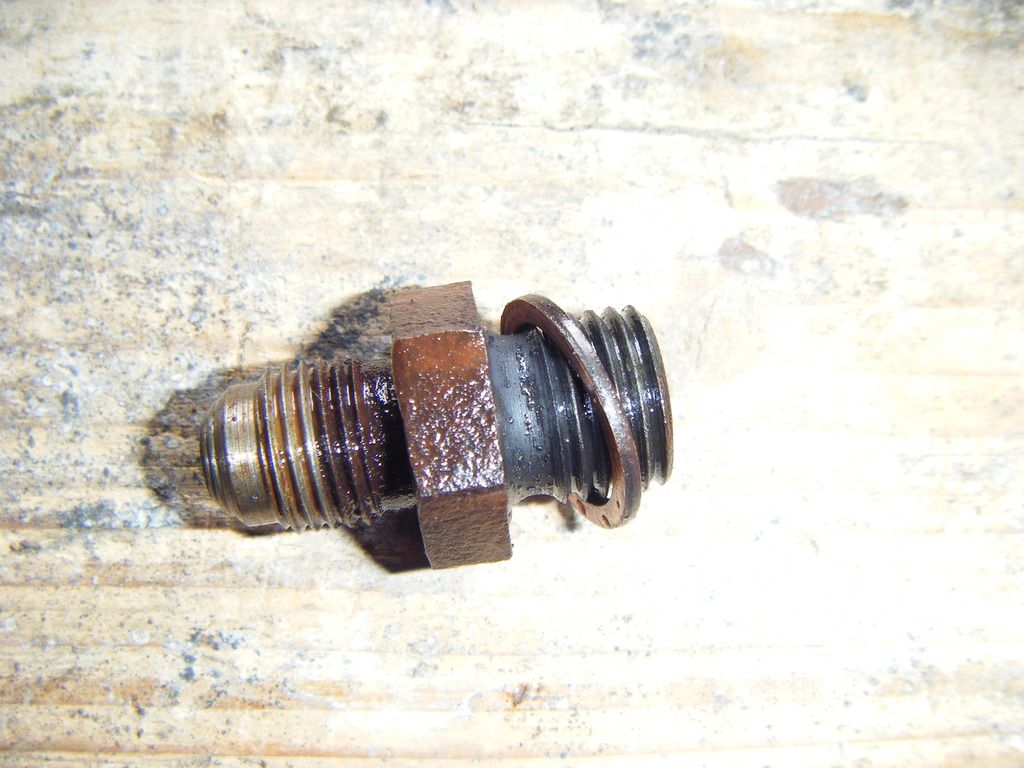 Clean threaded nozzles, apply copper grease and add to new CHRA 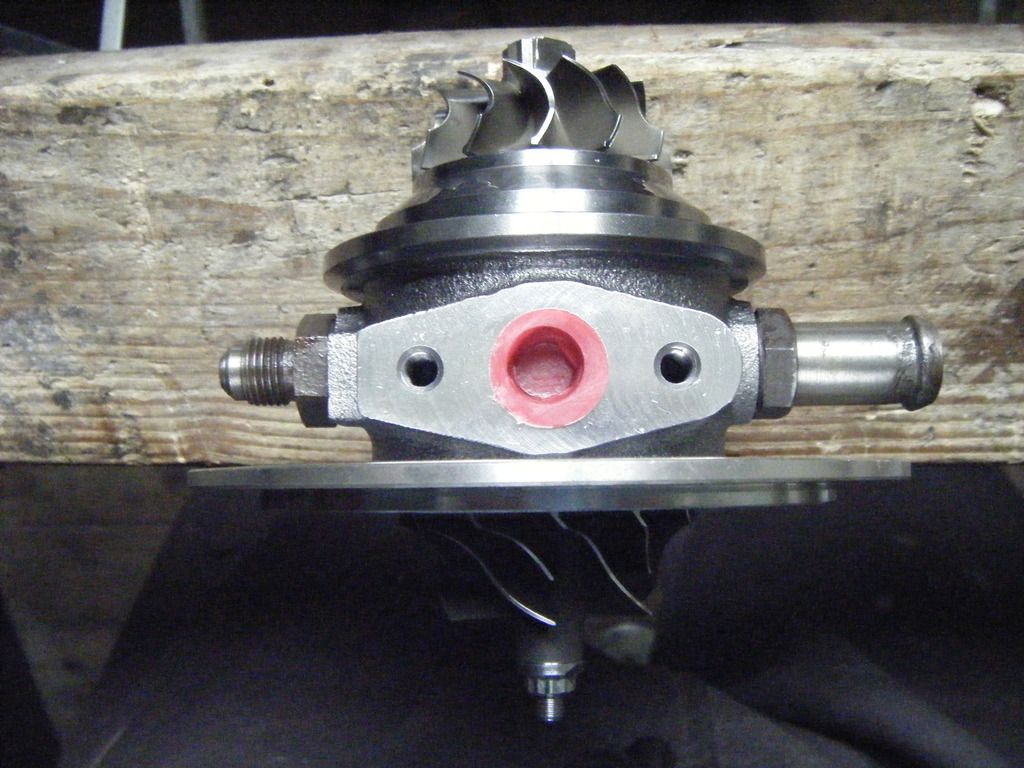 Fit large rubber O-ring to CHRA and lightly oil 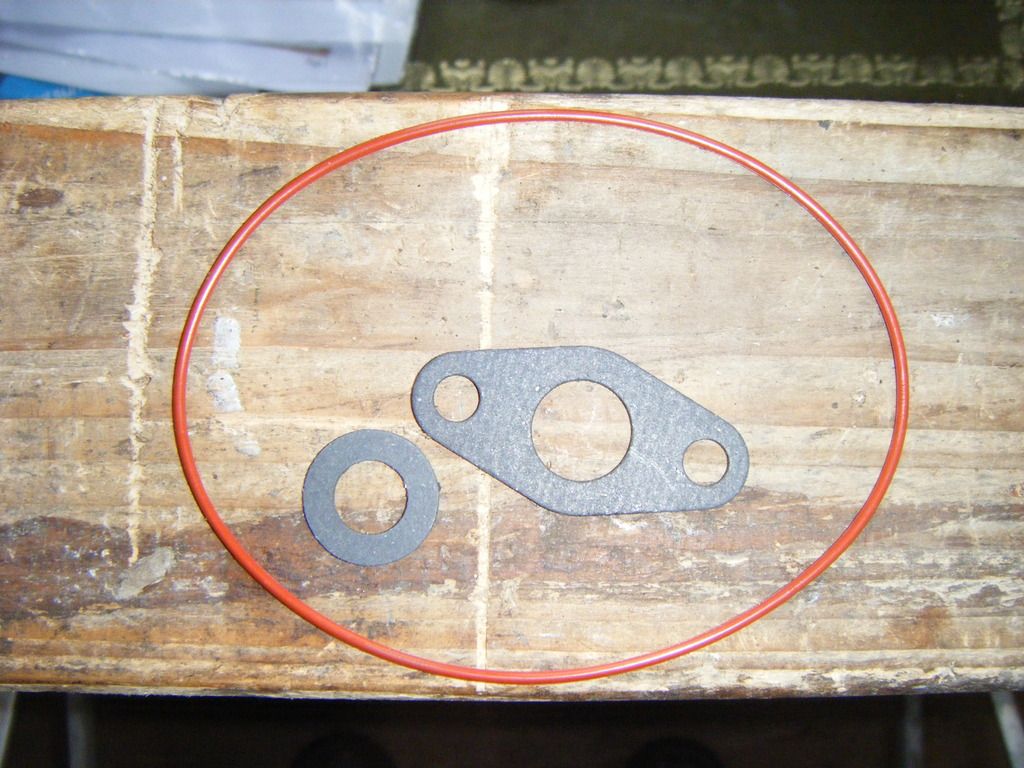 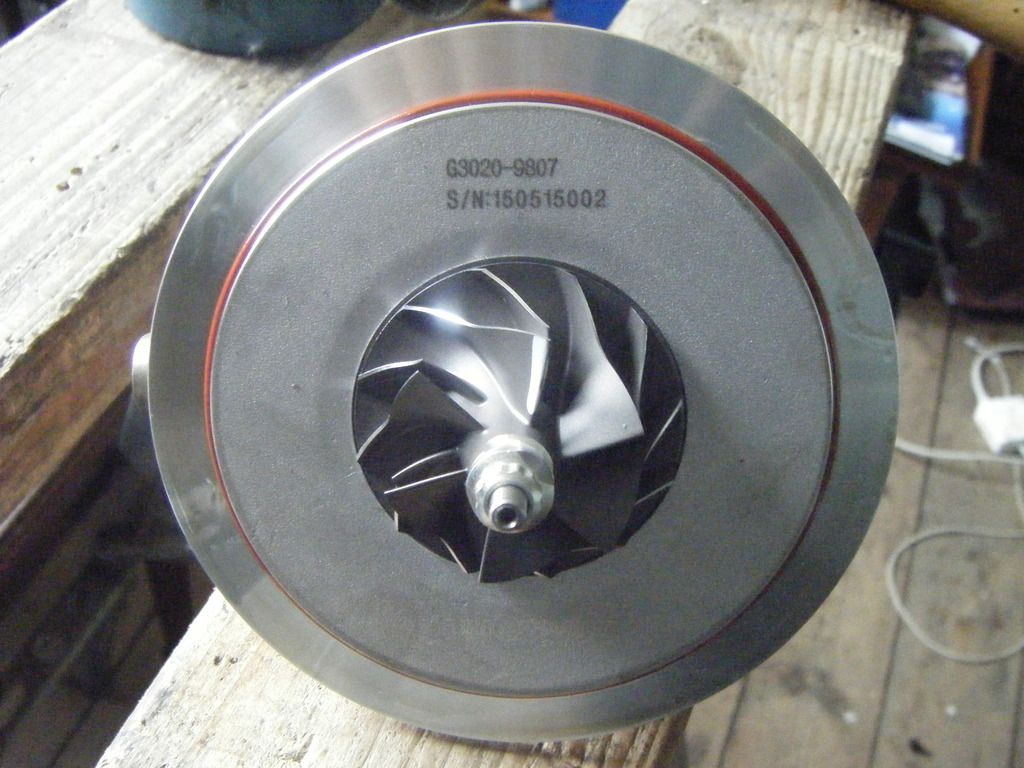 Fit CHRA to snail shell in correct orientation 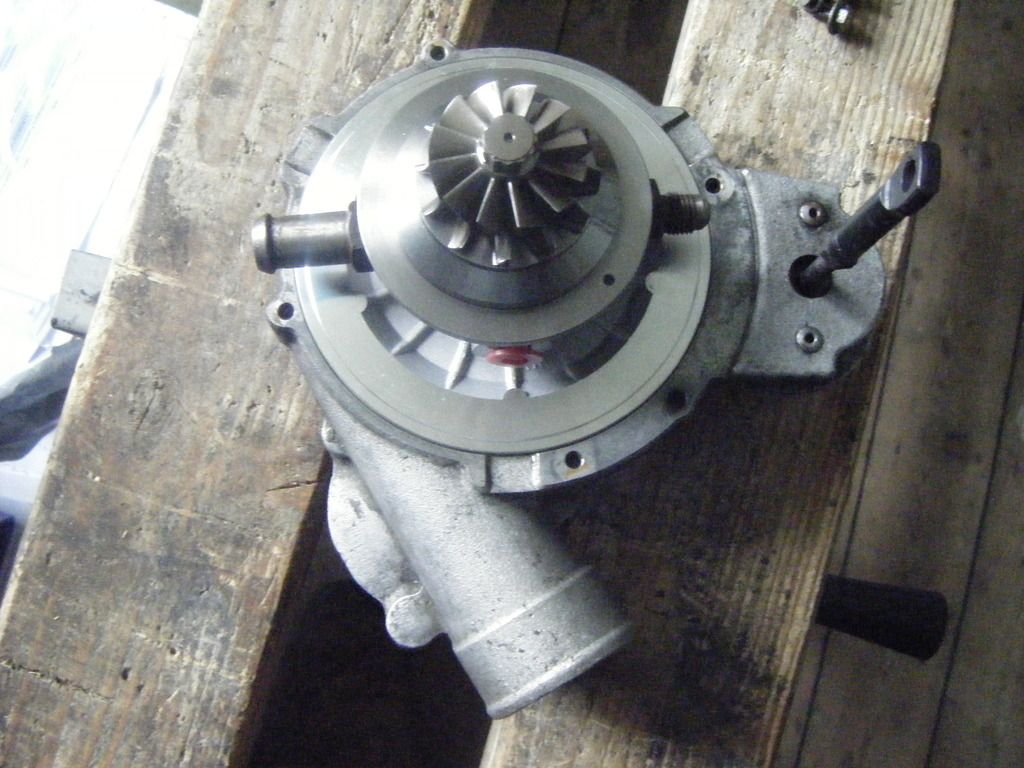 Add some copper grease to the small bolts and tighten them to snail shell Tighten 8mm bolt to fit water pipe to snail shell (note this is on the opposite side to the four small bolts that hold the CHRA to the snail shell) Tighten water pipe to threaded nozzle (18 mm) 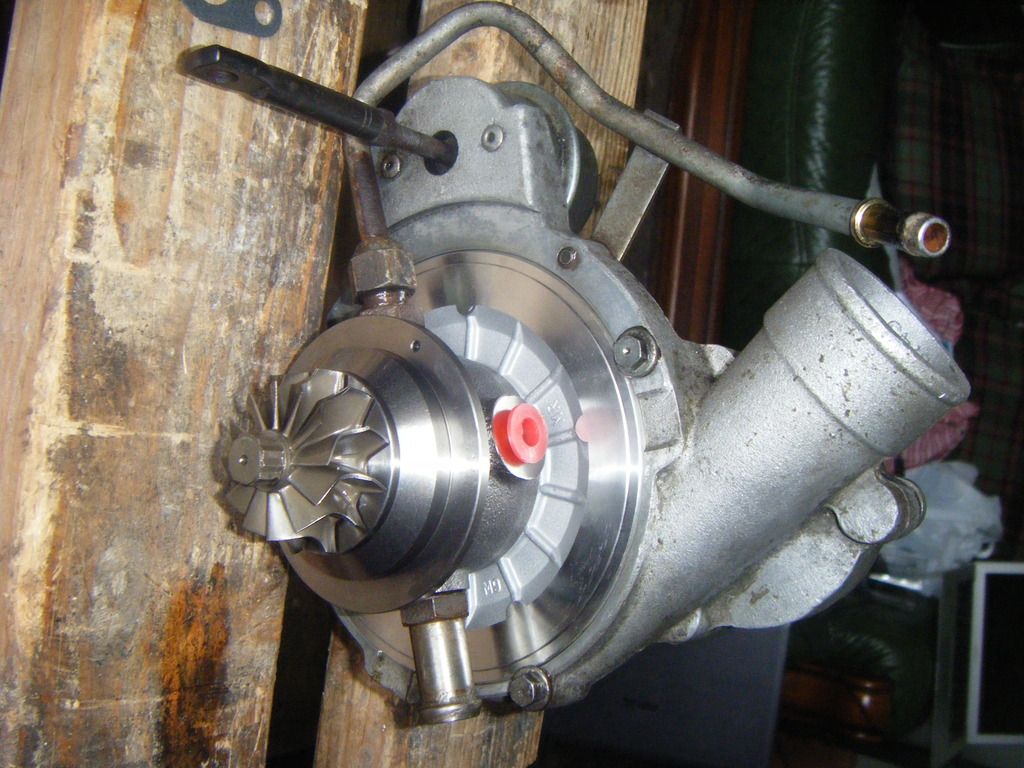 Extract the small locating dowel from old CHRA and transfer to new 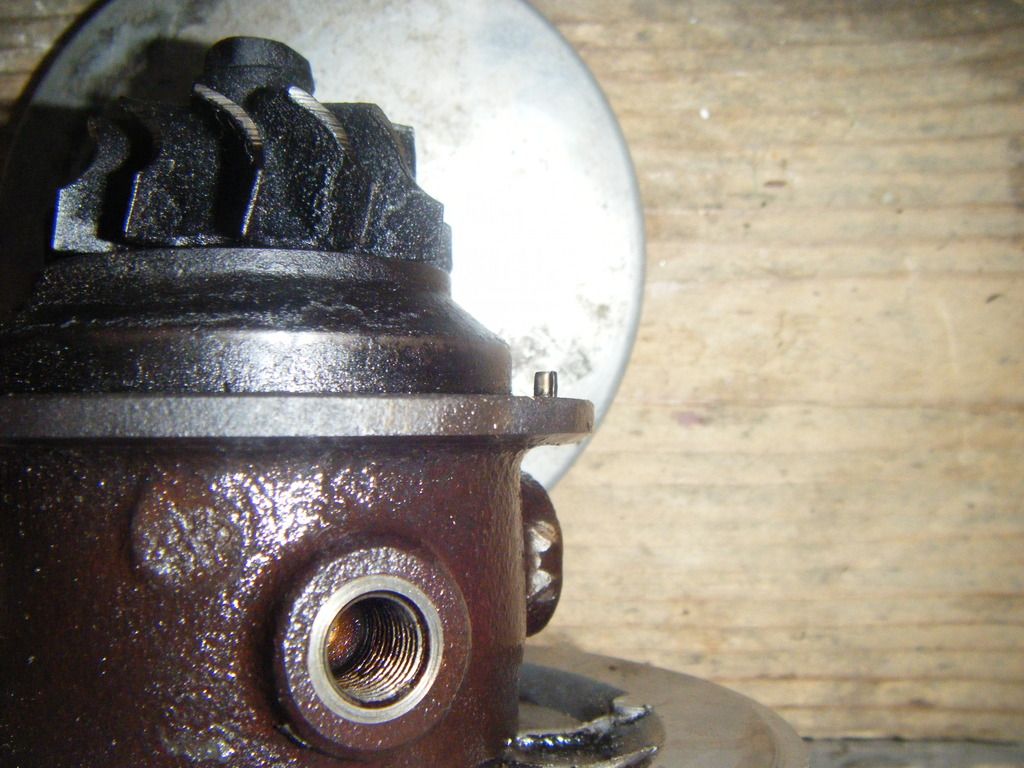 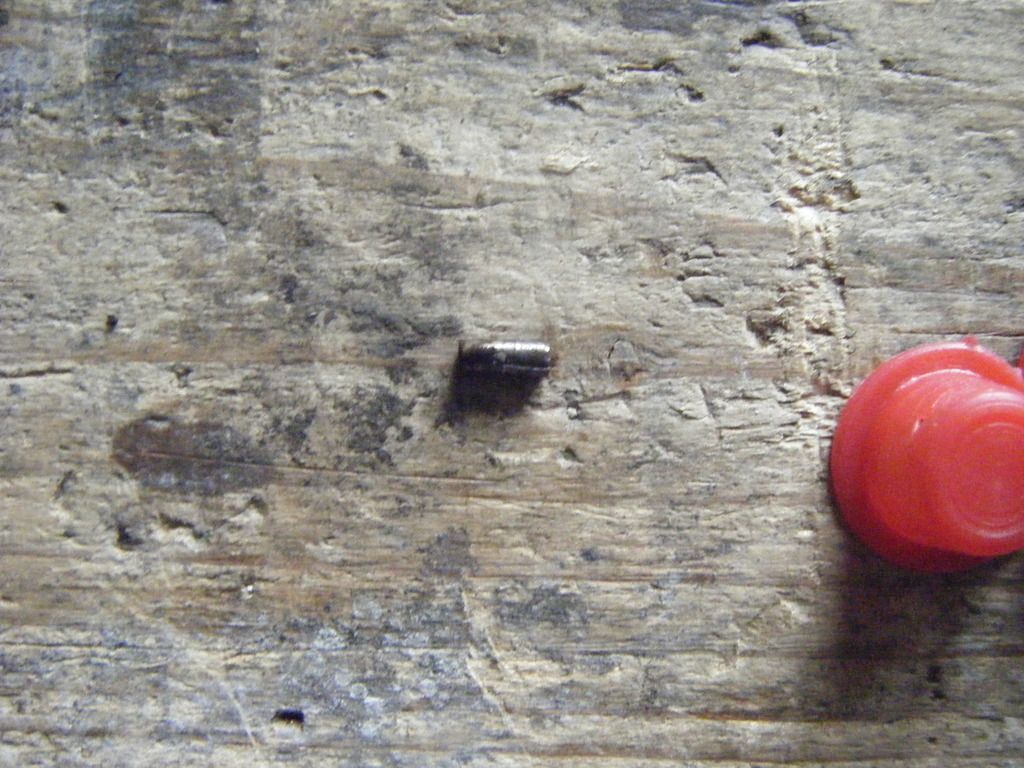 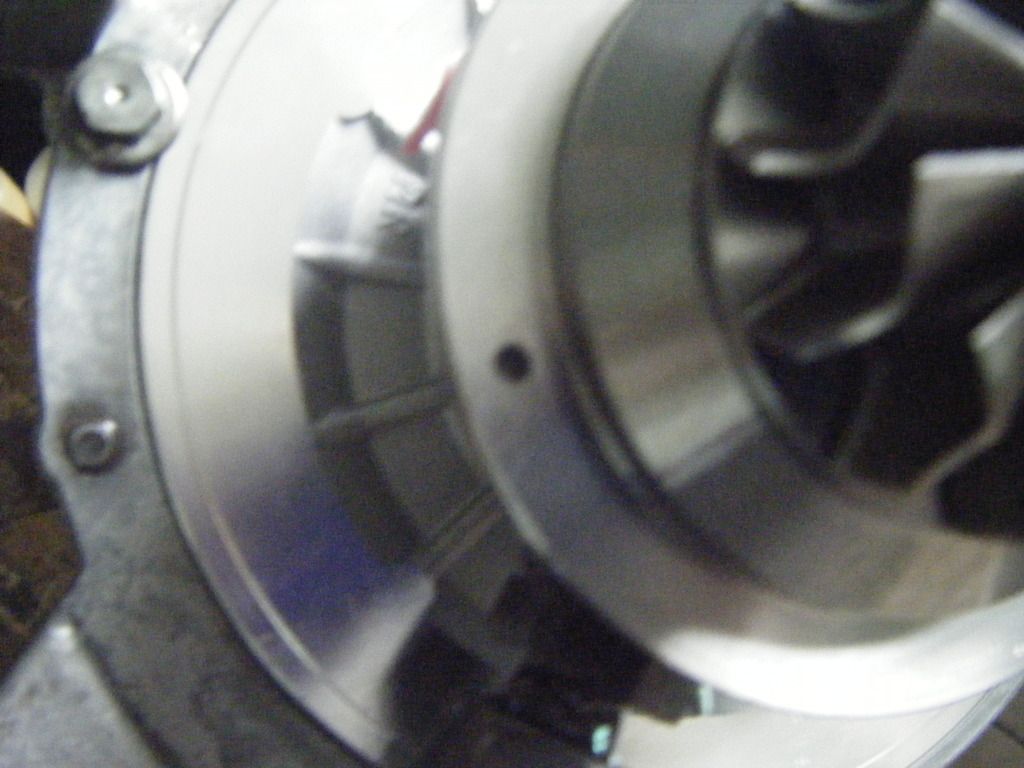 Remove oil feed pipe from engine block. (There are two 13 mm bolts to the engine block and a 17 mm nut to the oil filter housing) 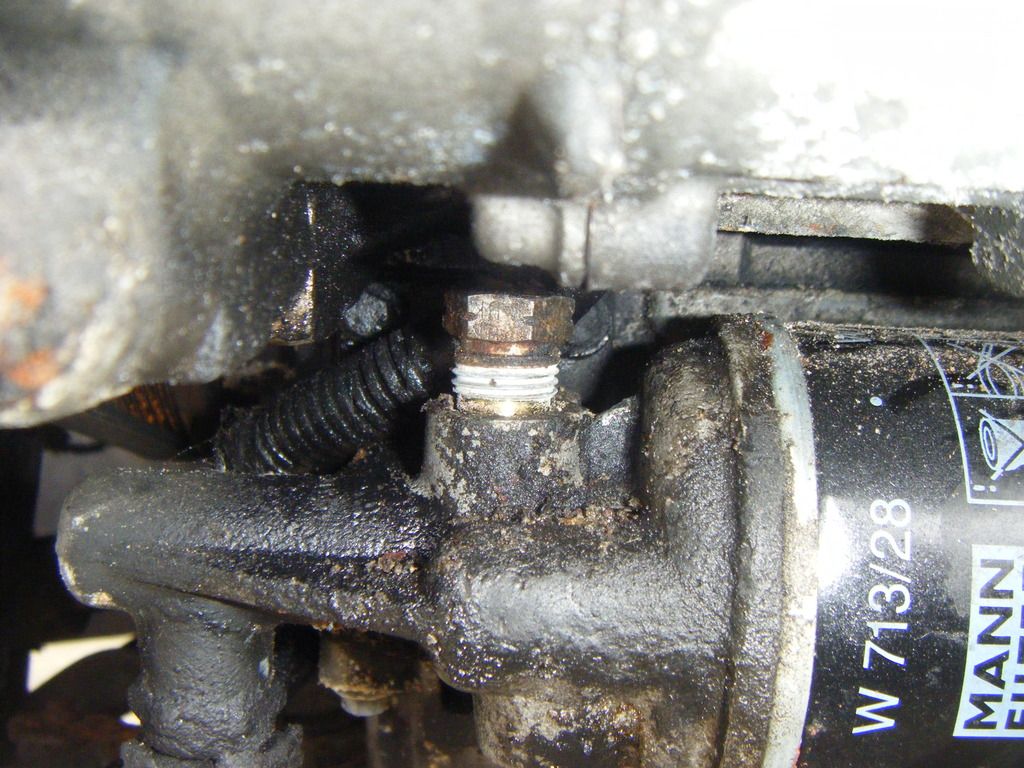 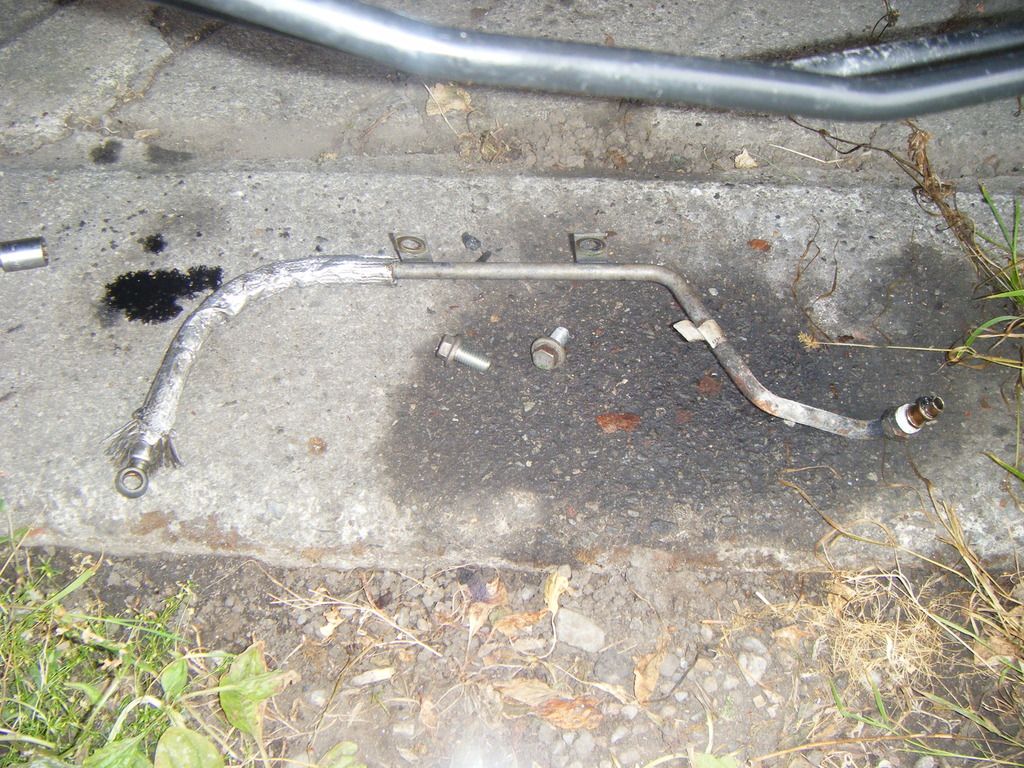 Check the oil feed line is clear. The oil feed line can coke up if the oil degrades in extreme heat and block the pipe, which leads to oil starvation. (All was fine: I cleaned the end then blew through it and there was no resistance. I ran some carb cleaner through it to be sure). The heat shield was frayed so I tidied it up with some aluminium tape. Replace oil feed pipe to engine block. 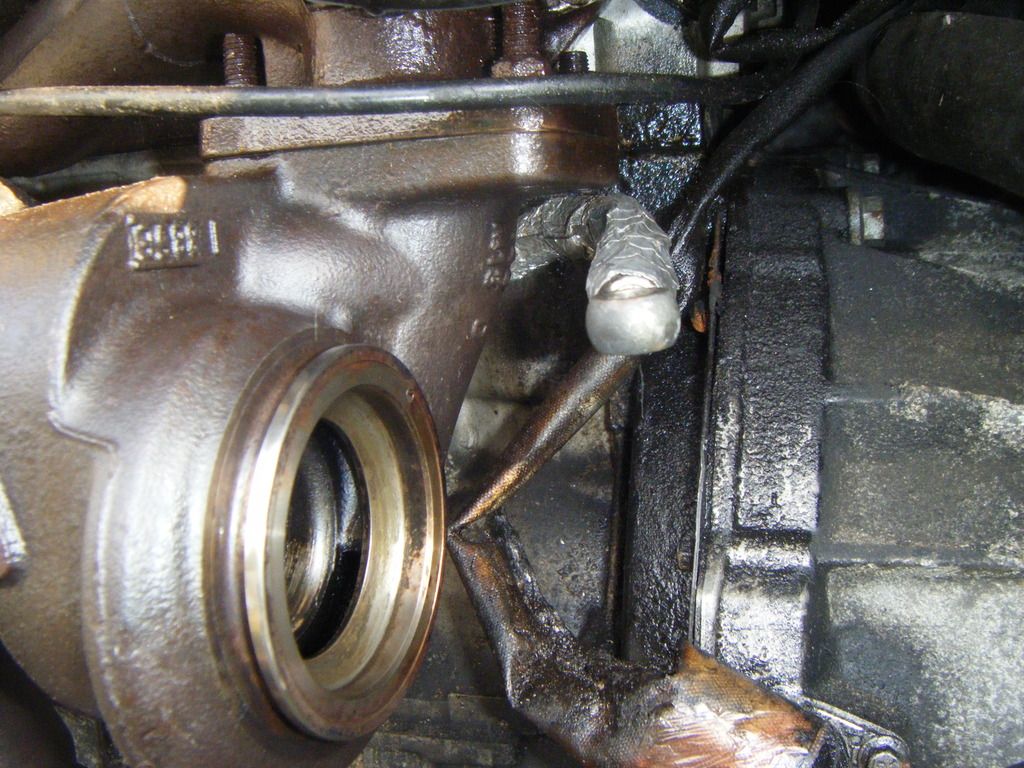 Add copper grease to exhaust side of turbo where CHRA meets up. (This will help to seal the join and make future disassembly easier). 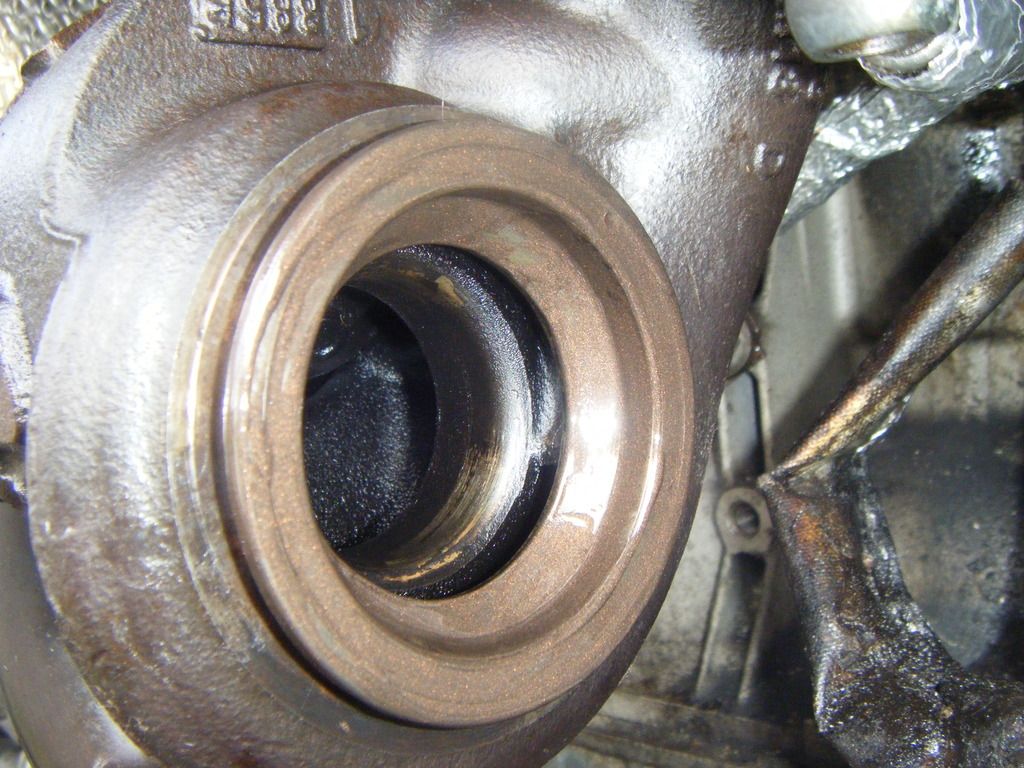 Offer up the CHRA and ensure the locating dowel is engaged. Put copper grease on the threads of bolts, add both halves of the band then use a T-30 Torx to hold and 10 mm socket to tighten in place. 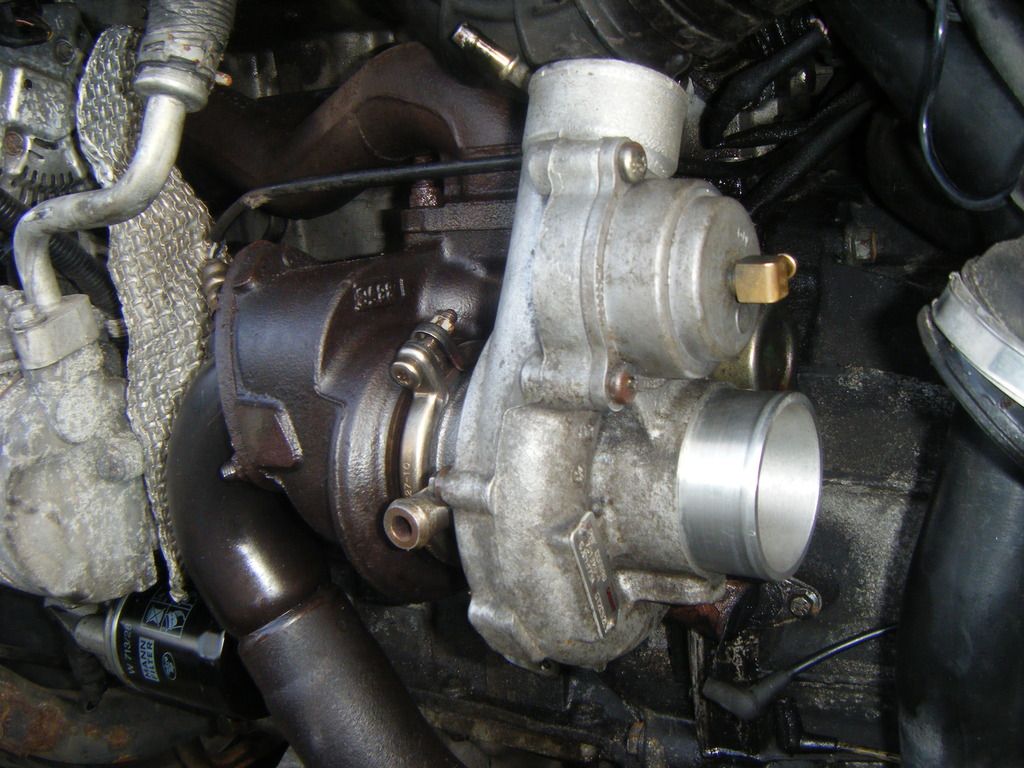 The Shannon tube was totally kaput. 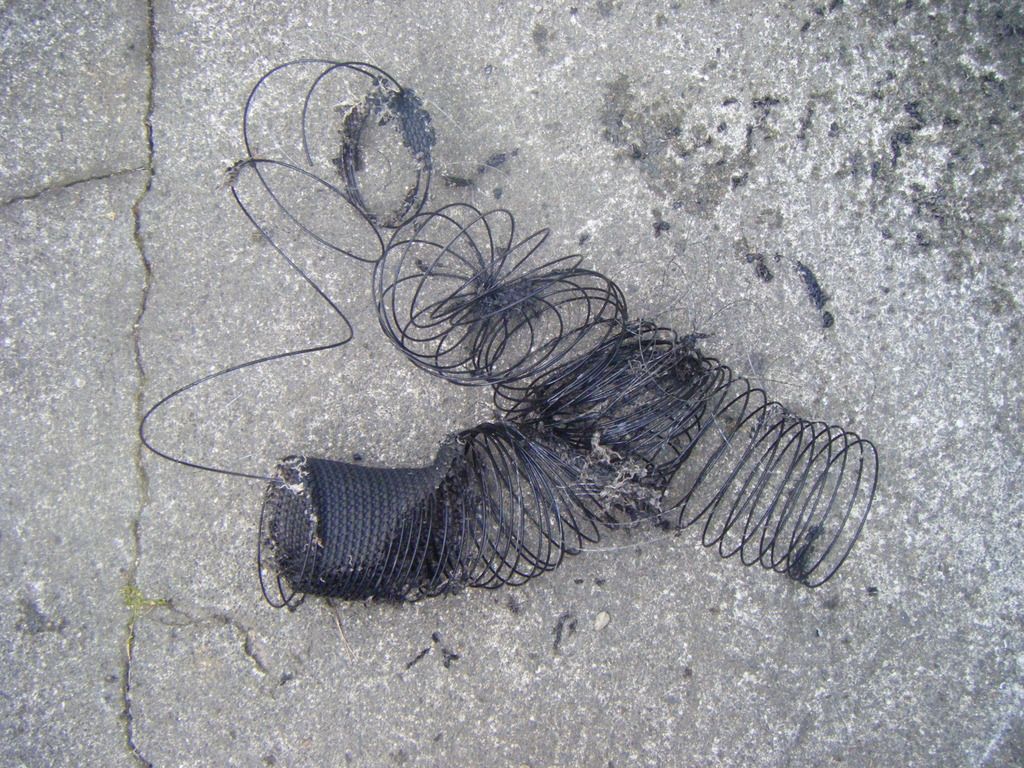 I cleaned all the remnants of the old shannon tube out of the air filter box and have ordered a new neoprene 2 ply hose. Silicone is available but it has a lower tear resistance and is more expensive. The air filter is very clean so I won't change it when I service the engine. A new oil filter is on its way. I have cleaned around the engine. With hindsight I would have done this before tackling this job. I would also have removed the threaded nozzles for the water pipes while the turbo was held firmly in the car. Don't forget to re-attach the actuator rod and fit the circlip. I've not done this yet. I am still some way off firing up the engine as I have a few more jobs to do while I have the front off. I plan to remove the spark plugs and turn over the engine to check that there is oil flowing trough the feed pipe before priming the turbo with oil and attaching it. |
|
|

|
|
|
#5 | ||
|
Loves to post
Facelift Rover 75 Classic CDT auto and Connoisseur SE 1.8T Join Date: Jun 2014
Location: Ferryhill
Posts: 399
Thanks: 113
Thanked 110 Times in 83 Posts
|
Quote:
Quote:
|
||
|
|

|
|
|
#6 |
|
This is my second home
Rover75 and Mreg Corsa. Join Date: Nov 2006
Location: Sumweer onat mote o'dust (Sagin)
Posts: 21,753
Thanks: 341
Thanked 3,660 Times in 2,924 Posts
|
Thanks for the update. I did basically the same method - though I notice you disconnected the aircon pipes, so a recharge will be needed. I made a simple wooden holding cradle to support the radiators to one side with aircon still attached.
I removed the turbo completely from the ex. manifold and downpipe so I could get a good look into it all. Either way, it's a lot easier than doing it the Haynes way by removing the ex.manifold with turbo attached from behind the radiator. What a ball ache that sounds. TC Last edited by T-Cut; 24th July 2015 at 19:44.. |
|
|

|
|
|
#7 |
|
This is my second home
2005 Connoisseur SE 1.8 Turbo,2004 45 1.8 Connoisseur and my beloved 1998 VVC Coupe. Join Date: Nov 2009
Location: Derby.
Posts: 8,762
Thanks: 2,022
Thanked 1,016 Times in 739 Posts
|
Very good write up and pic's,thanks for sharing.Most useful.
__________________
  |
|
|

|
|
|
#8 |
|
Loves to post
Facelift Rover 75 Classic CDT auto and Connoisseur SE 1.8T Join Date: Jun 2014
Location: Ferryhill
Posts: 399
Thanks: 113
Thanked 110 Times in 83 Posts
|
in summary: It's Alive
How I got there... I laid out a towel and got my mirror ready. Then I pressed the circlip back in place on the wastegate spindle and actuator rod using a stubby screwdriver as a thimble. Bingo! The swear box was unnecessary, as was the towel. It was a great insurance policy because I could have spent hours hunting for it if it had pinged off. 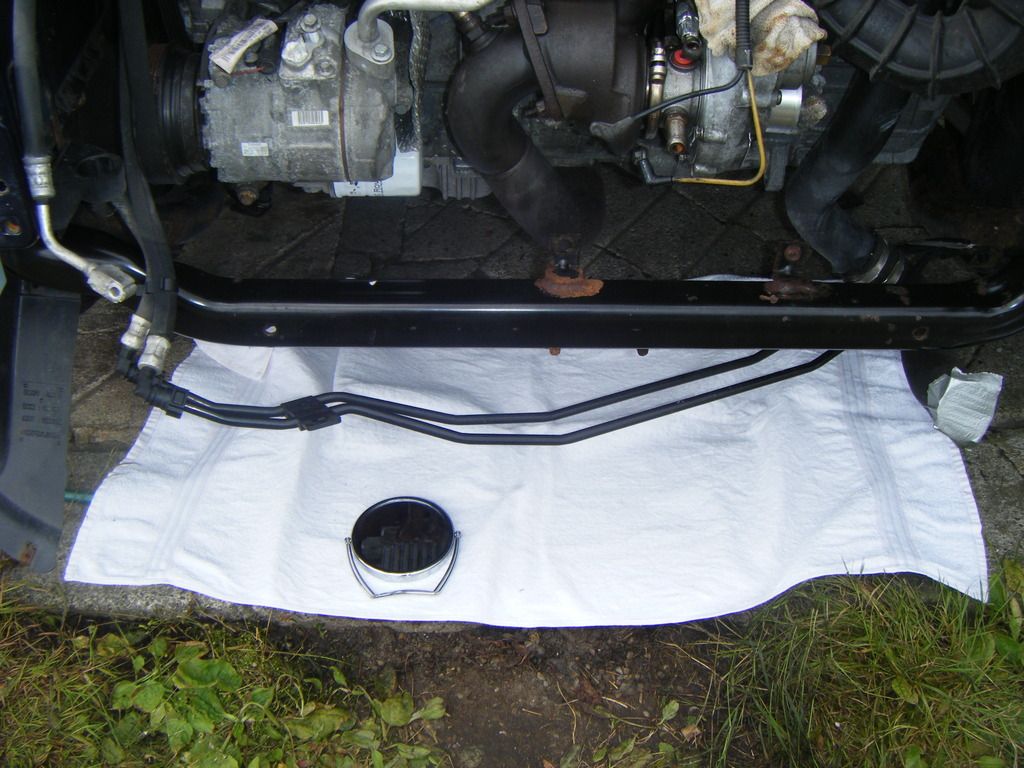 I tidied up the oil return pipe 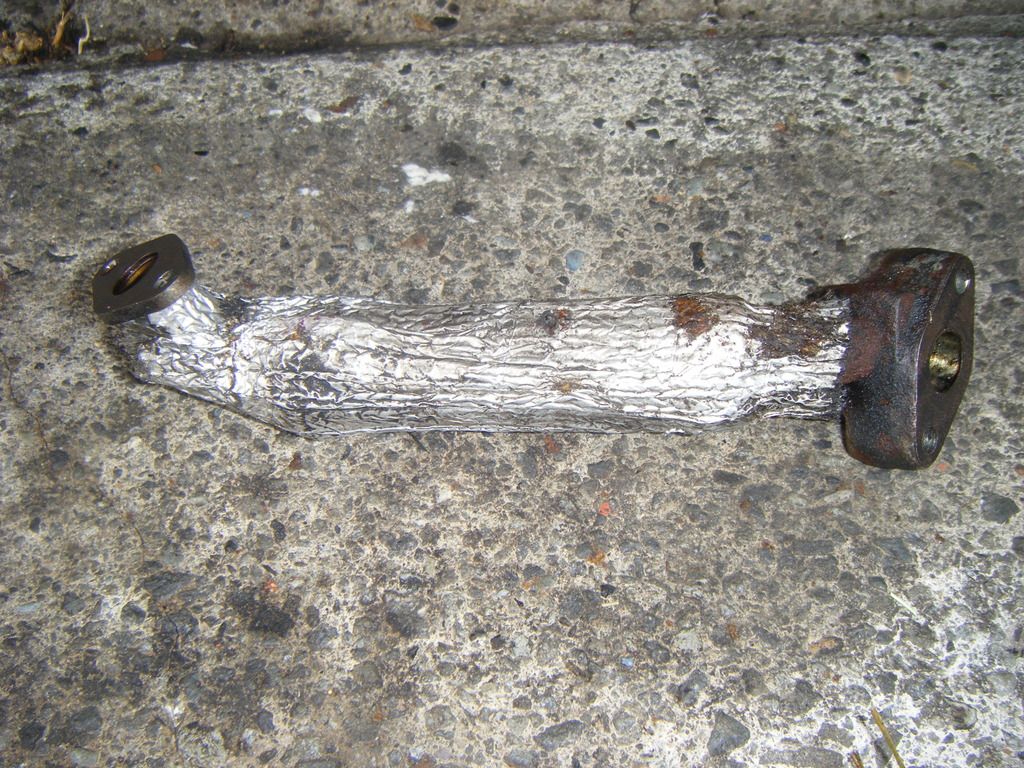 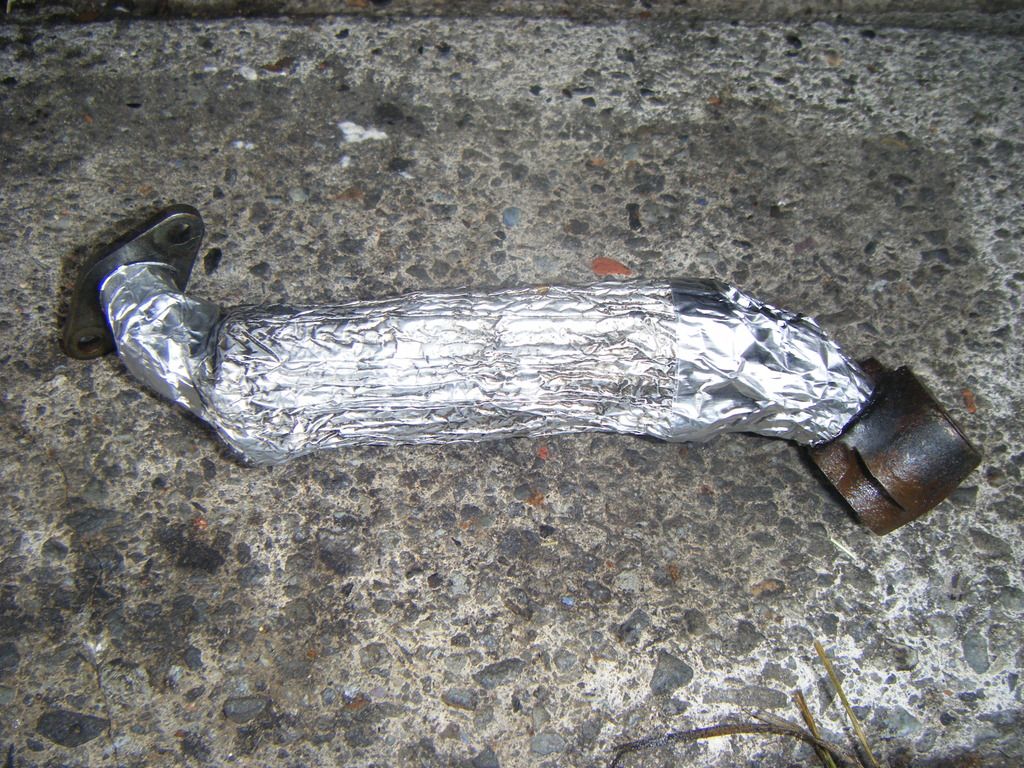 I fitted the oil return pipe in place, using a small 8mm spanner on the relatively inaccessible bolt. (picture taken from underneath). 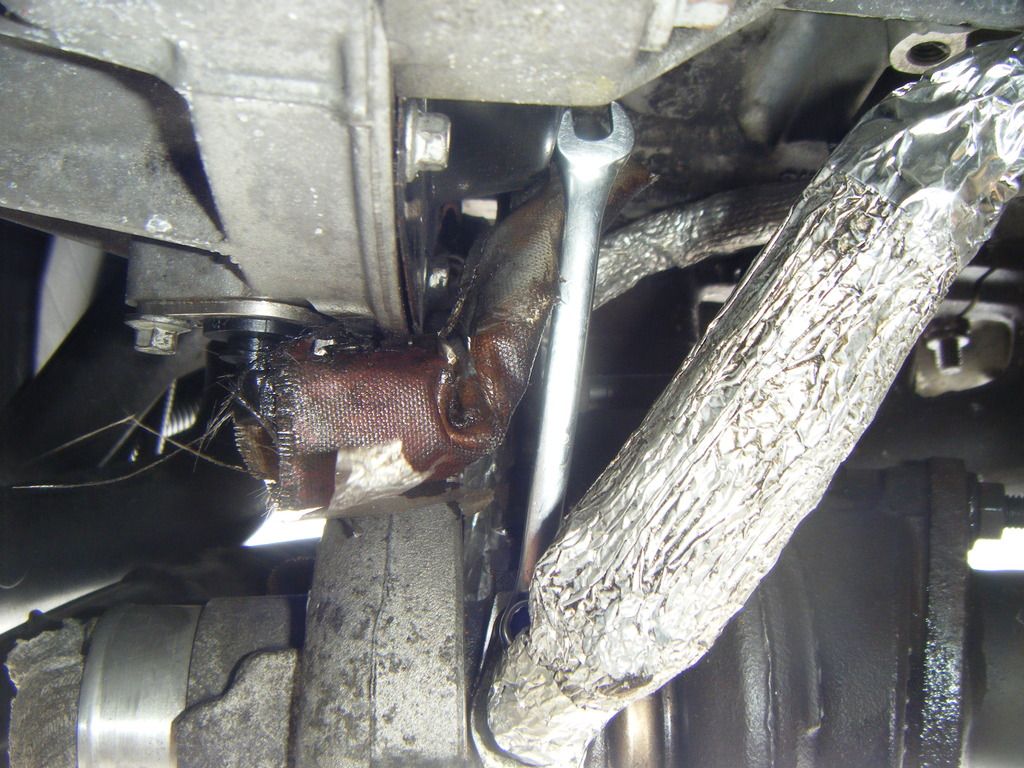 I fitted a new oil filter. (Thanks to DMGRS). 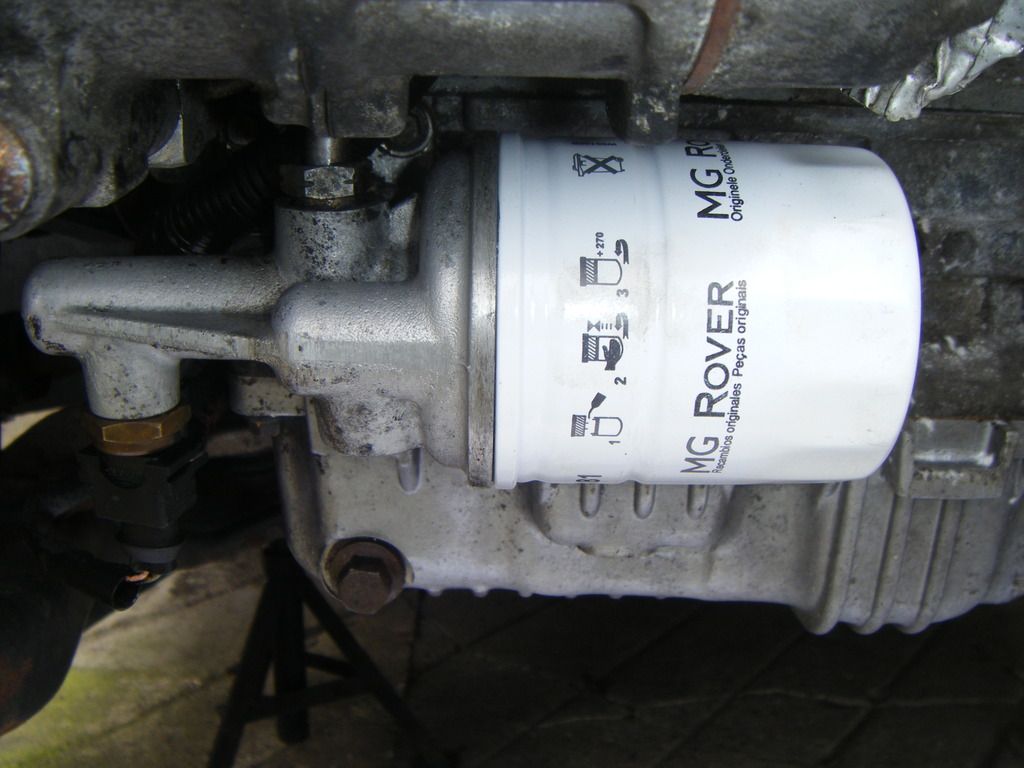 I added fresh 10w40 semi synthetic oil. I removed the coil packs and spark plugs and had a bit of a clean up. 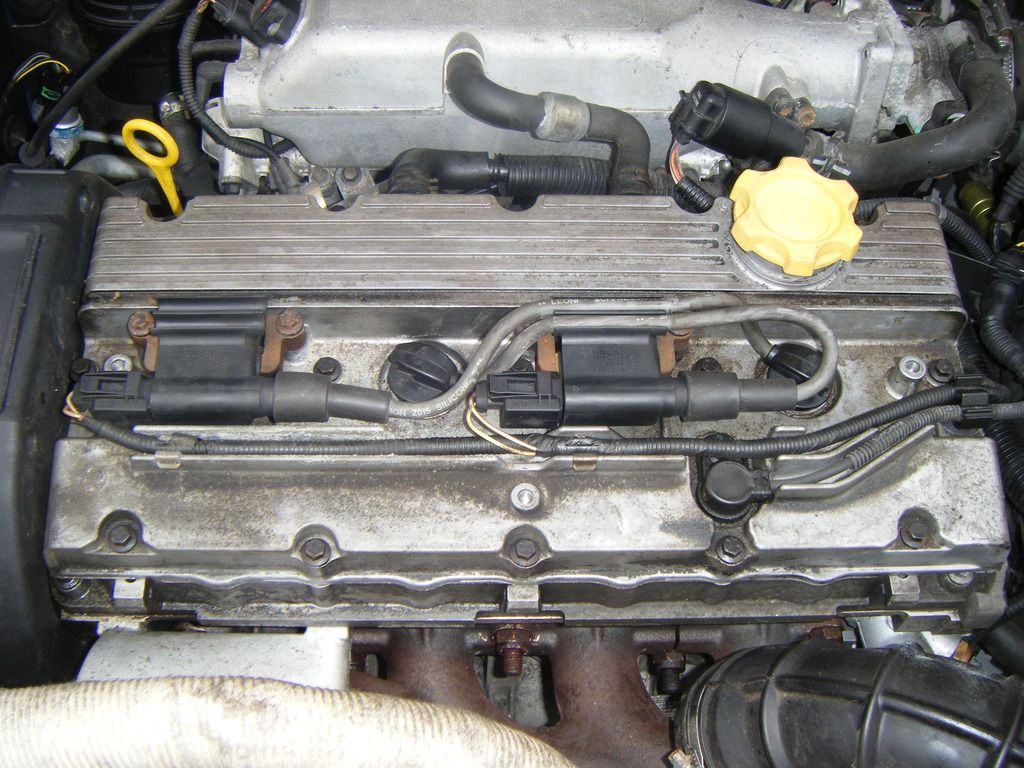 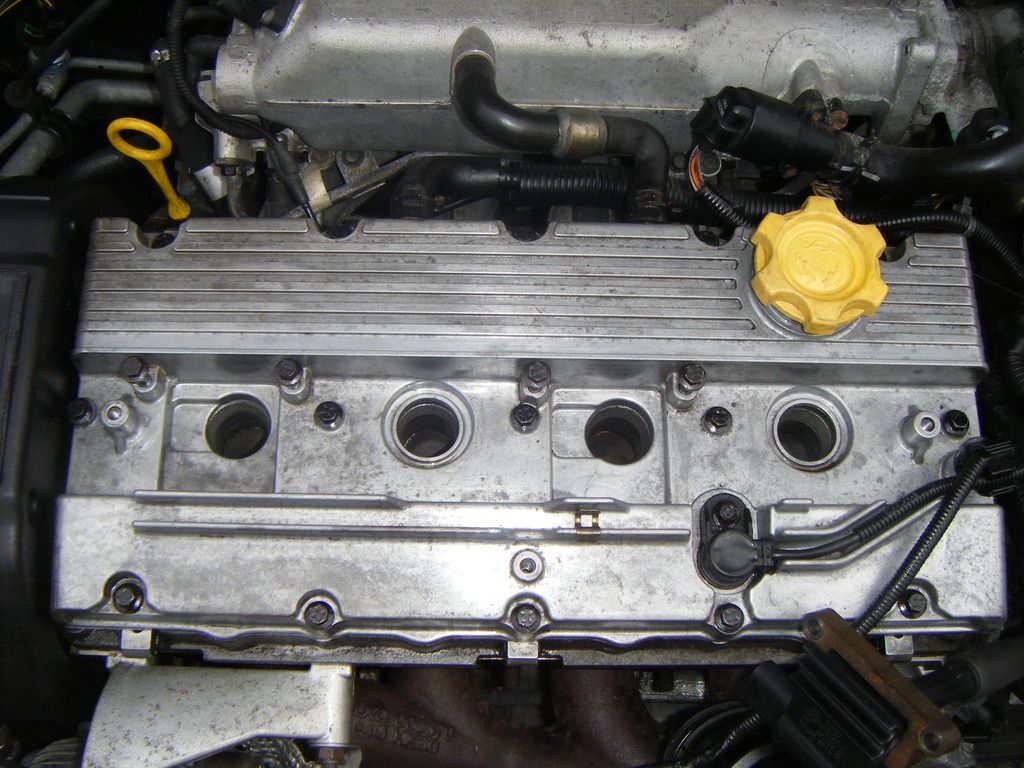 I tested the oil flow through the feed pipe by spinning the engine over with the spark plugs out and I was satisfied that there was plenty of clean oil flowing. (I could not find a suitable bore of hose to slip over it so I protected everything successfully with a carrier bag). 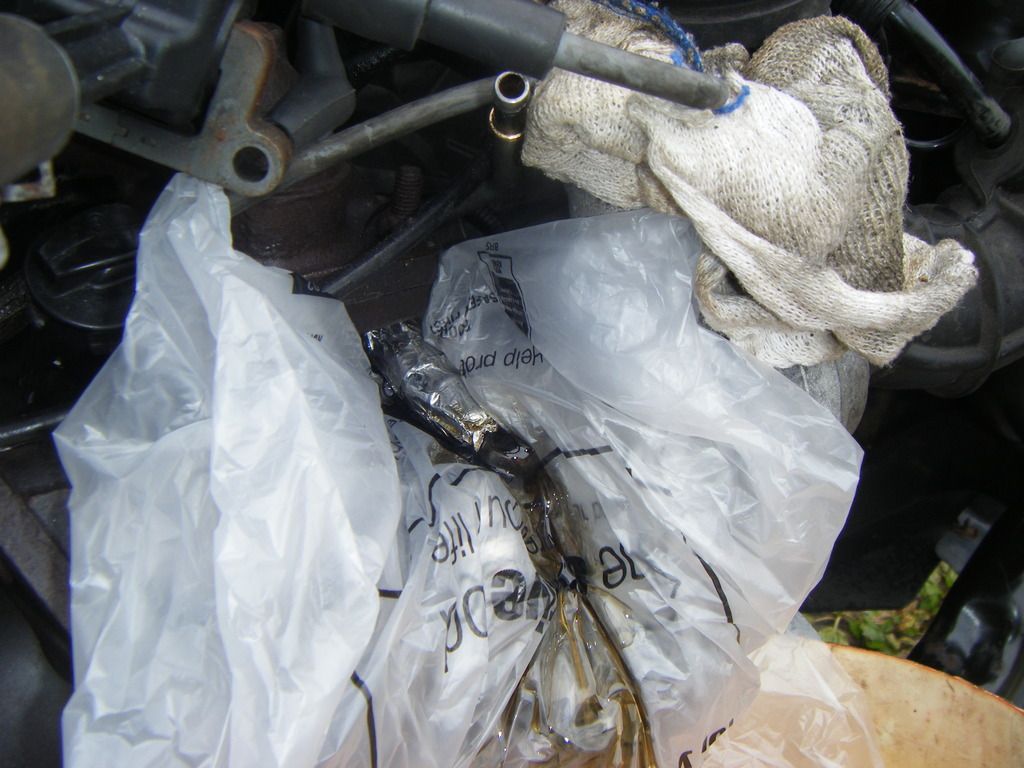 I decided to fit new copper washers to the banjo fitting on the oil feed pipe. My local ironmongers, Defty in Spennymoor let me rummage through a couple of drawers till I found some with the right internal diameter. 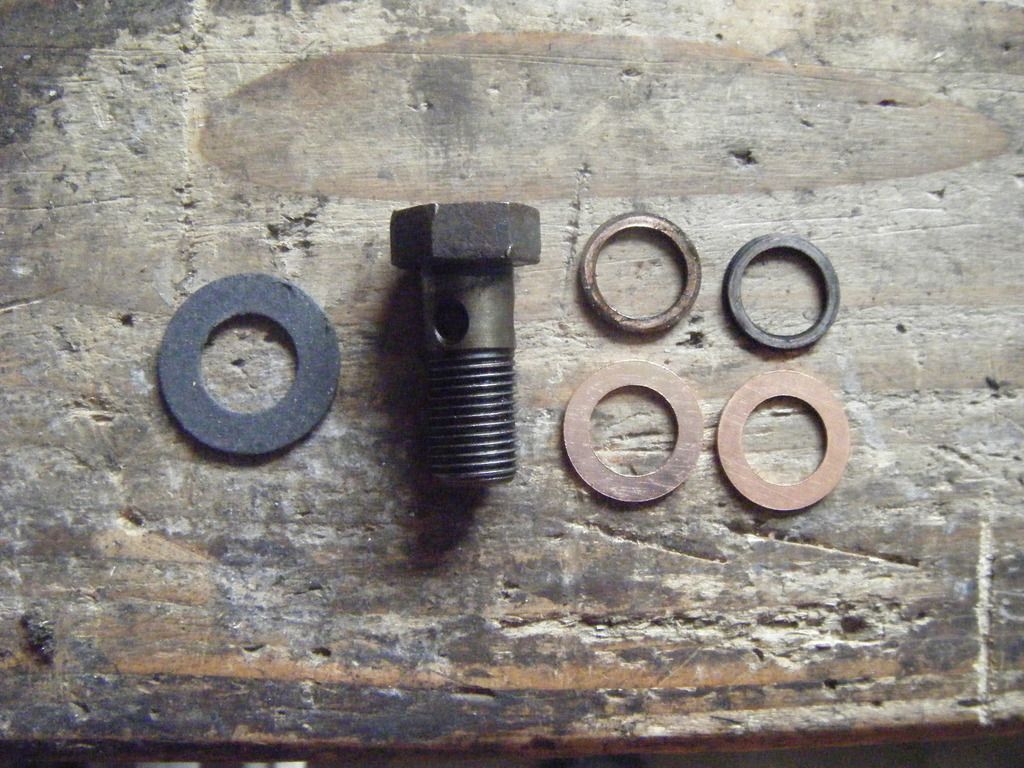 I have not found a use for the round fibre gasket in the picture. Suitably equipped, I fitted them. 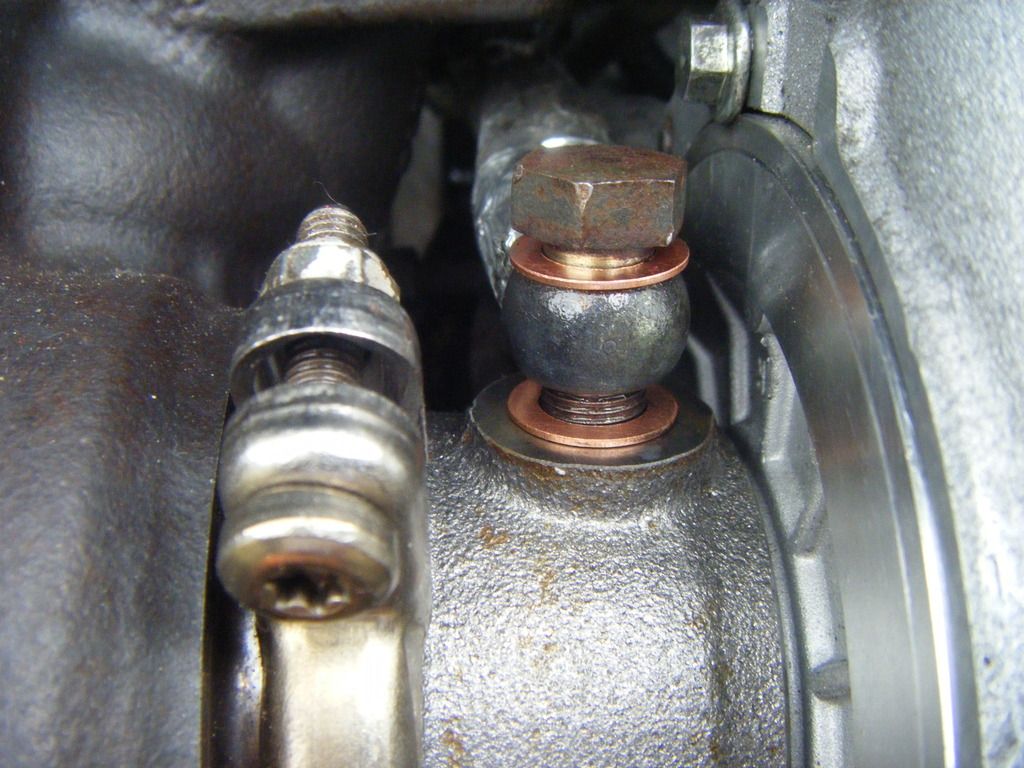 I span the engine over with the spark plugs out to pump oil through the turbo. The Shannon tube arrived so I fitted that. 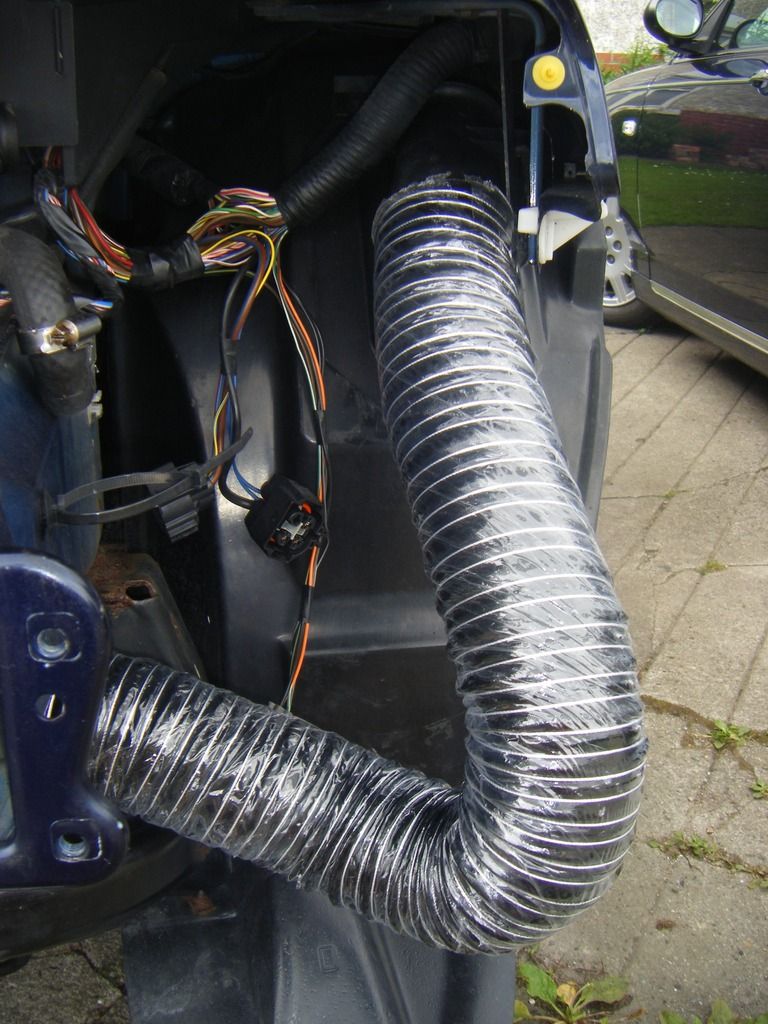 I refitted the spark plugs, fitted the battery and turned the key. The engine fired instantly. I looked to the rear and there was some white smoke, but it was nowhere near as bad as it was before I began this operation and it will take some time for all the oil remaining in the exhaust to work its way through. At least there was no sign of blue/black smoke. I let it idle for 10 minutes and shut it down. I checked all the hose clips, etc for incontinence. As all appeared well, I fired up the engine again and let it run up to full working temperature. The temperature gauge held steady half way up the dial. I left it overnight. I checked the coolant level and all was well. It fired up instantly again so I let it idle for an hour. The smoke from the rear was dissipating nicely, so I blipped the throttle a few times to send more oil through. Each time I was rewarded with clouds of white smoke, though the amount does seem to be much less each time. [I wish I had taken a picture or video before I started to show how bad it was. The exhaust is much less smelly now]. The exhaust gas is now relatively clear and I’m feeling well-chuffed with my efforts. I plan to service the brakes and complete a few more checks then it will be MOT time. I’ll run the engine for a while each day and I hope to be all clear for the emissions test by the time I have the remaining work done. |
|
|

|
|
|
#9 |
|
Moderator / RS North East
MG ZT T 180,MGF Freestyle, Jaguar XKR Convertible and XF Join Date: Jan 2008
Location: Newton Aycliffe
Posts: 6,397
Thanks: 1,329
Thanked 2,231 Times in 1,309 Posts
|
Scott
Seems like you are doing a good job, and well worth the effort, and will have a decent running car soon Stu |
|
|

|
|
|
#10 |
|
Loves to post
Facelift Rover 75 Classic CDT auto and Connoisseur SE 1.8T Join Date: Jun 2014
Location: Ferryhill
Posts: 399
Thanks: 113
Thanked 110 Times in 83 Posts
|
I realise that omitted various steps from my last post - such a dodging in and out of the rain, and fitting the intercooler and coolant hoses then refilling with coolant.
Before fitting, I checked the intercooler was clear. Interestingly, it had vey little oil in it. I've left the bumper and crash bar off for now so I can keep a close eye on the hoses and check for leaks |
|
|

|
 |
|
|