
|
|
|
|
|
|
||
|
|
||
 21st May 2016, 15:51
|
#111 |
|
Loves to post

Rover 75 Saloon Join Date: Apr 2015
Location: Stockton - On - Tees
Posts: 367
Thanks: 55
Thanked 119 Times in 88 Posts
|
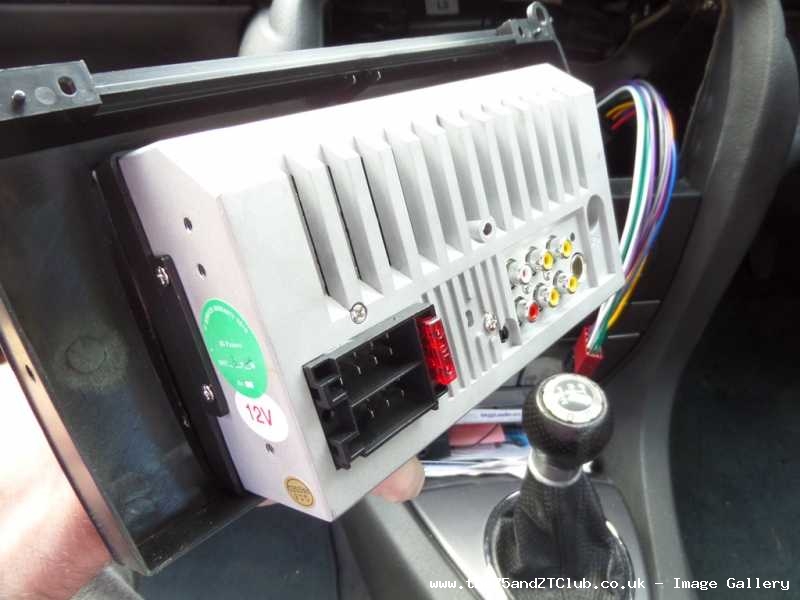
Trevor just looking at your photos again, in the second picture you show the plugs in the back of the unit. Is the wire next to the yellow one your SWC cable, it looks to be either red/white or orange/white, if it is then I have my wire in the wrong place
 Looking at the wiring diag in the little booklet (with a magnifying glass lol) that came with the unit there is nothing in that slot. Should I swop the wire? Blackrose Last edited by Blackrose; 21st May 2016 at 15:56.. |

|

|
|
21st May 2016, 17:42
|
#112 | |
|
This is my second home
1979 Capri 1.6L, 1982 Capri 1.6L, 2016 Dacia Stepway Join Date: Jun 2009
Location: Dorset
Posts: 8,596
Thanks: 3,496
Thanked 3,397 Times in 2,218 Posts
|
Quote:
Trev has manually inserted a Orange/White wire on his newly purchase ISO loom as the SWC wire.  |
|
|
|
|
|
21st May 2016, 18:29
|
#113 |
|
Loves to post
Rover 75 Saloon Join Date: Apr 2015
Location: Stockton - On - Tees
Posts: 367
Thanks: 55
Thanked 119 Times in 88 Posts
|
Wes, it's that long now,lol. I pulled the black and orange out of the connector and then forgot where I'd pulled it from, It is now in the wrong slot so tomorrow I'll fix it and all should be well
 I'll report back when done, all good fun. I'll report back when done, all good fun.Blackrose |
|
|
|
|
21st May 2016, 19:25
|
#114 |
|
This is my second home
Hyundai i10 998cc Join Date: Mar 2012
Location: Kilmarnock
Posts: 6,602
Thanks: 2,088
Thanked 2,298 Times in 1,349 Posts
|
Hi guys. Yes the lead goes to pin 3
__________________
Cheers from Trevor MM0KJJ |
|
|
|
|
22nd May 2016, 13:06
|
#115 |
|
Loves to post
Rover 75 Saloon Join Date: Apr 2015
Location: Stockton - On - Tees
Posts: 367
Thanks: 55
Thanked 119 Times in 88 Posts
|
Sorted. All now working OK. Thanks chaps.
Blackrose |
|
|
|
|
22nd May 2016, 15:49
|
#116 | |
|
This is my second home
Hyundai i10 998cc Join Date: Mar 2012
Location: Kilmarnock
Posts: 6,602
Thanks: 2,088
Thanked 2,298 Times in 1,349 Posts
|
Quote:
Pretty good little units for the money. I've copied s few DVD's onto a stick by making an image of them and it works a treat! Glad you've the SWC sussed out.
__________________
Cheers from Trevor MM0KJJ |
|
|
|
|
|
22nd May 2016, 16:58
|
#117 | |
|
Avid contributor
Rover 75 Conny SE Starlight Silver Join Date: Dec 2014
Location: Coventry
Posts: 107
Thanks: 59
Thanked 24 Times in 17 Posts
|
Quote:
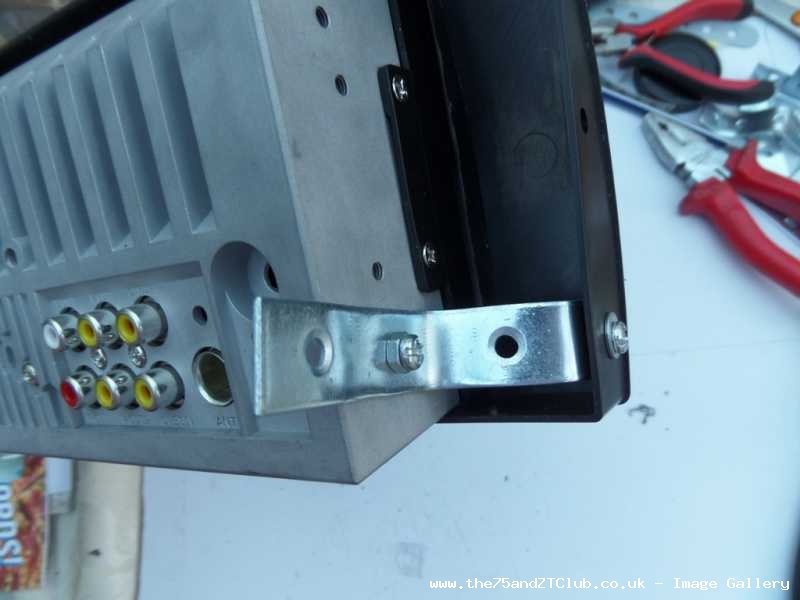
Hi Sorry for being a pain but could you tell me what size screws you used to fix the brackets to the unit and did you trim enough off the fascia to enable the unit to slip all the way through?? Many Thanks Col |
|
|
|
|
|
22nd May 2016, 19:16
|
#118 |
|
This is my second home
Hyundai i10 998cc Join Date: Mar 2012
Location: Kilmarnock
Posts: 6,602
Thanks: 2,088
Thanked 2,298 Times in 1,349 Posts
|
Hi.
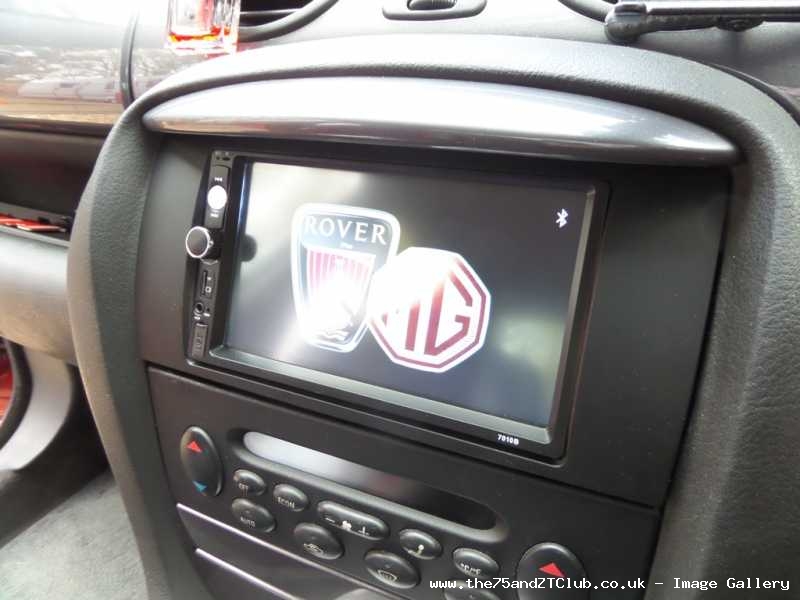
I didn't use brackets as the through bolts I think would be likely to be tight on the surround and make the facia a poor fit to the dash. Once you have removed the excess material from the facia and the head unit fits snugly into the facia I'd suggest you use a hot melt gun and bond the head unit to the facia at the join from the rear. This is how I have done it. The head unit is quite light and hot melt applied each side, around the top and under the unit and between the lower edge of the facia will give the unit as much strength as you will ever need. To remove the unit a quick spray with solvent will soften the hot melt without effecting the plastic.  Notice the facia is a nice fit around the dash,
__________________
Cheers from Trevor MM0KJJ Last edited by murphyv310; 22nd May 2016 at 19:19.. |
|
|
|
|
22nd May 2016, 19:23
|
#119 | ||
|
This is my second home
1979 Capri 1.6L, 1982 Capri 1.6L, 2016 Dacia Stepway Join Date: Jun 2009
Location: Dorset
Posts: 8,596
Thanks: 3,496
Thanked 3,397 Times in 2,218 Posts
|
Quote:
The 2din front-face has a small lip, I shaved enough from around the newly bought dash fascia so the 2din unit only pushes in from behind, the 2din lip stops at the fascia opening. Quote:
Last edited by Dallas; 22nd May 2016 at 19:27.. |
||
|
|
|
|
22nd May 2016, 19:34
|
#120 | |
|
This is my second home
Hyundai i10 998cc Join Date: Mar 2012
Location: Kilmarnock
Posts: 6,602
Thanks: 2,088
Thanked 2,298 Times in 1,349 Posts
|
Quote:
There is glue & glue. Hot melt is industry standard in the electronic industry and is common practice since the 80's. It's inert and easily removed with the correct solvent. Bolts incorrectly fitted can short out if too long and as the instructions are so patchy I'd rather use Hot melt than a bolt any day. Don't forget my 46 years in the industry
__________________
Cheers from Trevor MM0KJJ Last edited by murphyv310; 22nd May 2016 at 19:45.. |
|
|
|
|
 |
|
|


 Linear Mode

