

|
||
|
|
||
|
|
||
|
|
#11 |
|
Posted a thing or two
Jaguar Xe diseasal Join Date: Nov 2011
Location: Little Stanion, Corby
Posts: 1,922
Thanks: 363
Thanked 390 Times in 241 Posts
|
Well, it's been a long time since my last post on this, and not a huge amount has changed. It's taken ages to fit the new front end, as I had difficulty sourcing the right sized bearings, needed the ID of the Dragstar, with the OD of the trike. Eventually found some that were the right size, but when they arrived I still couldn't get it on. Ended up getting fed up of not being able to move the trike out the garage, and so used my favourite tool to reduce the size of the stem on the bottom yoke, allowing the bearing to fit.
Once that bearing was on, it was a simple case of sliding everything in place and tightening it all up. So the new front is now fitted. Makes life a lot easier for a front brake and a speedo drive, all I need for a front brake is to order a new longer brake hose, and I can re-use the original speedo cable, just need to buy a new mini speedo, and make a bracket to fit it to the forks. Probably use something like this: http://www.ebay.co.uk/itm/MOTORCYCLE...3D361303548651 I've also ordered some LED's to use as the marker lights, unsure which I'll use yet, but as they were cheap I got both to see which I prefer. I think I'll probably go with these if I can figure out how to mount them: http://www.ebay.co.uk/itm/2015593972...%3AMEBIDX%3AIT Failing that, I've just got these as a backup: http://www.ebay.co.uk/itm/2015488235...%3AMEBIDX%3AIT Also ordered the kit to make up a new throttle cable, as I've currently got part of the old cable, tied to the dragstar cable, cable tied to certain parts of the frame to take up the slack! The kit should have enough to make a spare as well, but I did a quick measure with some string and it'll need to be nearly 11 feet long! And I've finally ordered a standard beetle clutch cable, hopefully I'll be able to make that fit. So once I've got those bits sorted, it'll be onto rewiring it, and changing the brake master cylinder, as I've been told the 1 fitted is the wrong size. Not very good pictures, but it started raining and I'd just given it a clean so had to quickly ride it back inside, not that I could find my autos so couldn't polish any of it anyway. I'll try and get it out again tomorrow, weather permitting, and get some better photos.   |
|
|

|
|
|
#12 |
|
Posted a thing or two
Jaguar Xe diseasal Join Date: Nov 2011
Location: Little Stanion, Corby
Posts: 1,922
Thanks: 363
Thanked 390 Times in 241 Posts
|
Not sure anyones actually interested, but thought I'd keep updating this as a bit of a build thread. It also saves me irritating my wife talking to her about it...
So, yesterday I spent a few hours in the garage doing various little things. First was to check how the throttle cable was routed, and if there was any way of securing the outer at the carb end. This is where the cable exits the fan housing, and from there to the carb, theres nothing I can see to attach the outer to.  This is the other end of the tube that the cable runs through:  The cable then ran along the top of the gearbox, down the side and underneath, coming out through this small hole that's been drilled in the frame. Problem is that with vibration, passing through here had worn the rubber outer of the cable away completely, leaving just the metal part, allowing dirt and water to enter the cable. Will have to try and either route it differently, or enlarge the hole a bit and try to fit a very small rubber grommet, especially considering this trike has covered no more than 500 miles since the last owner 'rebuilt' it...  and the cable removed:  From there, the cable then runs under the central frame rail, and out the front to the bars. So hopefully it'll be quite easy to sort the new cable, once I figure out what to do about where it goes through the hole, and how to hold the carb end of the outer in place. In the cable kit there was also and inline adjuster, which I think might be a good idea to fit, and on the carb, the cable just passes through a barrel and a bolt tightens up against it, so have got to worry about trying to get the cable length exactly right and soldering a nipple both ends. Other things I looked at were the marker lights for the rear wheels. I bought 2 cheap sets of DRL's off ebay, with my preferred set being flexible LED tube, white as a marker light, but also flashes orange as an indicator. In my head it was great, but once held roughly in place with tape, they looked awful, cheap, and tacky, and whilst the white was fairly bright, there's no way the orange would be bright enough as an indicator. 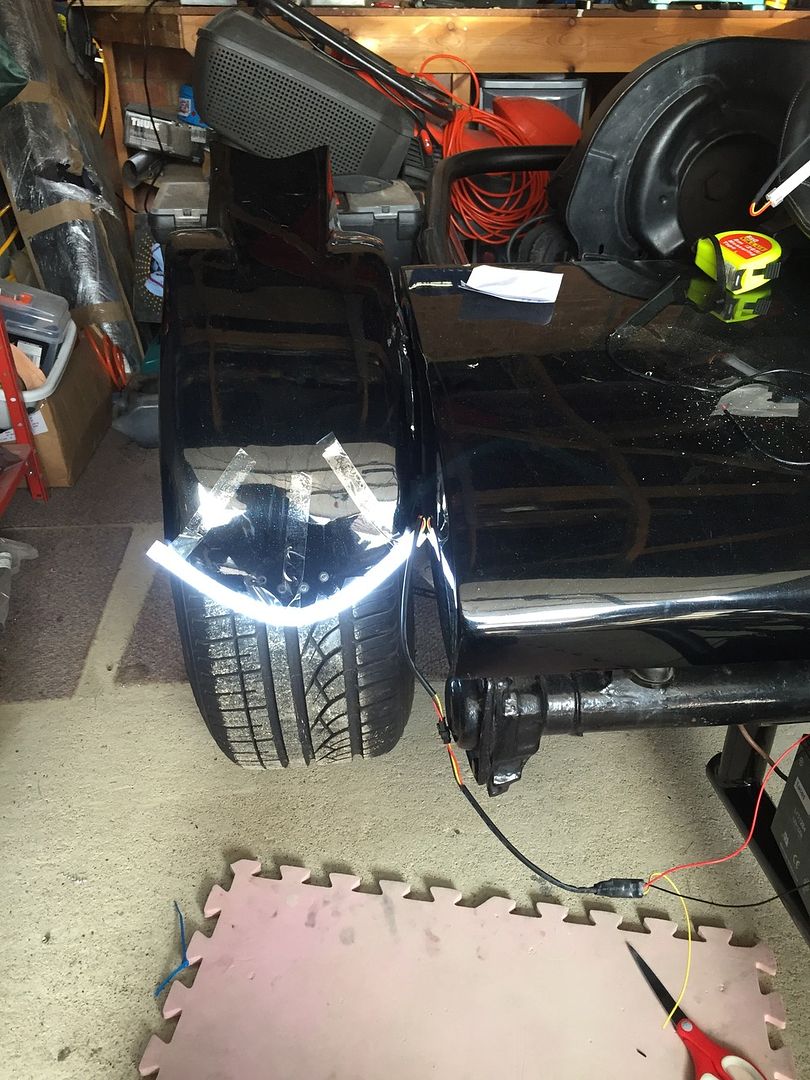 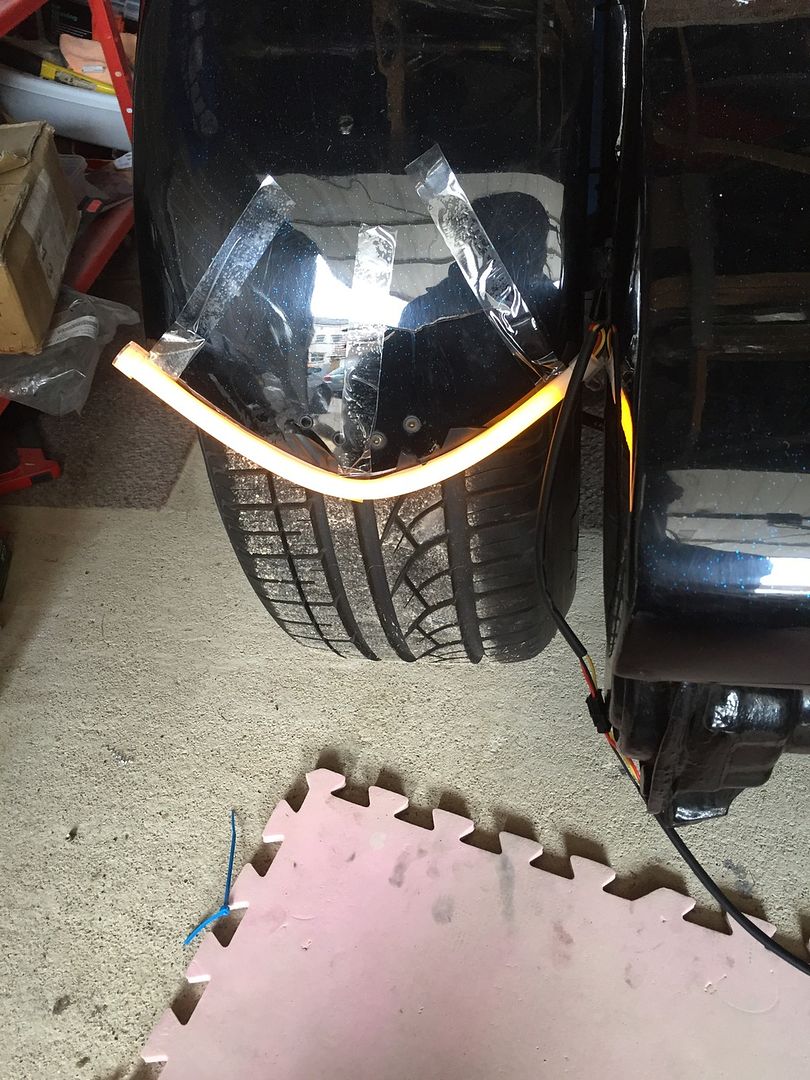 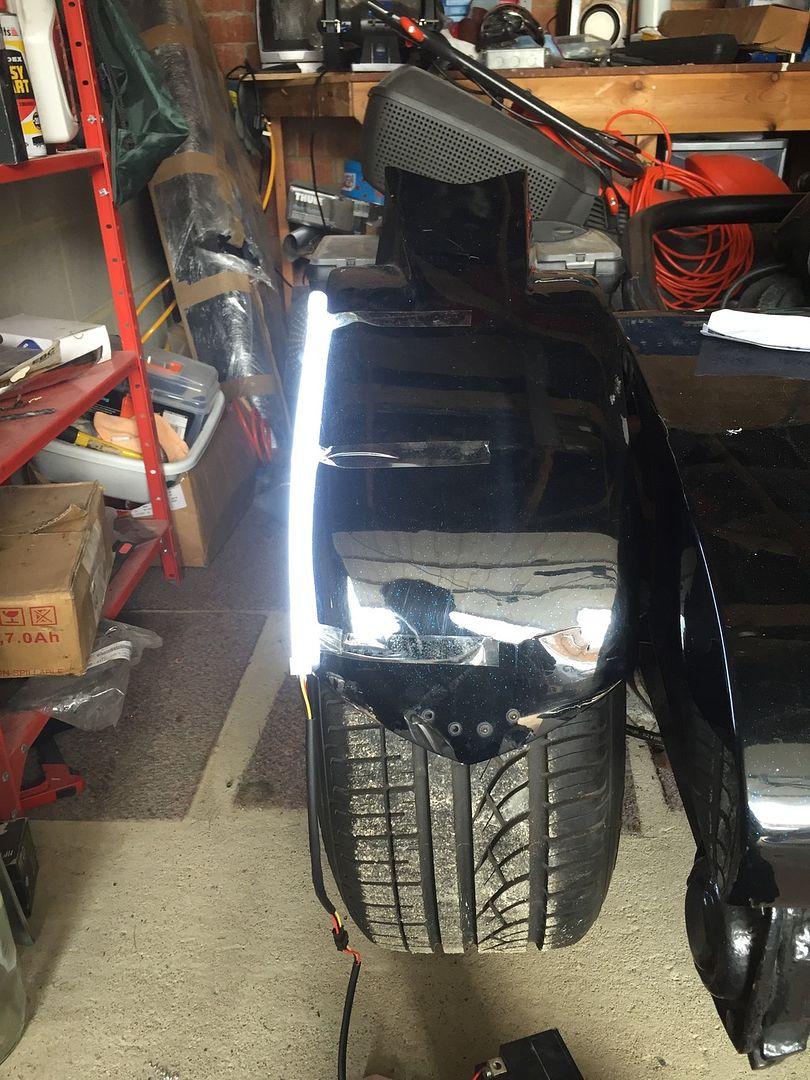 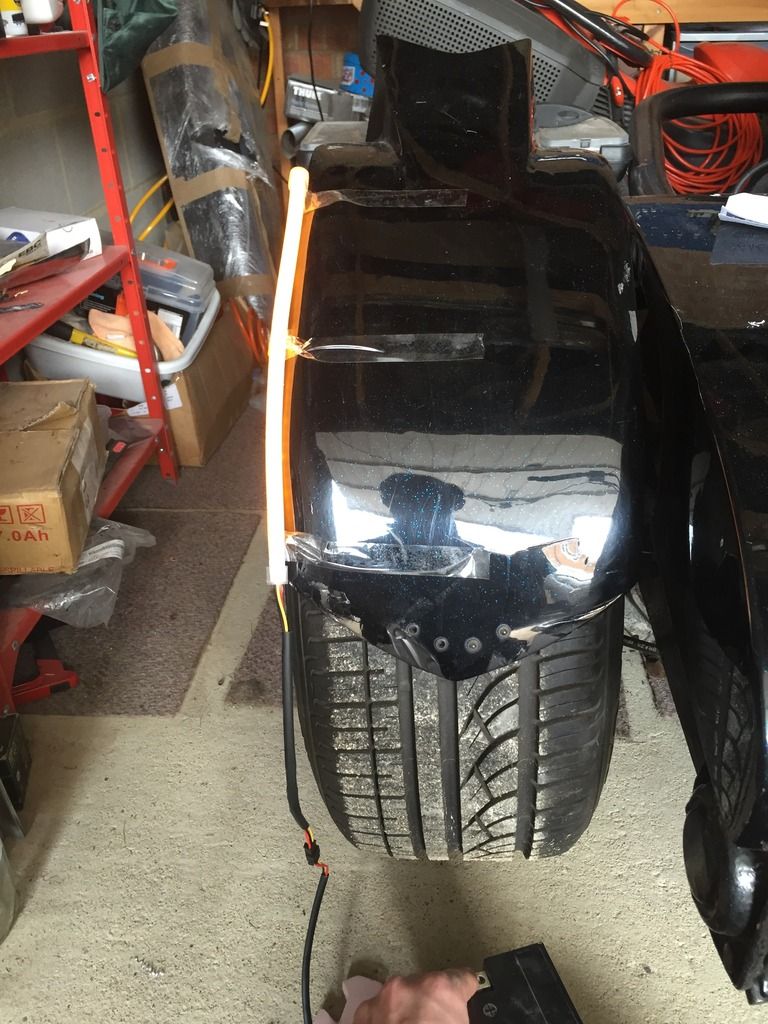 So it looks like I'll be using just a cheap (£3.99) set of LED strips, mounted flat on the front of the mudguard, only possible problem I can see with these, is they might be too bright! 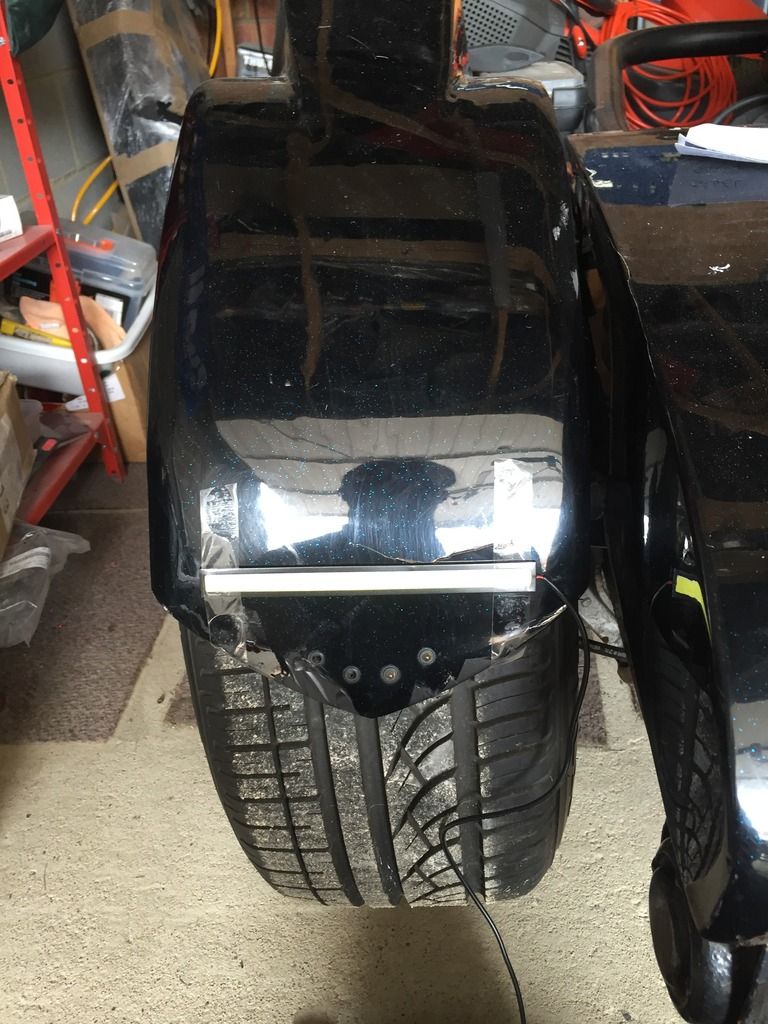 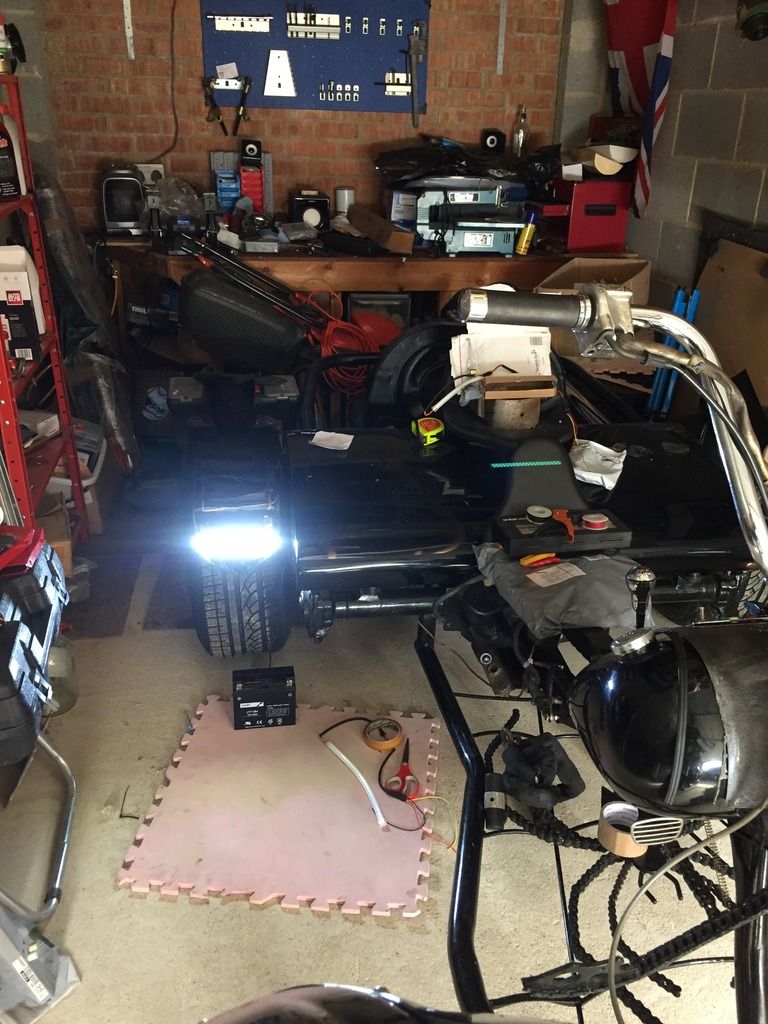 And the last thing I did was to have a look at the clutch. The previous owner had decided to use some chain as part of the clutch linkage, which then bolted to a piece of solid rod, roughly bent to go over and around various things. Obviously this meant that it was rubbing against several bits, and not pulling the clutch arm as it should, giving a ridiculously heavy clutch. It used to hurt the base of your spine where you had to push yourself right back into the seat to force the clutch pedal down. I bought a standard beetle clutch cable, to replace this rod, and once connected and routed roughly where it needs to go, you can now use the clutch with 1 hand, a vast improvement! The main problem now, is that the cable doesn't have an outer, I've since seen that there is a separate outer piece that you can buy, which will hopefully solve part of my problem, but I don't think it's very long. So I'll need to try and sort something out for the other bracket the it has to run through, and figure out a way of attaching it to the pedal. I'll have to cut the original end off as it's far too long, then maybe thread it through part of the pedal, and use a couple of small U bolts to hold it... Anyway, here's a few pics of the bits that I've got to try and stop it rubbing on: You can just see the cable running past the battery box, through a hole on the gearbox and up to the clutch arm...  Then it runs very close to this part of the frame: 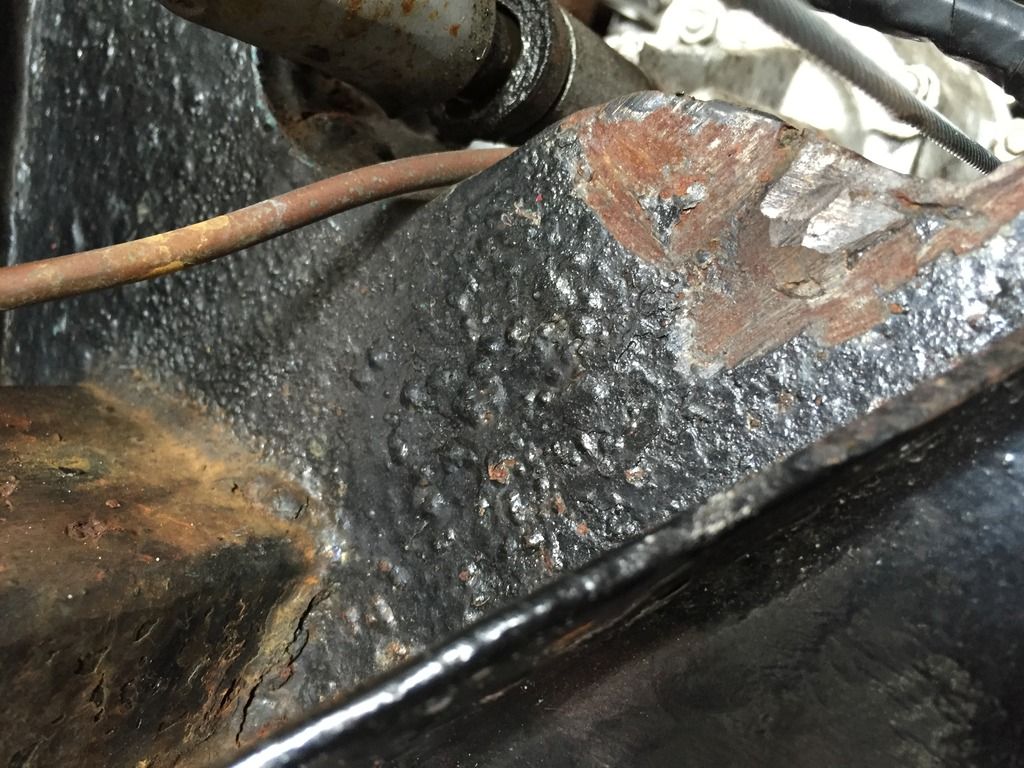 And then through this hoop, which isn't even straight, so runs on 1 side of it going in, and the other side on the way out! So will have to see if I can heat it and straighten it out, then line it with something to stop it rubbing, or try and find some cable outer big enough to run through there and along the length of the cable to protect it from the elements.  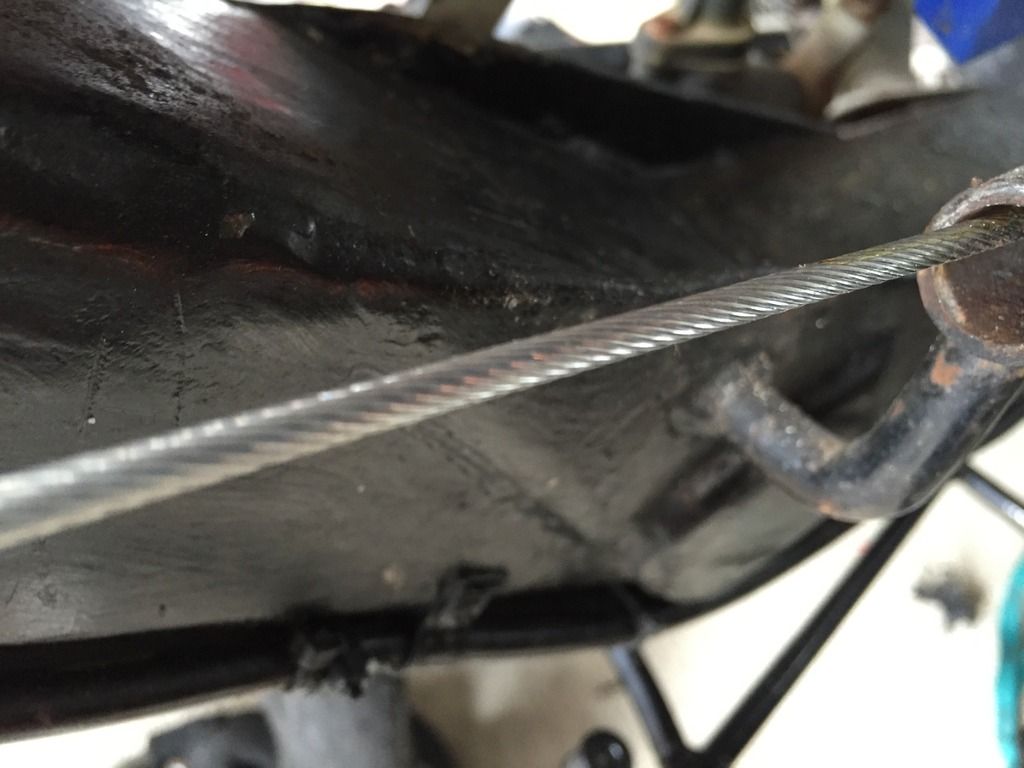 So now hopefully within a few weeks those few bits will be done, then it's on to rewiring it, though I'll have to learn to solder 1st, get a new brake master cylinder, and a new front brake line, oh and a speedo and extended speedo cable. |
|
|

|
|
|
#13 |
|
Gets stuck in
Rover 75 Tourer & Arden Green Project Join Date: Jul 2012
Location: Ormskirk
Posts: 932
Thanks: 159
Thanked 200 Times in 155 Posts
|
Keep up the good work and keep posting so I can follow progress.
Sent from my GT-I9195 using Tapatalk |
|
|

|
|
|
#14 |
|
This is my second home
rover 75 Connoiseur diesel called Rosey Join Date: Jun 2014
Location: Preston
Posts: 8,096
Thanks: 1,878
Thanked 2,001 Times in 1,424 Posts
|
What about a set of lights like these Derrick?
https://www.ebay.co.uk/ulk/itm/181756075273 These may be the ones you've already tried so if they are I apologise  Or maybe these? https://www.ebay.co.uk/ulk/itm/381450658595
__________________
It is NEVER your fault, do not believe her when she says it is  Real name Tony  Last edited by barney bear; 8th May 2016 at 20:56.. Reason: Mongoose 3 cobra 0 |
|
|

|
|
|
#15 |
|
Premium Trader
Rover 75 Join Date: Nov 2010
Location: Devon
Posts: 33,817
Thanks: 8,837
Thanked 14,831 Times in 8,030 Posts
|
Fabricate a bracket for the throttle linkage and bolt it to one of the carb mounting bolts, this will then move with the engine, not with the frame.
__________________
Lest we forget..
|
|
|

|
|
|
#16 | |||
|
Posted a thing or two
Jaguar Xe diseasal Join Date: Nov 2011
Location: Little Stanion, Corby
Posts: 1,922
Thanks: 363
Thanked 390 Times in 241 Posts
|
Quote:
Quote:
My other thought (if those still aren't bright enough), is to get another cheap set of the DRL strip, mount it above or below the 1st set, and use some orange filter sheet, like we used to use for the lighting in drama classes, and see how bright/orange that is. Quote:
Thanks |
|||
|
|

|
|
|
#17 |
|
Posted a thing or two
Jaguar Xe diseasal Join Date: Nov 2011
Location: Little Stanion, Corby
Posts: 1,922
Thanks: 363
Thanked 390 Times in 241 Posts
|
Managed to get out to the garage at the weekend and have a bit of a tidy up, and then had some time to do a few things. I bought the bits months ago, but then the car needed stuff doing so I haven't had time since.
First up was to see if the clutch VW clutch cable I bought could be used/made the clutch any better. It rubs on the frame a couple of places, but I've bought some nylon rod to use for it to rub against, but as yet I've not found a way of cutting/drilling or shaping it, without it heating up excessively and deforming. The easiest way I could see to connect the cable to the existing chain link rod and pedal was to thread it through the links, then back on itself, and use some 5mm U-bolts to hold it together. Not ideal and not pretty, but it works! The clutch is really light for the first bit of travel, but still needs a fair amount of pressure on the last inch or 2 to be able to change gear, but it's still significantly better than it was.  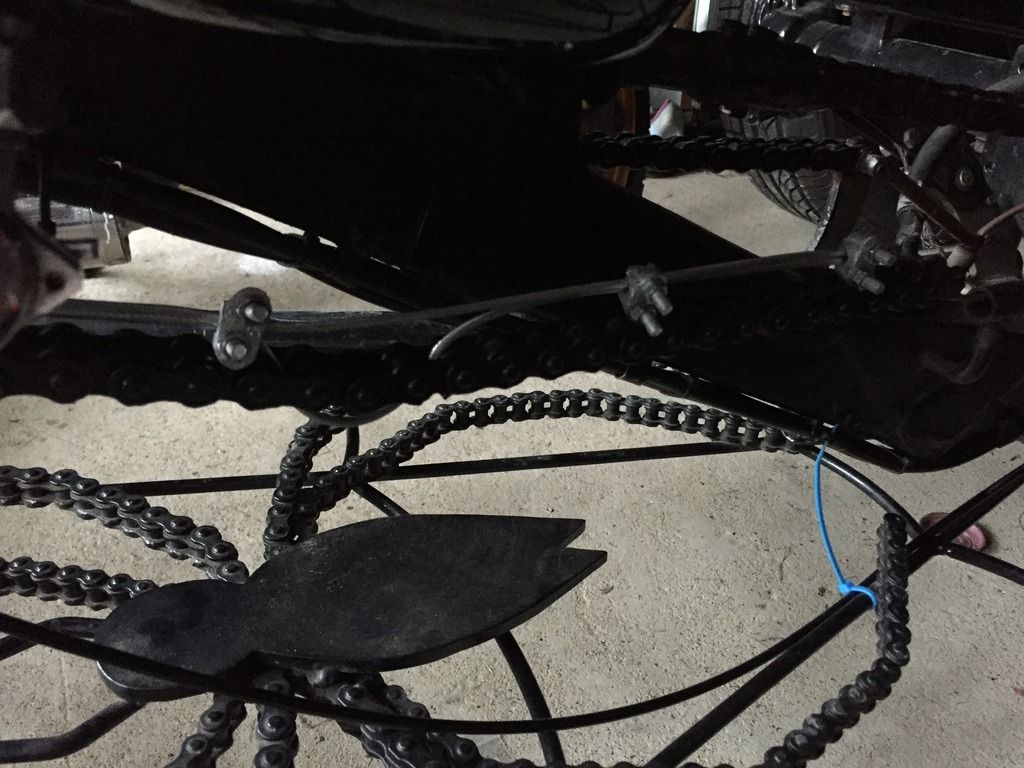 Next up was a replacement throttle cable. The old 1 was the wrong length, very roughly made, and had worn through the plastic outer coating revealing the spirally metal within and allowing water into the cable in a couple of places. I'd been dreading making the new cable, but once I started it was actually easy, as I didn't need to get the length exactly right as the fitting on the carbs is a barrel with a small bolt holding the cable in place. I first attached the outer to the back of the trike and threaded it through the frame etc, out the forks and up to the bars, cut it off and fitted a ferrule to the end. Then I soldered the nipple to the end of the cable and cut that roughly to length. I had 2 attempts at threading the cable through the outer as the first time it got caught, started to fray and wouldn't go any further. It was too tight a fit to wrap insulation tape round and thread it through, so I just had to recut it, and hope it worked better the 2nd time. Thankfully it did. Once it was through the other end, I pulled it all the way through, then went back to the front, connected it all up to the throttle housing, then back round to the carbs,, pulled the excess through and tightened the securing bolt. Easy! Had about 12" of extra cable but that can easily be trimmed.  Finally I could start it again, needed the help of 'easy start' but it ran, the throttle worked and the clutch worked! Riding it out the garage however I found the front brake didn't... I promised my 4y/o he could go on it when it was going again, so I took it for a quick test along the road with him on the back. He's never been on it before, thought he might be scared, but he loved it, was squealing all the way with a huge grin! Our 18month old was also very interested, chasing us down the road, and I'd barely parked before he was pulling at my leg trying to climb on...    Got back and had to move the bars up a bit as they were back too far, and gave the front brake a clean up and bled it through and now works lovely. Brake line is about as tight as it can go though, so will need to get a new 1 made up.  It's not running right though, spluttering sometimes and dying, could just be low fuel, but I suspect the carbs probably need cleaning, and maybe needs new plugs. Never touched the carbs on this so don't know how easy they are to work on, but hopefully they won't be too much of a pain. Might buy some carb cleaner and have a go at them this week. |
|
|

|
|
|
#18 |
|
Premium Trader
Rover 75 Join Date: Nov 2010
Location: Devon
Posts: 33,817
Thanks: 8,837
Thanked 14,831 Times in 8,030 Posts
|
Dont touch the carbs, check for air leaks, fit new plugs and try again, the long inlets are very fussy if the plugs, leads and dissy cap are iffy.
__________________
Lest we forget..
|
|
|

|
|
|
#19 |
|
Posted a thing or two
Jaguar Xe diseasal Join Date: Nov 2011
Location: Little Stanion, Corby
Posts: 1,922
Thanks: 363
Thanked 390 Times in 241 Posts
|
Thanks, will try the plugs first. Do you happen to know if it needs a certain type of plug spanner? Don't think the 1 from the bike will fit as it's pretty short. and how is best to check for air leaks? Leads seems fairly new, and the dissy cap seems quite tight, but will have a look.
|
|
|

|
 |
|
|