Here's job no 3/
With the grille removed I first masked all the chrome up so that no damage would occur.
Then using a hacksaw blade I cut all the old slats off. Its fiddly doing the first one in each side but that lets you in to cut the remainder off.
I then used my air tool to grind all the stubs down but any multi tool or simmilar will do the job.
Here it is after the slats were removed.
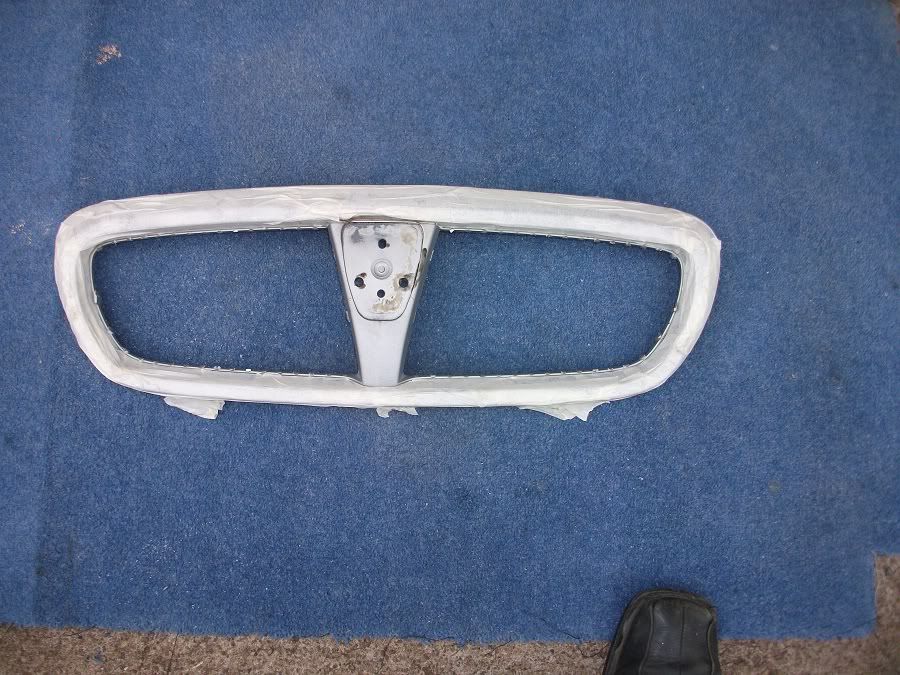
To get a nice finish I then used sanding paper wet to leave a finish ready for paint.
I had decided to paint my lower grille pieces as well, so plastic primer is essential to get the finish coat to bond. So it was now off with the front bumper to get the lower grille removed. This can be removed without removing the bumper but as I was removing it anyway it certainly made the job much easier.
All the plastic parts were given two coats of plastic primer then left overnight then this was followed by two or three coats of silver then a couple of coats of laquer.
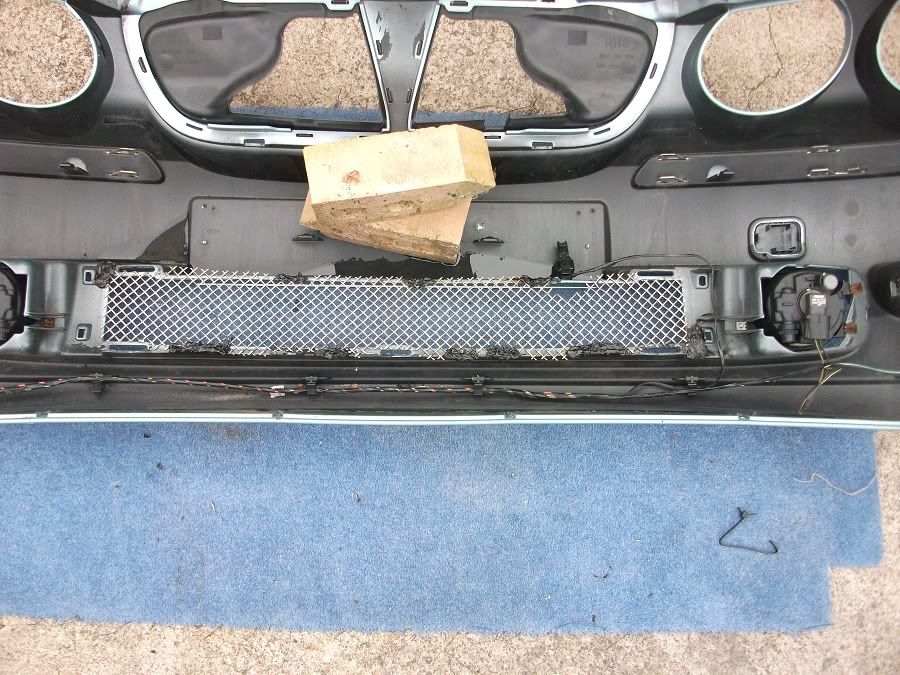
I used stainless mash 24" x 6" for the main upper grille and 26" x 4" for the lower. Removing the lower grille is simply a matter of either grinding or using a heat gun to melt away the lugs securing it.
As for fitting the new lower mesh this is a bit tricky as I spent some time cutting apertures for the securing lugs and for the temperature sensor then with the aid of some bricks to hold it in place I re fixed the mesh to the lugs using both a heat gun and soldering orin to melt the lugs over the mesh.
Here is the lower mesh grille now in place.
Now to main grille. First of all I marked out then trimmed the four corners to allow the mesh to sit in place. Then I removed the centre badge from the grille, drilled a hole right through the middle of the grille panel then using a small screw and nut I secured the mash into the grille.
To allow it to sit in place I machined the splash guards for the horns a little. I also applied some polyester filler to several areas to help secure the mesh in place but this came undone as soon as any pressure was put on it so basically the mesh is held oon by the one screw then held in place with the grille mounting scrivets. I will look into this area again.
I had a little accident with my camera as I sat on it when it was facing to the ground so I have damaged the LCD screen so now I'm taking photos blind but they have turned out not too bad.
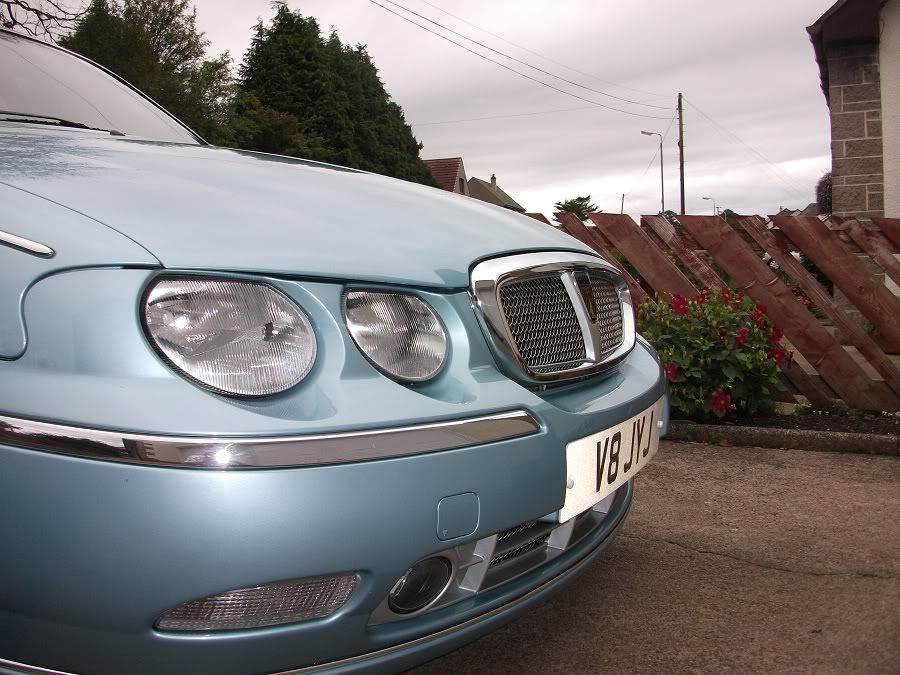
Here is the finished job today.
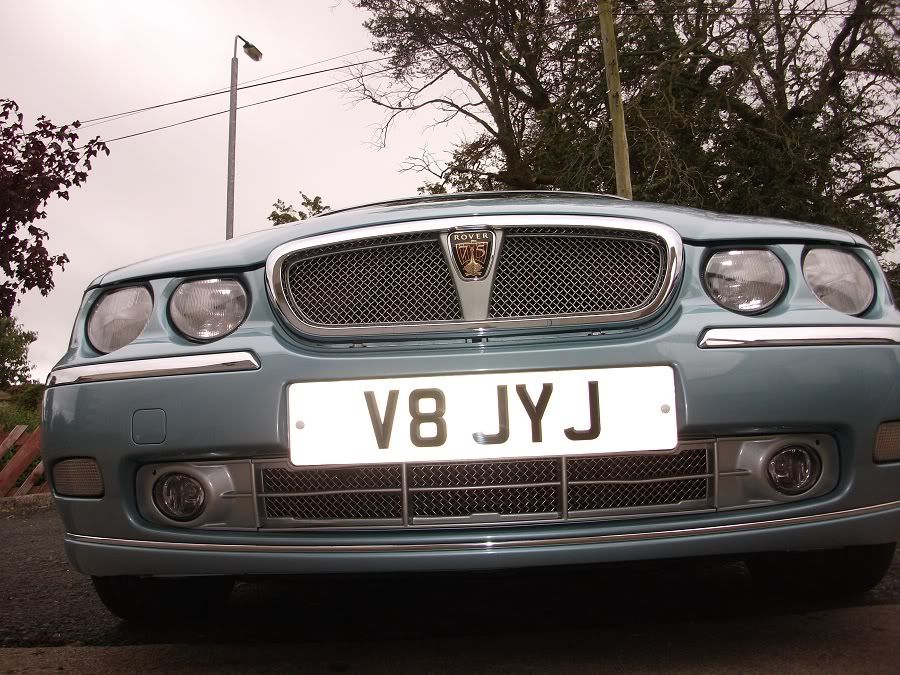
And another from the front showing the now painted lower grille area.
JYJ